Review And Tips for the Sizzix Bigz XL BIgkick and Big Shot Die for Carry All Box


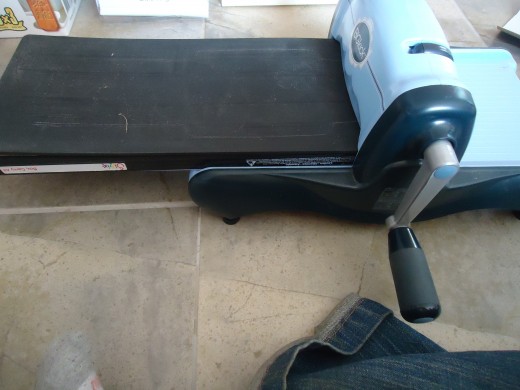


I love my Sizzix machine, which is a manual machine with a crank that squeezes a die against paper and uniformly cuts a shape. This machine is one step above the hand punches that one can purchase for smaller shapes. If you own one of these machines, you will notice that the dies for them are rather expensive. And, because there are dies for different machines, it takes some time to determine whether a die that you desire will fit into your Sizzix machine. My machine is the Perwinkle BigKick. It is the same size as the Big Shot. The only difference is the manufacturer and cosmetic differences such as color.
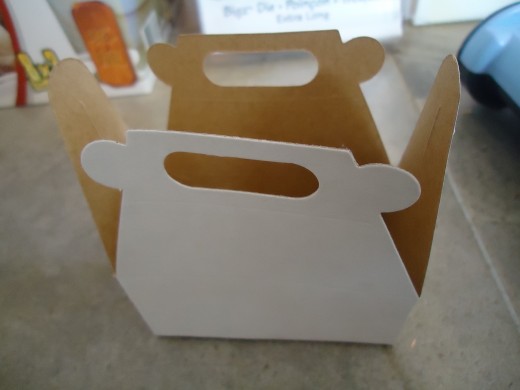
I chose this Bigz XL Carry All Box because I wanted to make boxes to hold jewelry that I donate to schools or party favors or small gifts. Also, I love this box that is a small version of the lunch box one might find at a restaurant to hold take-out or leftovers. Sizzix makes the Carry All Box die in two sizes, but the other one is really too small to use. The end product for this die is 4 by 3-7/8 by 2-inch, and it is a useful size. After using it on and off for a year, I still feel that it is a great die.
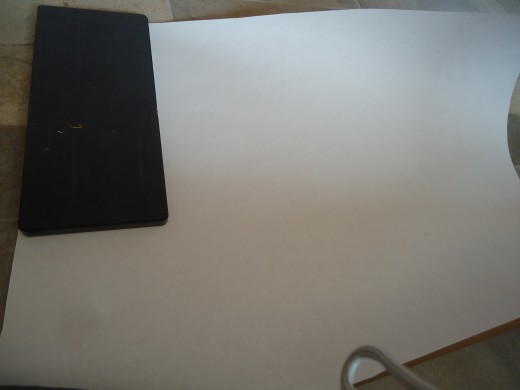
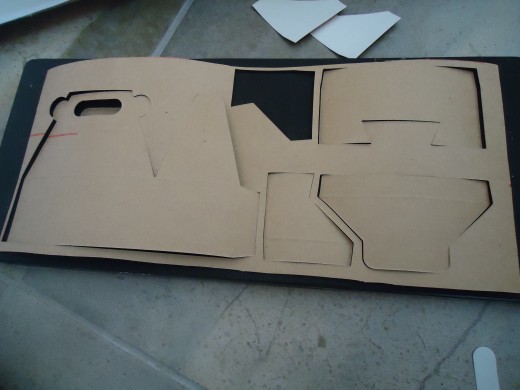
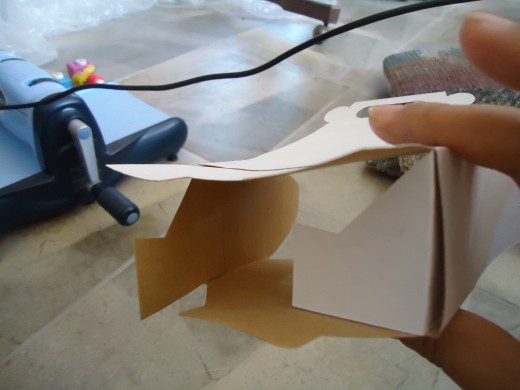
The die will cut 5 pieces, but the large piece that includes the handle needs to be cut again for there to be enough pieces to make a box. You need two of the bigger pieces to form the sides, two large bottom flaps, and two small bottom flaps. Fortunately, I have been able to acquire very pretty cardboard with a white finished side at a very reasonable price. This is a sore point for some who have to buy expensive cardstock. However, there are margins on the die, and when using a large cardboard as seen in the second photo, I can try to figure out the best way to use the cardboard and minimize the margin on the cardboard that I use to mirror closely to edge of the blade.
Further, you need the crease pad for this die because without it, the machine will cut where it should have merely creased. I have tried it without the crease pad, thinking that I could not fit the two acrylic cutting pads and the crease pad. It was a total disaster without the crease pad.
I found it difficult to follow Sizzix's instructions. I learned that with both cutting pads and the crease pad, I was too nervous to force the "sandwiched" items through the Sizzix because it looked as if something either won't go through or would crack. So, I came up with my own compromise. When there is too much pressure on the acrylic cutting pads, it leaves cut impressions on the surface. Quickly, the user will see why eventually these cutting pads need to be replaced. So, I leave off one of the cutting pads, and I merely have one cutting pad, the cardboard, and the crease pad. The compromise is that sometimes the cutting does not penetrate through the cardboard. On the flipside, this reduces the pressure that is placed on the crease pad, minimizing the blades' damage on the rubbery pad. Even the crease pad appears as if it needs to replaced some day down the road. By minimizing the pressure on the pads, I sometimes need to cut some of the impressed pieces because it did not completely detached. However, this is my choice. You may just want to follow Sizzix's instructions and see how you feel about it. However, the crease pad is necessary for any die that provides a crease.
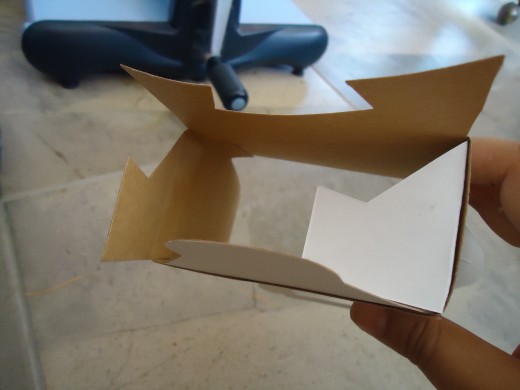
Then, there is the issue with the time involved to glue all of the pieces. For some, this is a really big turn-off. The more pieces you have to glue together, you have a greater chance of poor gluing and weak points. Until the glue dries, it just does not seem like a functioning box. However, I see why all of these pieces are necessary in order to fit the BigKick or Big Shot machine.
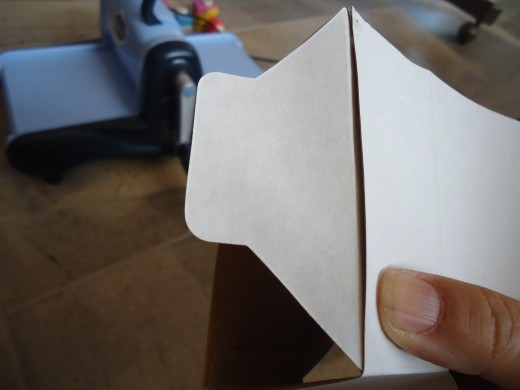
Fortunately, the gluing is relatively self-explanatory. I had to glance at the instructions for only the small flaps, which have to parallel each other. One has to be careful with regular glue because it is very easy to put dirty smudges when trying to adhere the side tabs to the other big piece to form the box shape. Even though the bottom flaps tuck nearly together, I prefer to put a dab of glue to make the bottom of the box sturdier. On the other hand, the smudges can be covered up with embellishments. Within half a hour, the box is sturdy enough to embellish.
When you choose to embellish the handle, you can thread a ribbon through only one of the handles. That way, the recipient does not have to disassemble the ribbon in order to open the box.

- Cute Christmas Cupcakes
- Photo Gallery of Point Lobos State Park
- Maki Sushi: So Easy That A Child Can Make It
- Sizzix ScoreBoards XL Die - Box with Flap--Review and Modification
- How To Make a Pearl, Crystal and Seed Bead Necklace with Sterling Silver Findings
- Make A Fortune Teller--A Fun and Cheap Activity for Children
- Ketone Found in Coconut Oil Improves Brain Disorders From Alzheimer's and Dementia to Autis


