Setting up your Form-Z Surface Styles to Render Correctly

Getting your surface styles to look exactly like you want in Form-Z is incredibly easy – in fact, it’s probably one of the best features of this robust (but often overlooked) 3d modeling program. Changes can be made quickly and easily, without the confusing plethora of setting and options found in other more complex modeling programs.
First of all, what exactly is a “surface style”? In generic terms, it is just the name for the materials and textures that you apply to your objects in Form-Z. For example, you can create and apply surface styles to your 3d models that mimic any kind of material, such as metal, glass, wood, etc. It’s completely endless – with enough tinkering, you can create any type of style you need.
This particular tutorial won’t go into the specifics of how to create these different kinds of surface styles – it is merely an explanation of how to adjust and fine-tune your surface style to render exactly the way you want it. We'll use an image from Norebbo stock illustrations for this example, which was created in Form-Z. Note that Form-Z includes a very large library of pre-made surface styles, so they have already done much of the work for you. But chances are you will have to modify them slightly to make them look accurate in your final renderings. Here is how you can do that:
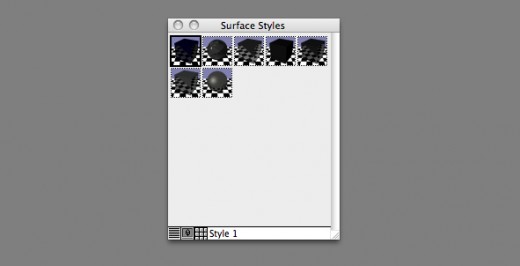
Double click on the surface style that you would like to edit from the surface styles pallete:
A popup will appear, which shows you the parameters for adjusting your surface style:
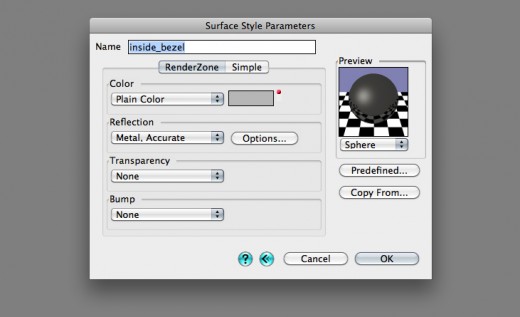
Here you can adjust the color, transparency, and texture settings for the surface style. For the sake of this tutorial, let’s assume that you already have things set up pretty much the way you want to render an object with a metal surface. Now let’s get it to render accurately. Click on the “Options” button in the “Reflection” parameters box.
You will then see this popup, which contains a handful of options for fine-tuning the metal surface style:
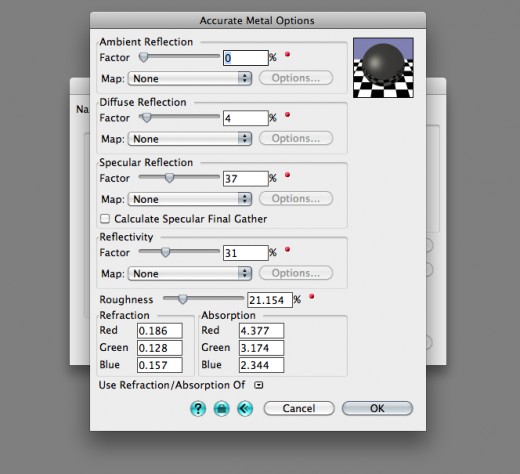
Whoa, looks confusing! But it’s really fairly straight forward, once you understand what all of those settings do. Let’s go through them one by one, showing examples of what each one does. First of all, we’ll need an image to start with.
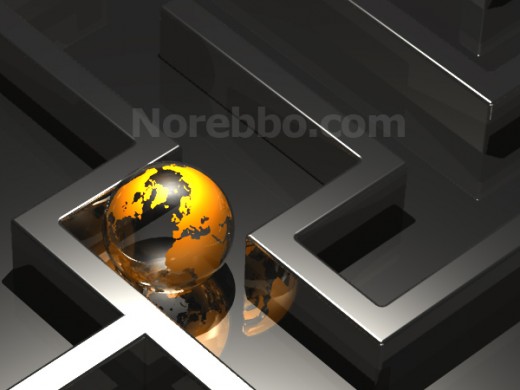
Let’s adjust grey metallic floor surface style of this image to show how things change as we tinker with the settings:
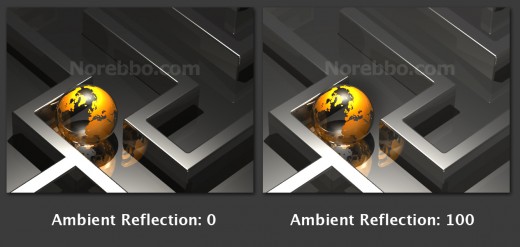
Ambient Reflection: This controls the general brightness of the image, and is often used to control the shadows in a rendering. For example, if your shadows are generally too dark, you can increase the ambient reflection to brighten it up. Here is what happens when we change our ambient reflection setting from 0 to 100 – notice how the floor, maze walls, and shadows are overall much brighter:
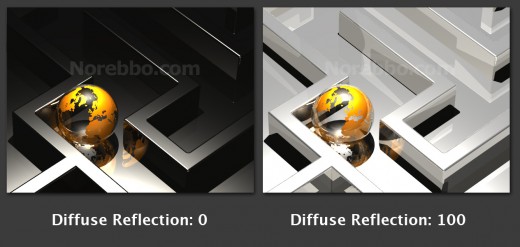
Diffuse Reflection: This controls the general intensity of the surface style. A lower value will make it black, a higher value will increase the brightness and chroma until it’s nearly white. This is a very sensitive parameter, so little adjustments will make big changes in your image. Here is what happens when we increase this setting from 0 to 100. See how it becomes much brighter and very washed out?
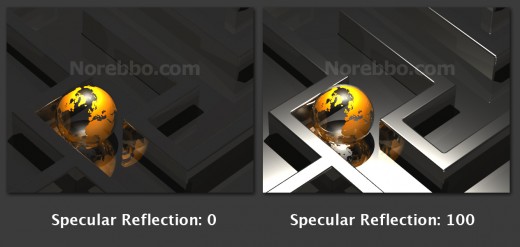
Specular Reflection: This controls the amount of brightness (or highlight intensity) a reflection has.
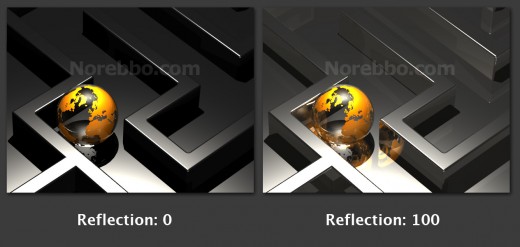
Reflection: Self explanatory.
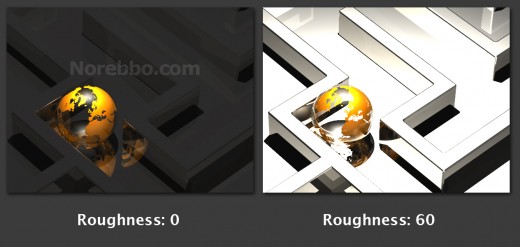
Roughness: The name for this parameter is slightly confusing. A better name for it would be “intensity”, as it seems to be a master control for all of the options listed above it. A lower setting will result in a dark image, and a higher setting will make it brighter. Combined with the Specular Reflection setting, you can easily adjust how glossy an image looks – a high Specular Reflection setting with a low Roughness value will create a very sharp and focused highlight. Done the opposite way, the image highlight will be much softer and will appear to have a flat or satin texture to it. Be careful with it though…just a minor adjustment can make very big changes to your rendering.
Refraction and Absorption are a little advanced, but you can experiment with the values of both to affect how shiny or dull a surface style is.
And that’s pretty much it. The best way to get a feel for this stuff is to dive right in and create a few 3d illustrations yourself. Form-Z is very forgiving and not very intimidating once you start working with it – especially once you get a feel for what some of these surface style parameters can do.