The Manly Art of... Sewing?
Yes, You Read That Right
Sewing has gotten a bum rap among Manly Men these past few decades. Somehow, it fell out of fashion for a man to be able to maintain his own clothing, much less make his own useful and attractive items out of cloth. With the notable exception of high-end tailors and reenacting hobbyists, most modern men have no idea how to skillfully wield a needle and thread. We tend to ask our spouses, girlfriends, moms or sisters to come to our rescue when we lose a button, rip a seam, or need pants hemmed. If we can’t get help, we either replace the garment entirely, or we just wear it as “old clothes” for mowing the lawn or fixing the car. You know: “Man’s work.”
This is silly.
What is one of the defining characteristics of a real man? (Or real adult, to be honest. But since I’m talking mostly to guys here, I’ll keep using the male verbage.) It’s his ability to look after himself. A real man doesn’t like to depend on others for things he can do himself. Sadly, in our world of black-box consumer goods, fewer and fewer of our things are “consumer-serviceable.” Don’t believe me? Crack open a broken appliance and take a look. I bet you’ll find at least one sealed compartment that’s labeled “Do not open: no user-serviceable parts.” Given this creeping doom of not being able to fix your own stuff, why on earth would a real man voluntarily give up the ability to fix something he can fix? Childish fears of seeming “girly?” Guys, let me explain something: if you can’t replace a button, and in fact refuse to be bothered with replacing a button, you do not look manly. You look incompetent, you look childish, and you look silly with your missing buttons. Skills=competence. Competence=independence. Independence=manhood. (Yes, adulthood, I know. But it’s not women who are afraid to fix their own clothing, is it?)
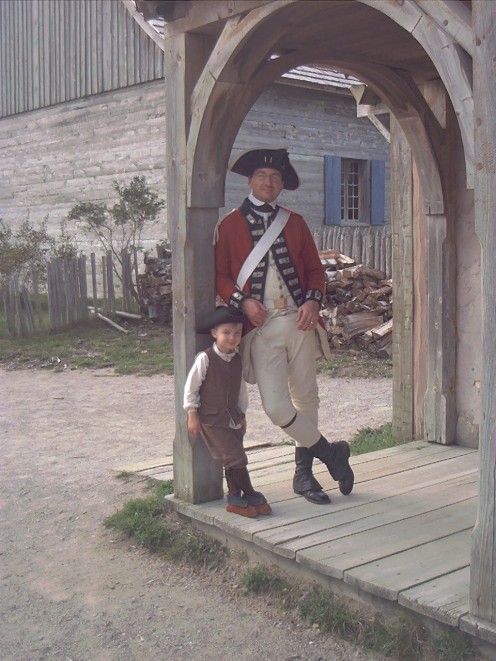
My Son and Me in Homemade Clothing
Don’t Worry, There’s Hope
Okay, it’s true, I never bothered to learn to sew when I was younger, either. At least, not beyond sewing patches onto my Scout uniform and yes, replacing the occasional button. I only picked up the skill when I became interested in historical reenacting. It was intimidating at first, but fellas, sewing is not rocket science. The tools and skills to do simple, practical sewing are easy to acquire. I’m going to help you to do it. I won’t have you embroidering pillowcases or anything like that (unless you want to learn). But I’ll show you how you can take some cloth, a needle, and some thread, and turn those ingredients into useful objects in which you can take as much pride as the bookcase you might build in your woodshop. All you’ll need is the items I mentioned above, a few more tools (and make no mistake, they are tools), a willingness to learn, and enough confidence in yourself as a man to walk into a fabric store. If you can gather those things, you can sew. If you can sew, you can repair (or even make!) your own clothes and create useful gadgets for the home. Let’s begin.
The Stuff
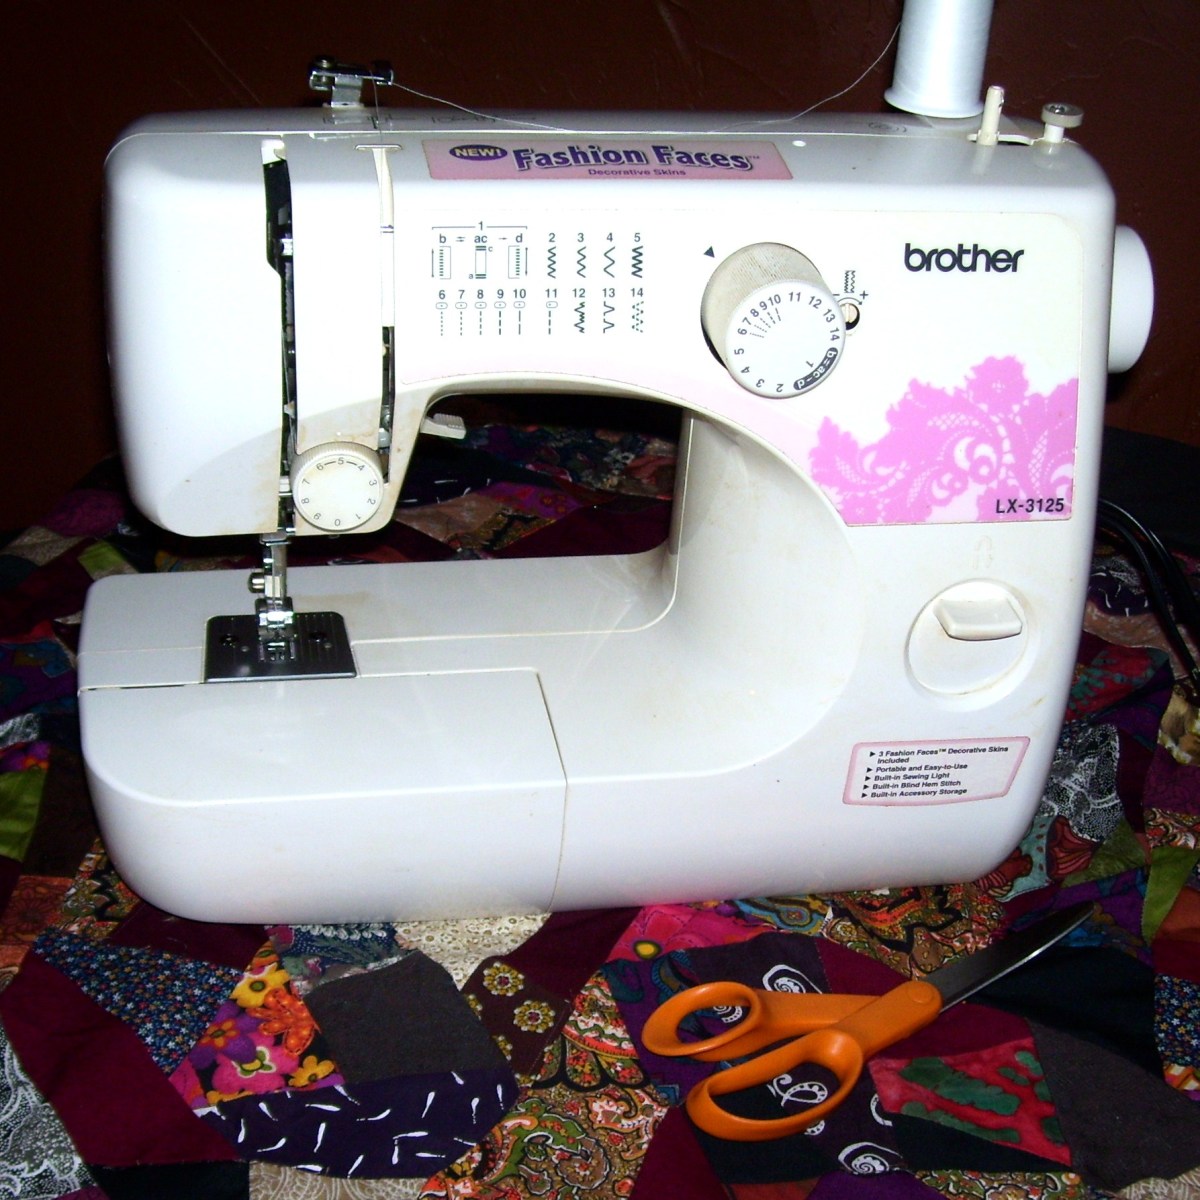
Leave the sewing machine at the store. Well, at least at first. Most of the sewing that you’ll be doing does not require a sewing machine. If you ever get to the point where you want to make Halloween costumes for your kids, or anything else with really long seams, then yes, you’ll want to think about a machine. But sewing machines are big, they’re noisy, and you can’t leave them out or the kids could get hurt. You can’t sew on a clackety machine while watching TV with your family. Write down this list of tools.
- Several needles and a container to keep them in.
- Several pins, ditto.
- A small pair of sharp hand scissors.
- Several colors of all-purpose thread.
- A lump of beeswax.
- A thimble.
- Some spare buttons of various colors and sizes.
These, and a way to keep them organized and in one place, are the bare minimum you’ll need to make simple repairs like replacing a button, fixing a popped seam, repairing a rip, or sewing on a patch. If you want to create your own cloth gadgets or garments, you’ll also need:
- A high-quality pair of fabric shears.
- Tailor’s chalk.
Sewing Tools

Wait a Second…Beeswax? What’s That For?
The beeswax is for strengthening your thread, lubricating it, and keeping it from tangling up on you as you sew. It also makes threading the needle a whole lot easier. When I was a kid, I had no idea that beeswax had any purpose outside of a honeycomb, much less where to get it. If I'd known, I would have saved myself a lot of trouble and frustration with tangled and/or broken thread, and might have learned how to sew more than just a button earlier in life. I now pass this arcane knowledge on to you.
When you’re getting ready to do some sewing, cut a piece of thread about as long as your arm, and then drag one end of the thread across the lump of beeswax. Let the thread cut into the wax. It will leave a slice in the lump, and pick up a small amount of wax in the twist of the fibers. Now the end of the thread will be less floppy and easier to poke through the eye of the needle. Pull the thread about halfway through, so that the needle has two tails of thread hanging from the eye, one a few inches longer than the other. Now drag the thread through the wax again, several times. Don’t yank, or you might break the thread. Pull slowly and steadily. Warm wax works better than cold. When you’ve done about three passes through the beeswax, you’re ready to do some sewing.
Illustrations
Click thumbnail to view full-size


The Backstitch
Okay, you’ve got your needle threaded and prepped, and you’re ready to make a new tuxedo, right? No! You remember learning to do, well, anything? You’re not going to be able to make anything worth anything unless you learn a few simple stitches first. Once you’re competent at those, you’ll be able to make and repair all kinds of nifty cloth-based things.
We’ll start with the backstitch. This is an easy, strong stitch. Once you know this, you’re pretty much home free. It’s useful any time you want to stick two pieces of cloth together. There are other stitches that can make a job go more quickly if you don’t need the strength of the backstitch, and there are some jobs that require different stitches, but the backstitch is the old standby. Here’s how you do it:
Wax the end of your thread and thread your needle. Adjust your thread so the ends are nearly, but not quite equal, and the needle is nearly, but not quite in the middle. Wax the rest of your thread.
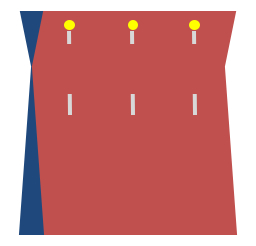
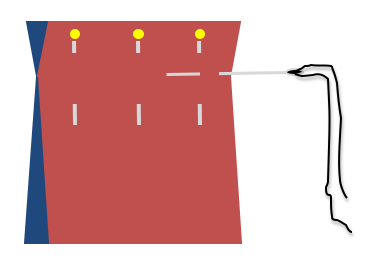
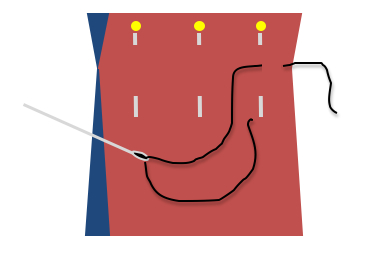
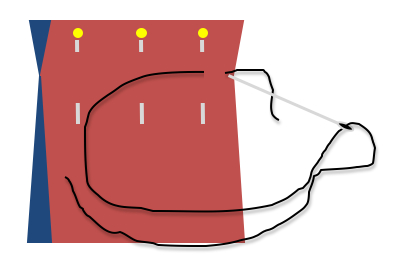
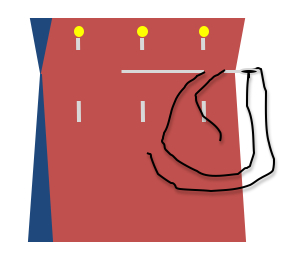
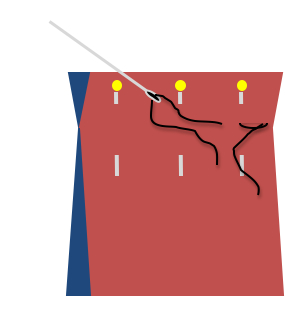
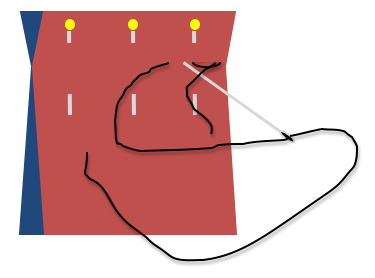
Now take two square bits of fabric. Hold them together so that their edges line up. Use a few pins, at right angles to the edge of the fabric, to pin the two pieces together (Fig. 1). If you’re right-handed, you’ll hold your needle in your right hand, and work from right to left. If you’re left-handed, you’ll hold the needle in your left hand and work from left to right. Take the first stitch by poking the needle through the two layers of fabric, top to bottom, and bring the needle back up through the fabric about 1/8" to the left (Fig. 2). Pull the thread through until you have about an inch worth of tail (Fig. 3).
Now take the needle and push it through again from the top, just barely to the right of the first poke, catching the tail of the thread in the loop (Fig. 4). Poke the needle back through from the bottom, about 1/8" to the left of the last upward-running thread (Fig. 5). Pull it through, making sure the tail is caught in the loop, and ends up under the stitch (Fig. 6).
Your next stitch is going to go right next to the end of the last stitch, and will also catch the end of the tail (Fig. 7).
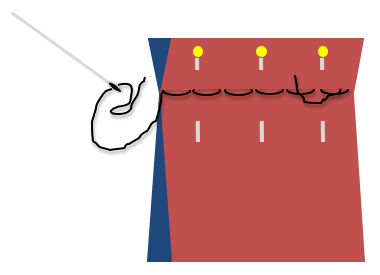
Continue along until you reach the end of the fabric, making sure your stitches run parallel to the edge, about 5/8" away (Fig. 8). (5/8” is the standard seam allowance.)
When you get to the end, take a final stitch, and then stitch under it. Cut off the remaining thread (Fig. 9).
And now you’ve got…a couple bits of fabric sewn together. Yeah, it’s not very exciting, but you need to learn to walk before you can run. Once you can do a reliably straight backstitch, you’ll have (almost) all the skills needed to make the first project we’re going to do together: a self-contained travel-sized sewing kit. Stay tuned!

