EASY WAY TO MAKE YOUR OWN SKIRT

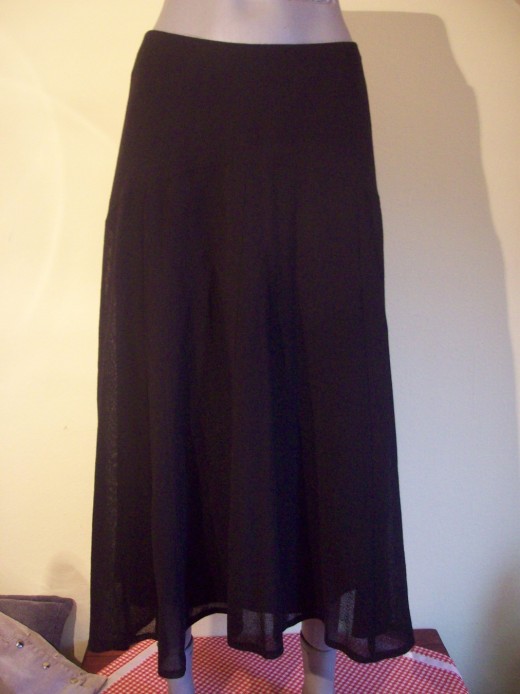
My wardrobe is full of clothes that I have made for myself. It is really not as difficult as it may seem, just take the scissors and fabric in hand, and make unique pieces of clothing! Here are some suggestions how to make your own skirt. It is simple, yet delivers fantastic results. This is skirt that fits every type of figure. Constructive lines of this pattern successfully conceal problem areas (stomach and hips) and elongate silhouette. Variations on the length and number of parts from which it is made provide a range of creative solutions, and easily adapt to various styles and fashion trends.
Making pattern for this type of skirt is based on the construction of a just one pattern, which is then multiplied; for example, for skirt which is composed from the six parts, you have to cut out this pattern six times. In this way, tailored skirts usually have between 6 and 12 parts, but more swaying and longer models can have a twenty or more parts.
For the construction of the pattern, you need four measures - volume of the belt, the scope of the hips, the length of the belt line to the strongest part of the hips (pictured below to the length of AB) and the length of the model. Length from waistline to the strongest part of the hip depends on the material and the figure, and usually is between 20 and 25cm (about 8 inches and 10 inches). I will use my measures as an example to make it easier for you.
First, you have to determine number of the parts that your skirt will have.I mostly use 8 parts when I sew this type of skirt.
Now you should take up your measures and draw this pattern on paper.Just look at this illustration and follow next steps.
My measures:
Volume of the belt = 72 cm (28, 8 inches)
Scope of the hips = 100 cm (40 inches)
Length of the belt line to the strongest part of the hips (pictured below to the length of AB) = 23 cm ( 9,2 inches)
Length of the model = 60 cm (24 inches)
Construction:
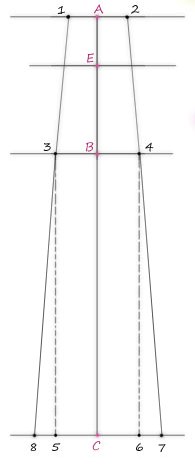
On paper, draw a vertical line, and mark points A, B, C and E on it. Start from point A.
Length A to B (length of the belt line to the strongest part of the hips) = 23 cm (9,2 inches)
Length A to C (length of the skirt) = 60 cm (24 inches)
Length A to E = 1/3 of the length A to B.
From points A, B, C and E draw a horizontal lines at right angles, and mark following points:
Length 1 to 2 (volume of the belt + 1 cm or 0,4 inch, divide by number of the parts of your skirt, in this case, it is 8) = (72 cm + 1cm) / 8 = 9, 1 cm; or 28,8 inches + 0,4 inch / 8 = 3,6 inches)
Length 3 to 4 ( scope of the hips + 4 cm or 1,6 inches, divide by number of the parts of your skirt, in this case, it is 8) = 100 cm + 4 cm / 8 = 13 cm; or 40 inches + 1,6 inches / 8 = 5, 2 inches
Length 5 to 6 = length 3 to 4
Connect points 3 to 5 and 4 to 6 with an auxiliary line.
Length 6 to 7 = 4 cm or 1,6 inches, for expansion in the lower part
Length 5 to 8 = 4 cm or 1,6 inches, for expansion in the lower part
Connect points 1 to 3 and 2 to 4 with a line.
Connect points 4 to 7 and 3 to 8 with a line.
Now you`ve got final form of your pattern. You have to project it onto fabric and cut out pieces of fabric. In my case, it will be 8 pieces. Now, it`s time to sew! You have to connect the lateral edges of your patterns.
Don`t forget to leave some place for hems! It is enough to add 1-2 cm (0,4 - 0,8 inch) on the edges of the pattern.


")
