DIY Freezer Breakfast Bowls
Have you tried this?
Motivation
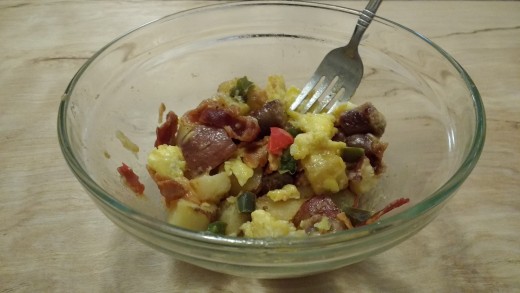
My husband and I love Jimmy Dean Breakfast bowls. They are full of real food and easy to heat up and eat in the morning. However, they take up a lot of freezer space and are too expensive to have every morning. Thus, we decided that we would make our own breakfast bowls! Below is the recipe for our homemade freezer breakfast bowls!
Note: For those of you who want to scroll through here and just see instructions without all the yick yack, there are basic instructions below and I have bolded the basic instructions within each step so that they are easier to find.
Also, I would just like to add, that I set up and arranged all of my photos, so they are all a little bit idealized. I had to make them look that way, my stuff does not naturally look like that. I'm just going to throw this out there, if you want to be motivated to make your kitchen look nicer and cleaner, all you have to do is decide to put a recipe on the internet with pictures.
I am by no means a professional cook, I would just like to point that out. I don't think I'm anything more than a beginner even! Nonetheless, I continue to cook! I'm excited about sharing my creation and processes with you!
Sneak Peek
| Nutrition Facts | |
|---|---|
| Serving size: 1 Bowl | |
| Calories | 340 |
| Calories from Fat | 216 |
| % Daily Value * | |
| Fat 24 g | 37% |
| Saturated fat 9 g | 45% |
| Unsaturated fat 1 g | |
| Carbohydrates 17 g | 6% |
| Sugar 2 g | |
| Fiber 2 g | 8% |
| Protein 20 g | 40% |
| Cholesterol 212 mg | 71% |
| Sodium 779 mg | 32% |
| * The Percent Daily Values are based on a 2,000 calorie diet, so your values may change depending on your calorie needs. The values here may not be 100% accurate because the recipes have not been professionally evaluated nor have they been evaluated by the U.S. FDA. | |
Cook Time
Ingredients
- 1 Package Bacon
- 1 Package Sausage
- 6-7 Eggs
- 3 Jalapenos
- 1 Red Bell Pepper
- 7 Tbsp Shredded Cheese
- 3 Red Potatoes
- 2 Tbsp Butter
- 7 Freezer Baggies
Basic Instructions (See below for more details)
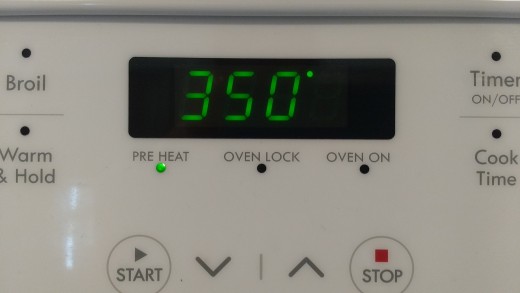
- Bacon: Cook bacon (preferably in oven preheated to 350 on foil lined baking sheet). Place on paper towel covered plate and set aside.
- Sausage: Cook in large skillet until browned. Place on paper towel covered plate and set aside.
- Potatoes: Cube the potatoes and cook in large butter covered skillet over low heat (3) until nicely golden.
- Jalapenos: Dice peppers and add to the potatoes when potatoes are about halfway done.
- Bell Pepper: Dice pepper and add to the potatoes with the jalapenos. Set potato and pepper mix aside.
- Eggs: Scramble the eggs and set aside.
- Prep and Wait: Cut sausages and put into 7 piles. Crumble the bacon. Leave food out for one hour or put in fridge until cool or room temperature.
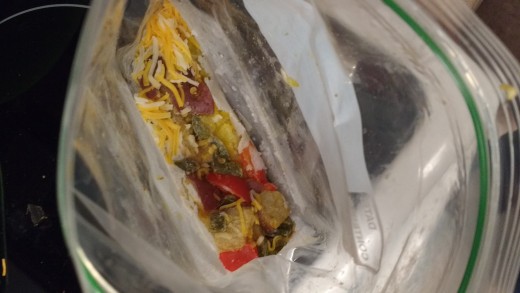
- Pack and Freeze Baggies: Put one pile of sausage, one decent pinch of bacon, one large spoonful of eggs, two large spoonfuls of potato pepper mix and about a tablespoon sized pinch of cheese into the baggie. Get as much air out as possible by rolling and sucking the air out of the bag. Place in freezer
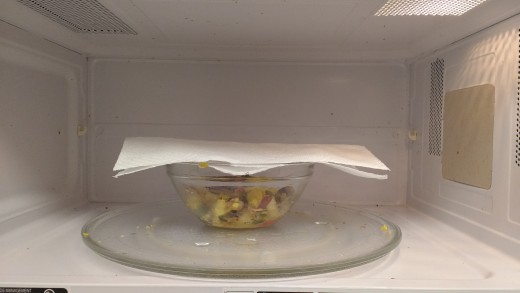
- Heat and Enjoy: Empty bag contents into a bowl. You may need to break the food out of the baggie shape to get it to fit. Heat covered on high for 2 minutes. Mix and enjoy.
Step One: Bacon
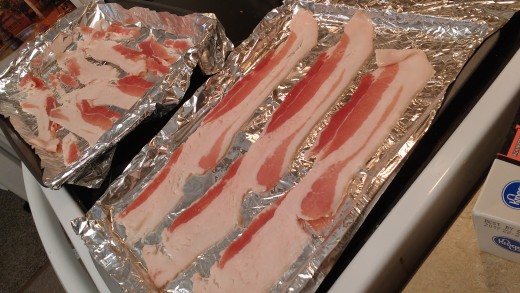
The first thing you need to do is get your bacon cooking. To save some time and energy you can cook the bacon in the oven. This will work well because you will be able to get your sausage cooking and veggies chopped without having to worry about frying the bacon at the same time. It will save time and you and your house will not smell like bacon all day. Even though I know some of you out there probably love it when your house smells like bacon.
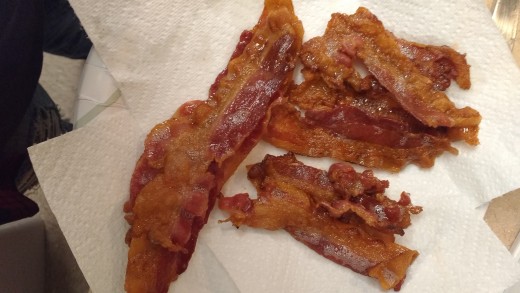
To do this preheat the oven to 350°. While it is preheating go ahead and line some baking sheets with tin foil (to save time on cleanup) and arranged the bacon on the sheets. Once the oven is ready cook the bacon for 10 minutes then flip each piece and cook for 10 more minutes. This will make your bacon have an average amount of crispiness. If you like your bacon crispier than most, go ahead and cook it a little longer on both sides. If you like it less crispy, take off a few minutes. When it is done get it out and put it on a plate covered with some paper towels to help soak up a little bit of the grease and set that aside.
I bought really cheap bacon for this, and I knowing what I know now, I advise against that. It was really hard to get the pieces separated, they were very fatty and just not easy to work with even though it tastes fine. Just go ahead and spend a dollar or two more on decent bacon rather than bargain bacon.
Step Two: Sausage
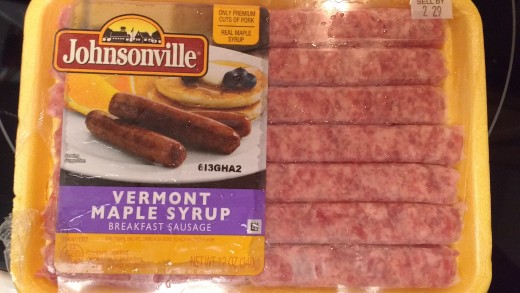
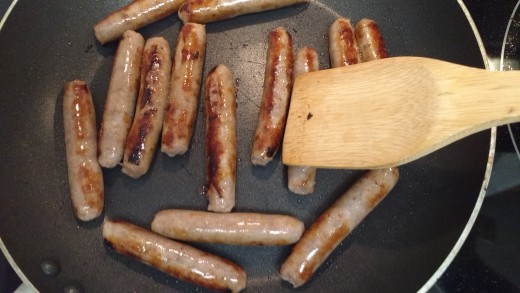
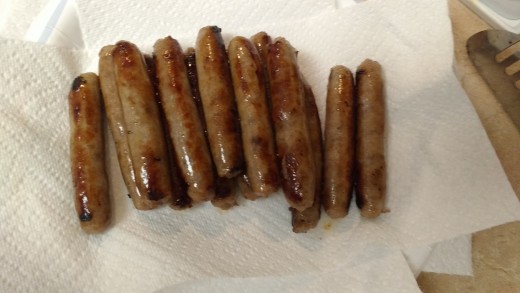
After you put the bacon in the oven, you are free to start cooking sausages! Get your sausage and empty the whole thing into the pan. Cooking sausage is so easy, you put it in the pan and wait awhile, then you just roll them around, wait, roll, wait, etc., until they are nice and brown on all the sides. When they are done put them on a plate with paper towels too. When I did it, they finished cooking just a minute or two before the bacon. Then set them aside as well.
I used sausage links, but you can use any kind of sausage you like. Using sausage that is already ground up and crumbled could definitely work really well for this! Just make sure that it is breakfast sausage!
Step Three: Potatoes
I used 3 normal sized red potatoes. It does not matter what kind of potatoes you use though. This would be just as good with russet and maybe even sweet potatoes. But, the nutrition facts on here are calculated with the red potatoes.
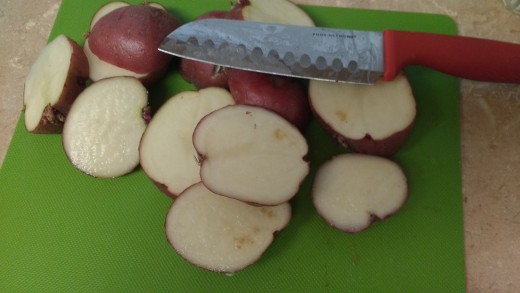
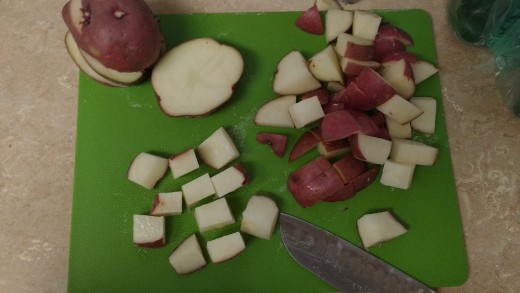
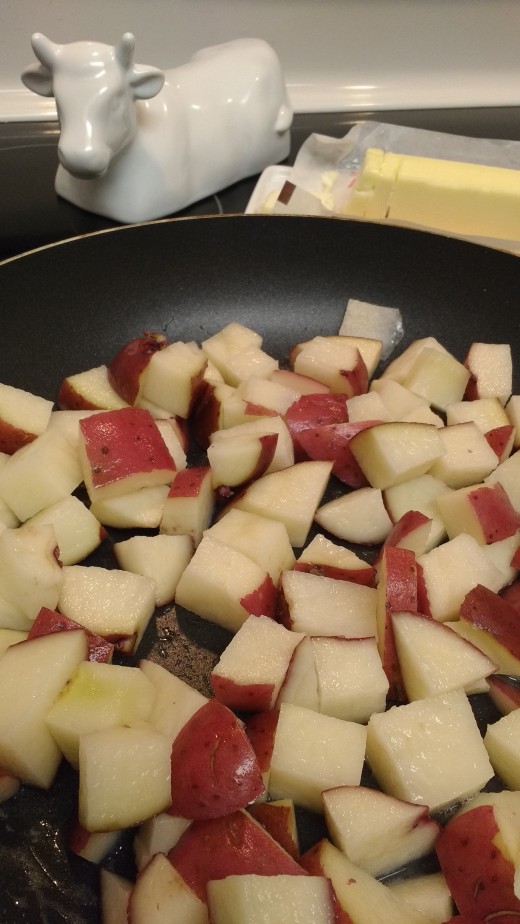
Cube the potatoes. I did this by cutting them into 4 slices and then slicing the slices two different ways a number of times.
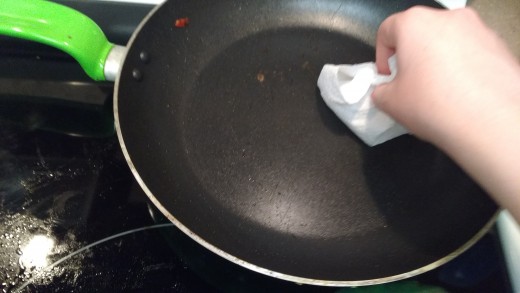
Once they are ready coat your skillet with butter and set the temp on low (about 3). I used the same pan that I cooked my sausage in. It was not too greasy and since my potatoes are going to be in a breakfast bowl with the sausage, I felt like it wasn't going to hurt anything. However, if you feel that your pan is too greasy you can wad up a paper towel so that it had sort of a puff and wipe the grease out of the hot pan. I've done that many times and never burned myself and it is a great quick way to keep using the same pan without having to wash it over and over again. Also, if you prefer using olive or vegetable oil to cook your potatoes, be my guest, I used butter because butter is better. Yes, I'm biased.
I also want to note that I do not usually pre-slice my butter into cute little pats, but I did this time for the picture and I might just do it again! I kept finding myself needing just a little more butter and it was really great to be able to quickly grab a slice out of the fridge without having to waste time cutting it every time.
Go ahead and cook these until they are golden brown, but while they are cooking you have to go on to the next step. This is the only part of my recipe I wish I had done differently. I think my potatoes could have used a little salt or seasoning and I think I should have cooked them a little longer. As you will find out from the next step, I added the peppers to my potatoes to cook and I think I did that too soon. The peppers were cooked to the point I liked, but I felt that my potatoes were under cooked.
Step Four: Jalapenos
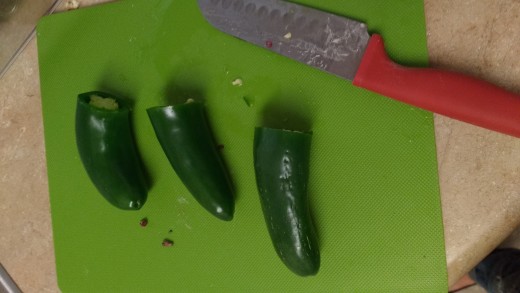
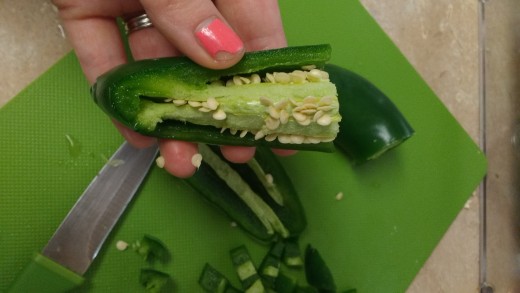
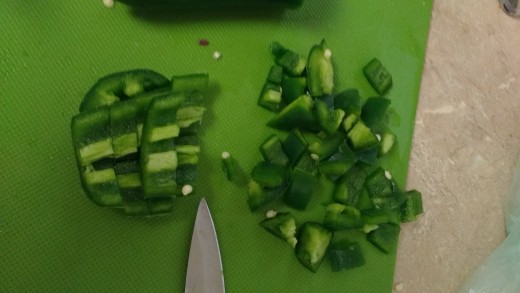
Once your potatoes are in the skillet slowly cooking, cut up the jalapenos. Cut them into small pieces so that they don't overwhelm your breakfast bowl. It didn't take me very long at all when I did it and I have a few pepper cutting tips to share!
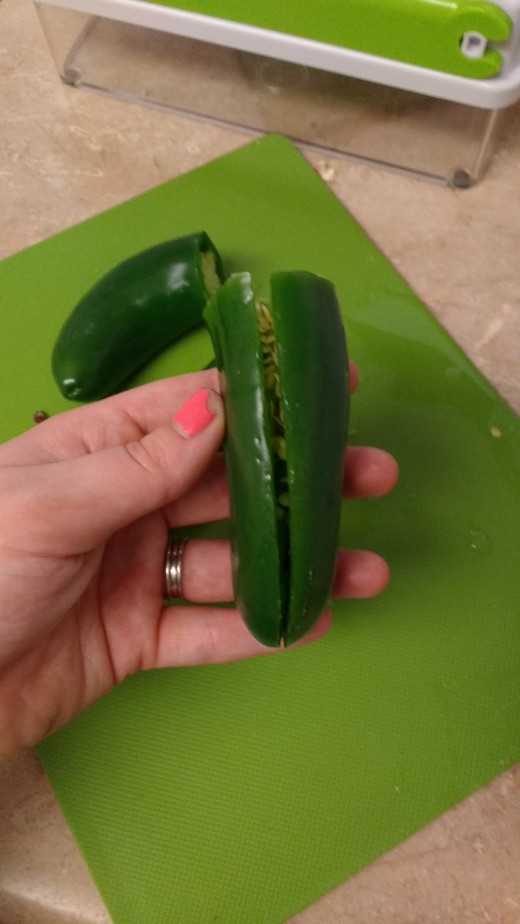
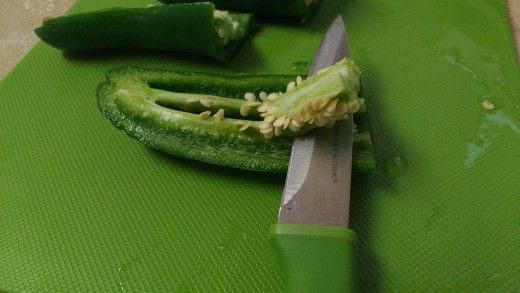
So, to cut my jalapenos I start by cutting off the tops. Then, I slice down one side and pull the pepper open. Depending on how the slice and rip open goes, you will either have to carve out the seeds, or the whole thing will be in tact and you can just pull them easily right on out. From there you just go ahead and dice into the little pieces.
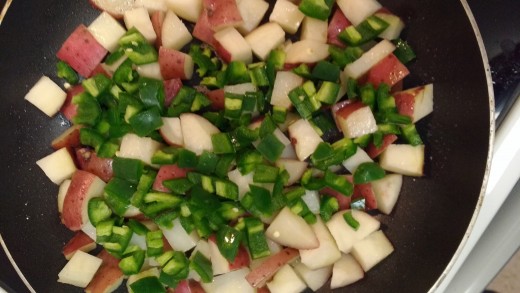
Once the peppers were chopped, put them in with the potatoes. I put them in immediately after cutting them. Also, as I said in the previous step, I wish I would have waited a little bit to add them to the potatoes so that the potatoes would have been able to cook a little bit more. However it works out for you, these are done cooking whenever you feel your potatoes are done. I like to get them so that the peppers are a little bit squishy and not so crunchy, but if you would rather them be crunchy wait until the potatoes are closer to being done. I advise setting them aside until your bell pepper is cut, at least.
Important! After cutting jalapenos wash your hands really really well with dish soap. The dish soap works really well for getting the spicy oils off your hands. Otherwise you will likely touch your face, including your nose or eyes, and it will burn and you will be unhappy.
Step Five: Bell Pepper
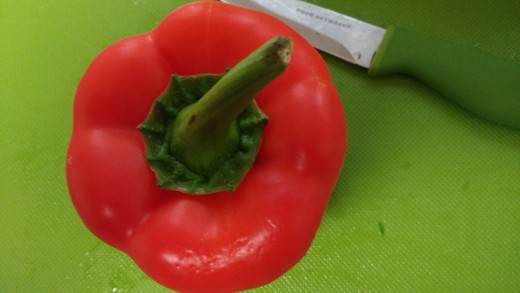
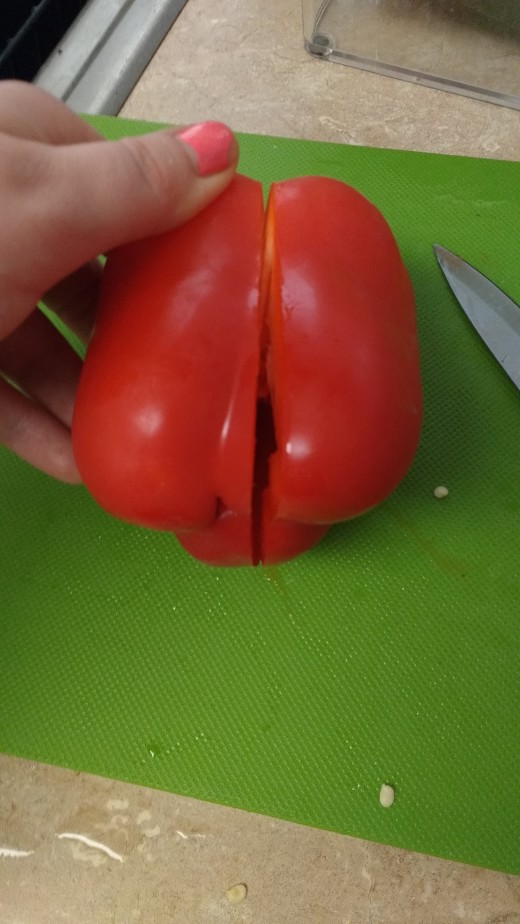
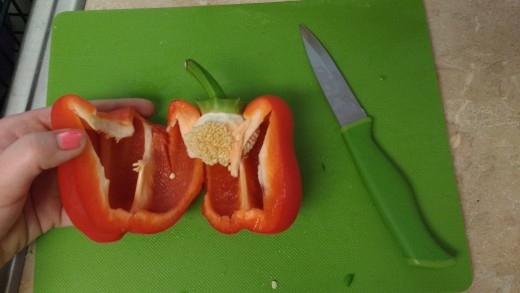
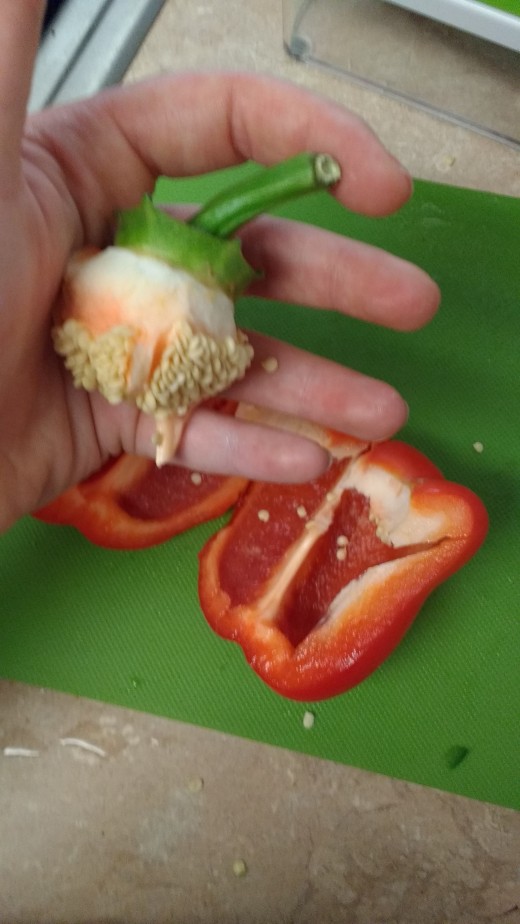
Cut the bell peppers into small pieces. I cut them a lot like I cut the jalapenos, except I don't cut the top off first. I start these by slicing from the top to across the bottom. Then I pull it apart and can easily remove the seed capsule thing. Then just dice into small pieces. Then you can add them to the potatoes at your leisure.
I forgot to get a picture of the bell peppers in the pan with the potatoes, but I promise that they were in there. Also, you could probably add another bell pepper if you wanted, either another red one or an orange one. I just didn't have another one.
Step Six: Eggs
So, by the time that I had done all of this, I actually almost forgot to cook my eggs! Don't forget the eggs.
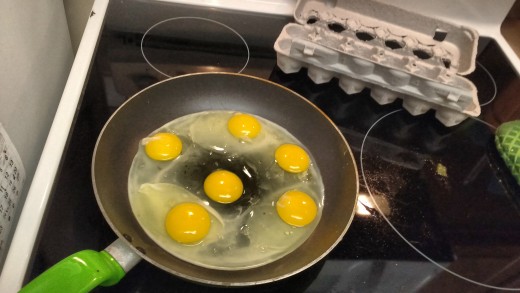
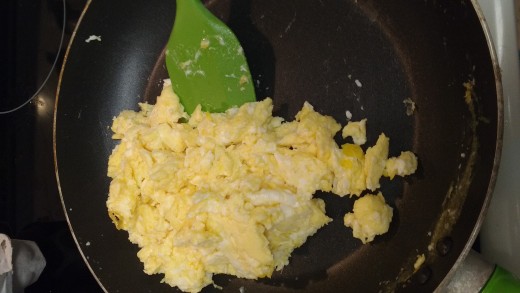
Scramble the eggs. You can use the same pan as before for the eggs just like you did with the potatoes. For me, I felt like my pan was too dirty at this point and I used the wiping technique that I talked about in the potato step. So, once your pan is wiped and ready to go, set it on a burner on low heat (about the same temp as with the potatoes).
If you already know how to make scrambled eggs and have your own way, go ahead and do it your way. If you don't know how to make scrambled eggs, or are interested in how I make them, here are the instructions below.
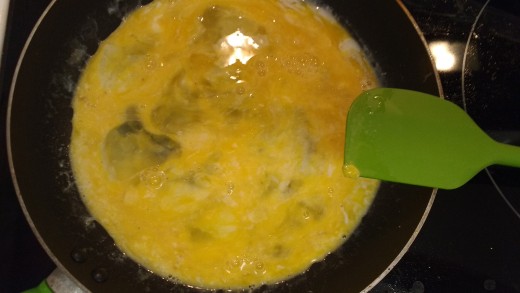
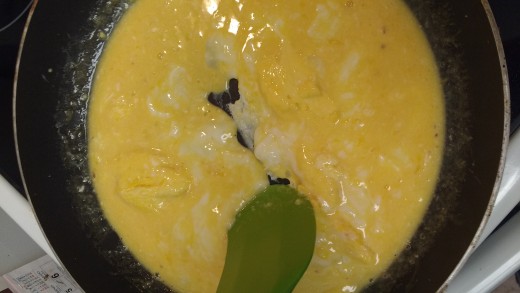
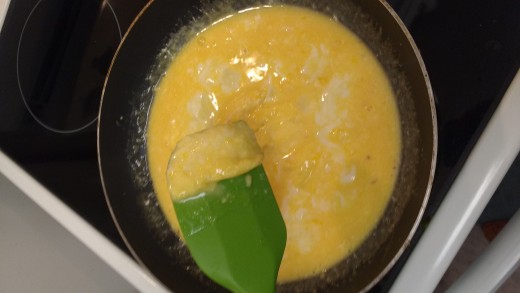
Crack all of your eggs into the pan. Use a spatula to break the yokes and mix all the egg parts together until it is mostly yellow in the pan. Then, start dragging the spatula across the pan and eventually the eggs will start to solidify. Once all of the eggs are solid remove from heat. Be careful not to overcook because then they will be too dry. Because they are going to be microwaved later on (after being frozen) it is best to have moist eggs. Microwaves heat things by heating the moisture in them and thus drying them out a little bit at times.
Once your eggs are done, put them in a bowl and set aside.
Step Seven: Prep and Wait
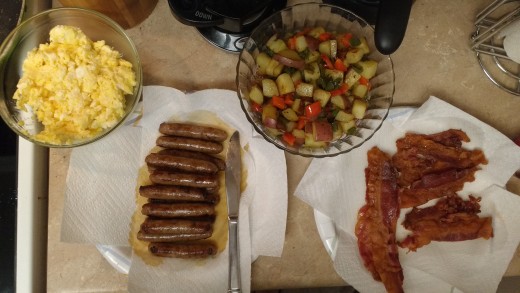
It is best for all of the ingredients to be cool or room temperature before you start making the bags that will become bowls. This is because if you put the warm food into the bag it will let off a lot more moisture and create a lot more frost in your bag when it is in the freezer.
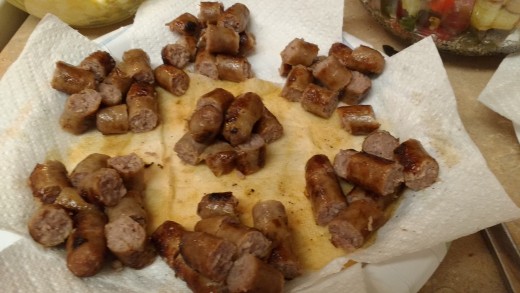
If you want, you can go ahead and break up your sausage and bacon. That will probably help them cool faster and you won't have to worry about it by the time you are ready to put the bags together. The sausage I used came with 14 links and I knew that I wanted 2 links per bowl. So, I cut the sausages into bit size pieces, two at a time, and piled them into seven piles. You can just crumble the bacon. I actually did this step after letting everything cool, but looking back, it would have been smarter to do while everything was cooling.
If you have room in your fridge, I would say go ahead and put everything in there for a little bit. Otherwise, leave it all out and wait about an hour for them too cool to a decent temperature.
I waited an hour for my stuff to cool. I had actually forgotten that I need freezer baggies, so I went on a walk to the store and that took enough time for them to cool. The food probably could have been a little bit cooler, but I was ready to move on.
Step Eight: Pack and Freeze Baggies
Now that everything is cool, you are ready to pack the baggies!
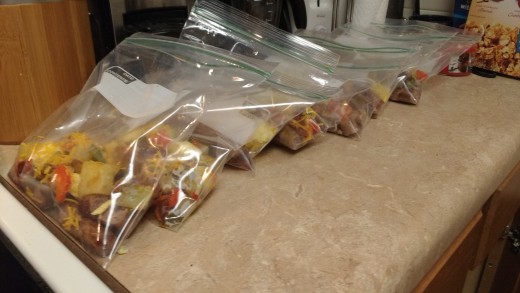
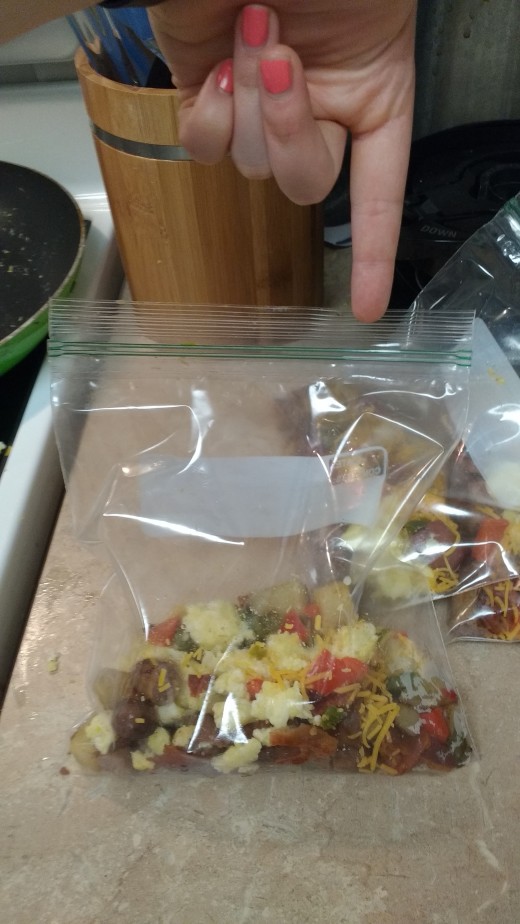
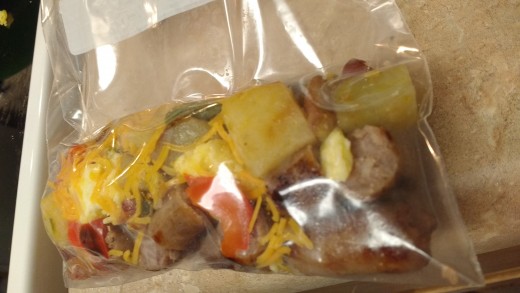
Put one pile of sausage, a decent pinch of bacon, one spoonful of eggs, two spoonfuls of the potato pepper mix and a good pinch of cheese (about a tablespoons worth) into the bag. Repeat for each bag. If needed, add extra eggs, potatoes or bacon to bags that you felt didn't get enough of whichever ingredient. Some bags may end up with more or less things than other bags. If you prefer, you can be more methodical that I was and can separate out all of the ingredients into piles so that you can be sure that every bag has the same amount of stuff.
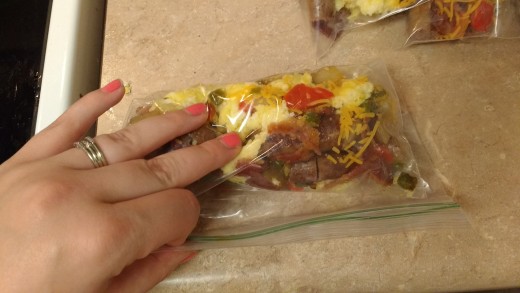
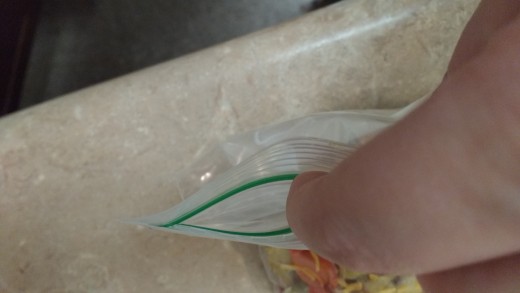
Next, it is time to seal the baggies. Close the bags leaving about one inch at the end open. Then, roll the bags to get most of the air out. Pop the open inch of bag open so that it makes a sort of hole and suck the remaining air out of the bag and then seal immediately after sucking to create a vacuum seal. I know it sounds funny and it probably looks funny too, but it works. Now you are ready to put your baggies in the freezer.
Step Nine: Heat and Enjoy
When you want one of these for breakfast, or maybe a breakfasty snack or when you want breakfast for dinner, basically, whenever you are ready to eat one of these all you have to do is get it out of the freezer and heat it up.
Because the shape of the baggies is not commensurate with the shape of most bowls you will probably have to bend the bag and break the pieces up a little bit to get them to fit better into the bowl.
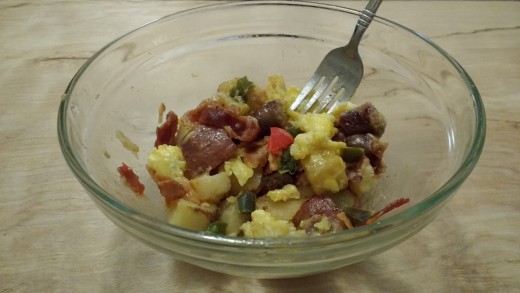
Empty the frozen food into the bowl and cover. Heat on high for 2 minutes. Take it out and stir and it should be good to go. Of course, microwaves do vary, but this is what worked for me in my 1000 watt Kenmore microwave.
Enjoy!
Final Thoughts
I hope you have enjoyed this tutorial on how to make freezer breakfast bowls! There are a lot of different ways you can really make this recipe your own. You could go for a tex mex breakfast bowl and use Mexican cheese and different kinds of meets, like chorizo. You could probably make one with pieces of pancake and syrup in it, too. It would even be easy to make a vegetarian one. There are so many options! I'd love to hear what you thought about this tutorial as well as what worked and didn't work for you. Let me know if you try some fun variations!
