- HubPages»
- Food and Cooking»
- Dessert Recipes»
- Dessert Cakes
Ice Cream Cone Cupcakes Recipe

With an ice cream themed birthday party just around the corner, I figured I'd better start experimenting with the best way to make ice cream cone cupcakes. I have found two ways to make them. Both are easy and start with a simple boxed cake mix.
Start by preparing the cake mix according to package directions. Stick the bowl inside the refrigerator for 10 to 15 minutes, or while allowing your oven to preheat. A few minutes in the refrigerator helps your mix to rise more.


The Vanilla Cupcake: Technique One
Grease a muffin tin, or fill the cups with liners like you would normally do when baking muffins or cupcakes. I was out of cupcake liners, so I chose to simply grease my muffin tin. Avoid the cupcake foil liners that replace the need for the muffin tin. You really need some structure to help stabilize the cupcake in this technique. Fill about 2/3 of each muffin cup with cake batter, then gently top with the inverted ice cream cone. Don't push the cone all the way into the muffin tin, but it should stand in the batter (refrigerating the batter also helps with this). I used oversized cones (bigger is better, right?), but they barely fit inside my muffin tin. If you find yourself in the same boat, gently peel away the lip of the ice cream cone and it should fit just fine. Bake the cupcakes according to package directions

The Chocolate Cupcake: Technique Two
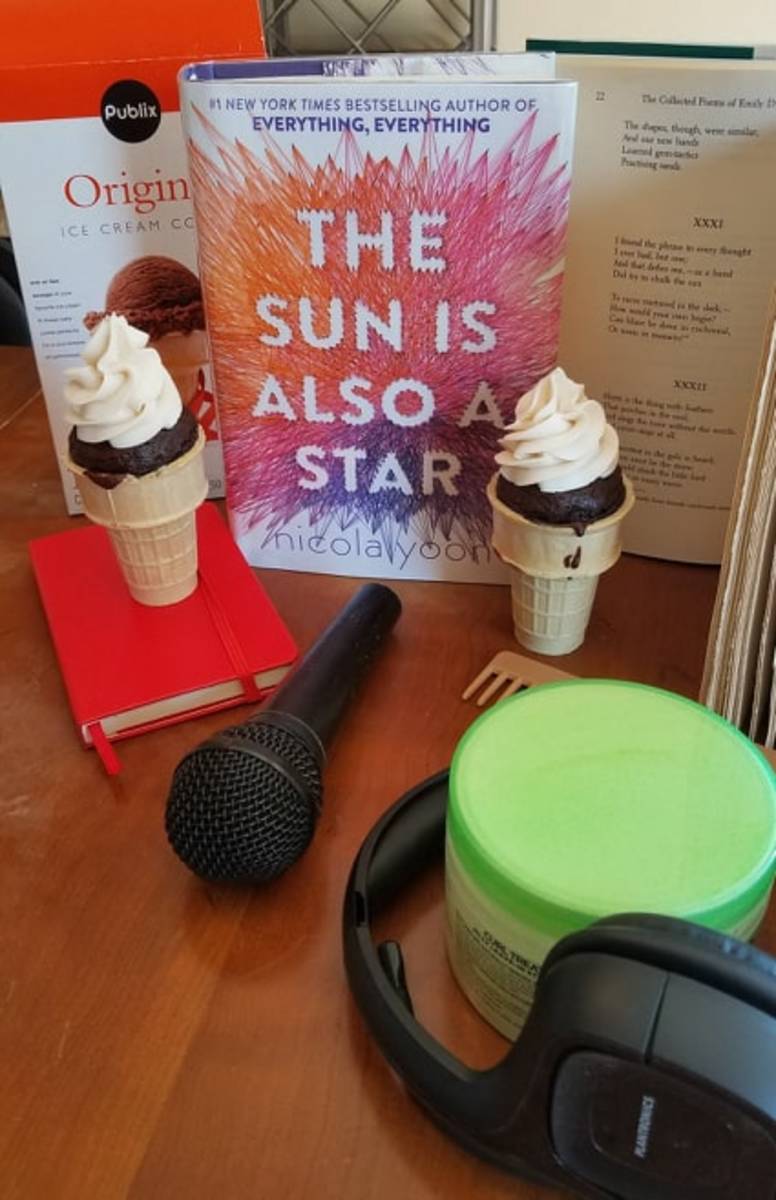
The chocolate-frosted cupcake in the top photograph was made using a different technique. Paula Deen makes her ice cream cone cupcakes this way. She uses the cone as a cupcake holder itself. Stand it up on a baking sheet or in a muffin tin like I did and pour the cupcake batter directly into the cone. Fill to about one-half inch from the top of the cone. Bake according to your cake mix directions. Insert a toothpick to determine whether the cupcakes are cooked through. If the toothpick comes out clean, your cupcakes are done. If the toothpick has gooey cake on it upon removal, stick the cupcakes back in the over for a few minutes and keep testing until they are done.
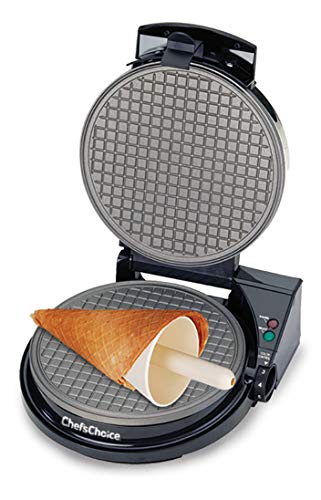
Crunchy cones


Comparing the Techniques
Both cupcakes make the ice cream cone seem stale, but if you are following an ice cream theme, these can't be beat! Take a look at the photo on the right. Both were made using the very same mix. Notice that that cupcake baked inside the cone does not have the golden color of the other one. If you bake until you get that golden color, you run the risk of burning the cupcakes. You really do need to rely on the toothpick test for those cupcakes.
I prefer Technique One for a couple of reasons. First, there is more cake at the top, giving you a big ice cream shape to work with when frosting. Second, the cone gets stale in both, so with the bulk of the cupcake at the top of the cone, the rest of it can be discarded if the eater finds the cone too stale to enjoy. With the second technique, you have to eat all of the stale cone to get to the cupcake. Yuk!


Frosting and Decorating
Frosting and decorating your ice cream cone cupcakes is the fun part! They are cute and inexpensive if you just smear on some frosting. Use a squirt can or decorator tips to swirl frosting on top if you choose. Keep with the ice cream theme by adding sprinkles or a cherry to the top. Don't go too top-heavy on the frosting, though. Too much makes them difficult to eat without dropping frosting, especially for young children.