A Guide To Using Wood Working Carpenter's Hand & Electric Tools

A plunge router, plunging and routing
I work with wood daily and have done for a while. I use it for building and roofing, but I also like creating my own DIY creations out of wood and have made a few things, including speakers, cabinets, subwoofers, car ramps etc.
I thought I'd write this for those who want to start working with their hands, but haven't really worked with wood tools before. Many people are intimidated by the idea of building things using power and hand tools but as long as you're careful, they're all easy to use.
Before you start
There is an old saying that you may have heard your father or grandfather say. 'Measure twice, cut once'. This is one of the most important things to do! It's surprising how often you find when you're busy that the measurement you just made is actually wrong, or you have forgotten it. You can't put the wood back together again, make sure you get your measurements right before you start laying tools on the wood.
You really should use goggles if you're cutting wood, even with hand tools. Most of the time you'll be fine, but on the odd occasion the wind blows, or the sawdust flies up in a funny direction, you'll get an eyeful and this can sometimes be very painful. The last thing you want to do is have to go to the hospital and have a doctor rooting around there with a needle to whip the thing out. I know a couple of people that have had to go through that, one with metal swarf and the other with wood. Not much fun in my opinion.
Another thing that I didn't use to use, but I am pretty religious about now, is hearing protection. Not so much of a deal when you're using handsaws, but powertools like circular saws, routers, grinders etc are really loud and damaging to your hearing. Your hearing doesn't recover once damaged so just get some earplugs or ear defenders before you let the saw touch the wood.
This is something that you often don't see on building sites, for some reason most men think that it's manly to never use any type of protection, so you see people cutting concrete tiles, plastering, putting fibreglass insulation into ceilings and all sorts of other jobs and a lot of the time they don't have any masks, earplugs, gloves, goggles or any of that stuff.
I have to confess I was the same a few years ago, but one day one of the older men on site told me that I only get one pair of lungs and should start taking care of them so I didn't end up like him, unable to breathe properly. I listened and starting using protection for everything. Some people laugh, which first of all is idiotic and secondly who cares if other people don't approve of you wearing safety gear, at least you're protected and won't end up deaf and wheezing a few years down the line. I now work for myself so no one laughs any more anyway!
Anyway after that long rambling lecture, time to get to the meat of what this article is all about, which is how to work with various tools to cut wood. I'll go through the most common tools.

How to use a hammer. Simple right?
Using a hammer is a pretty basic skill, or so you'd think. It's still something that needs to be done with care. Like everything there is a right and a wrong way to do it and even roofers and joiners who use hammers all day still sometimes hit their thumbs so take care.
Firstly when you have decided where you're going to hammer in your nail, then hold it between thumb and forefinger. Put it in place, then give it two or three light taps with the hammer, just to get it into the wood. After the end is in a bit and the nail is holding itself into the wood, that's when you can hit it with the hammer to drive it in. If you do it this way you shouldn't hit your thumb, or at least if you do then you're not going to hit it too hard.
When you grip the handle, don't grip it in a death grip, don't hold it next to the head as it will require a lot more force but do put your thumb on top of the shaft. This makes it easier to aim at the nail.
Don't go crazy hitting it, if it takes you 5 hits or so to get the nail in, but you don't miss and hit your thumb or whatever you're working on then you've done alright. I once saw someone swing his hammer and hit his thumb. In anger and frustration he brought the hammer down in a wild swing again to hit the wood, basically taking it out out on the innocent piece of timber. He somehow managed to hit his thumb again, but a lot harder this time. He screamed, we laughed, he ended up with a broken thumb. Try not to do this!
He's not going to cut his hand
How to use a handsaw
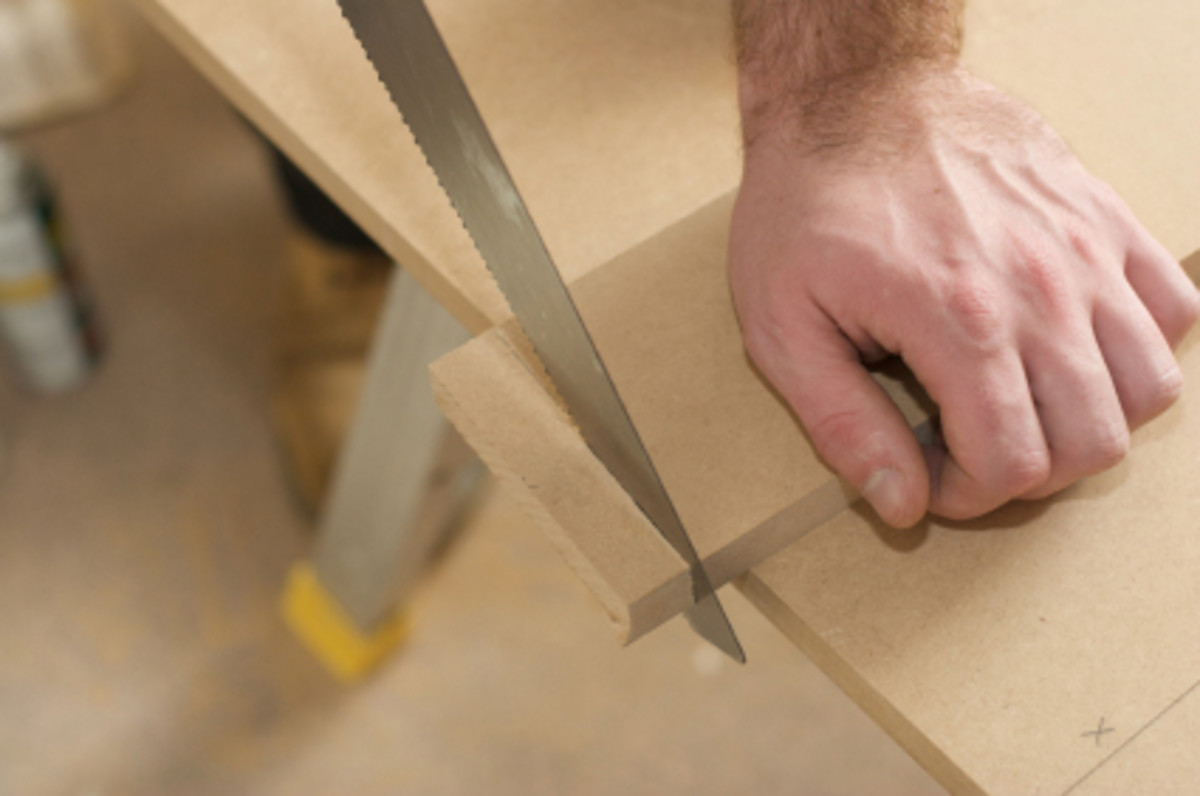
A handsaw is a tool that most people have, but lots don't use them properly. It's possible to get a nice smooth straight cut with one of these, but if you rush it or use a bad technique, then it will come out wonky and rough. What you need to do is first of all mark your line, then make sure that you have it on a solid surface. If you're right handed, then make sure you're holding it with your left hand and not trying to cut the wood away from you, backwards or any of those things. It sounds obvious that that is not what you should do, but I've seen people do it.
To start the cut, use your left thumb on the blade about an inch above the cutting teeth to steady it, until it's bitten into the wood wherever you've made your pencil mark. Start your cut slowly. The teeth cut on the way down, not the way up. Cut at a 45 degree angle and although you need to apply some downward pressure, let the saw do the work rather than your muscles. Long deep strokes are what you want. If you are not smooth, the saw can jump out of the wood and as you are using the sawing motion, before you know where you are you've cut into your hand. I've done it myself years ago and learned by pain and blood the correct way to do it. You need to make sure that you follow the line properly as if you start to wander, it's tough to bring it back, although you can do it. Just look at the area you want to cut and the saw will follow.
Something to bear in mind is that as you approach the end of the cut, the wood will often break off, so make sure it's well supported and also it can help to pull it apart slightly as you're cutting to stop it from grabbing the blade.
Working to the pencil lines

How to use a wood chisel
I don't use wood chisels every day, but they're a useful tool to have. These are ideal for the parts that you just can't cut with your power tools or handsaw. What you can often do is use the router or handsaw to cut most of the wood that you're working on, then just use the chisel to neaten up the end. The other way to use them is if you're cutting out a groove. To do this you mark the edges of the groove you want to cut with a pencil, tap the chisel down the edge to make a nice cut, then use the chisel to tap along the grain of the wood to remove the wood. This can also be done with a router, but you can often knock the chisel in there in a minute, rather than messing about setting up the router.
There's also something that feels good about using a wood chisel. I don't know why, but it just feels good, maybe it's because it makes you feel like a sculptor.
Don't push it this fast!
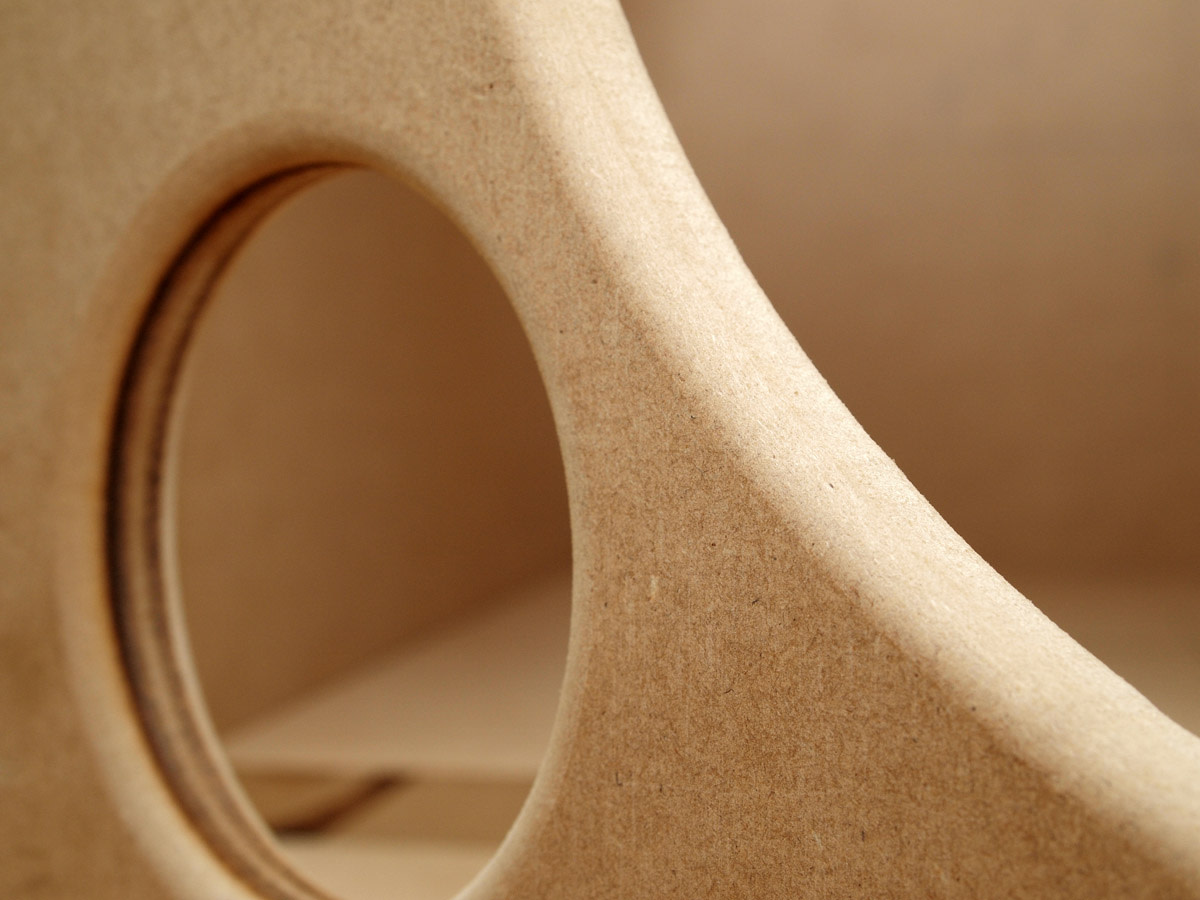
This is the finish you get from a router
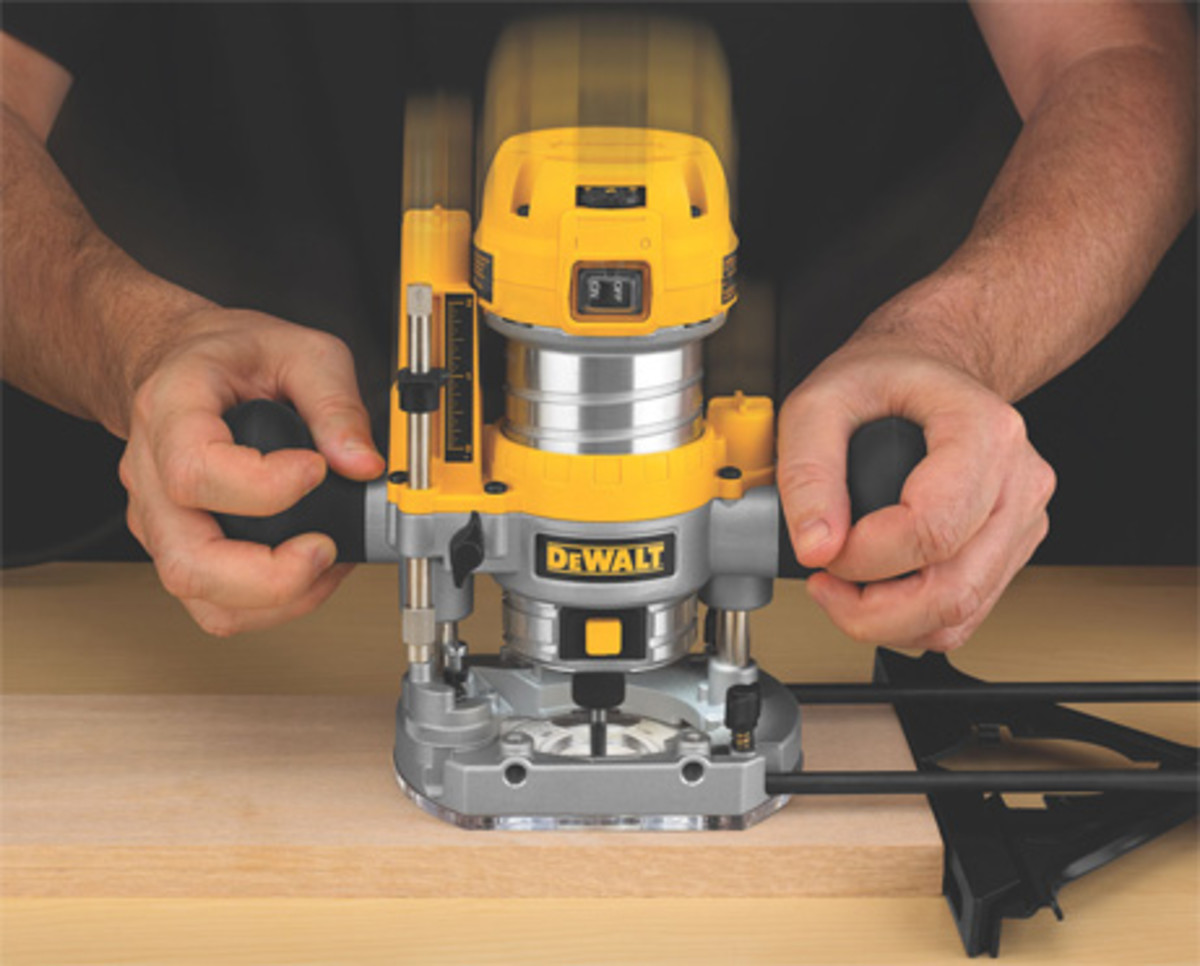
How to use a plunge router
Routers are very useful tools. You can use them to cut various shapes out of wood. They're great for cutting circles and holes and you can also use them to round off the edges of wooden sheets, which makes them nice when you're building cabinets etc. They are different to jigsaws which have a blade that goes up and down, a router has a blade that is more like a drill bit, it spins round and you guide it through the wood. If you want to cut a circle out of a piece of wood, then you can do it with a jigsaw, but a router is much easier to use, either freehand or with a jig.
The main thing to remember is to take your time and not force it through, routers take several runs to cut through a 3/4 inch to inch piece of wood, if you try to do it in one you'll burn out the blade and the wood. The best thing to do is mark it out, then use the first run of the router blade to cut just a very shallow trench into the wood. This is then much easier to follow for the subsequent runs. Make sure you have a mask for routing, there's a lot of fine dust thrown into the air.
With rounding bits, it is possible to get effects like this:
Hold loosely between thumb and forefinger when first screwing
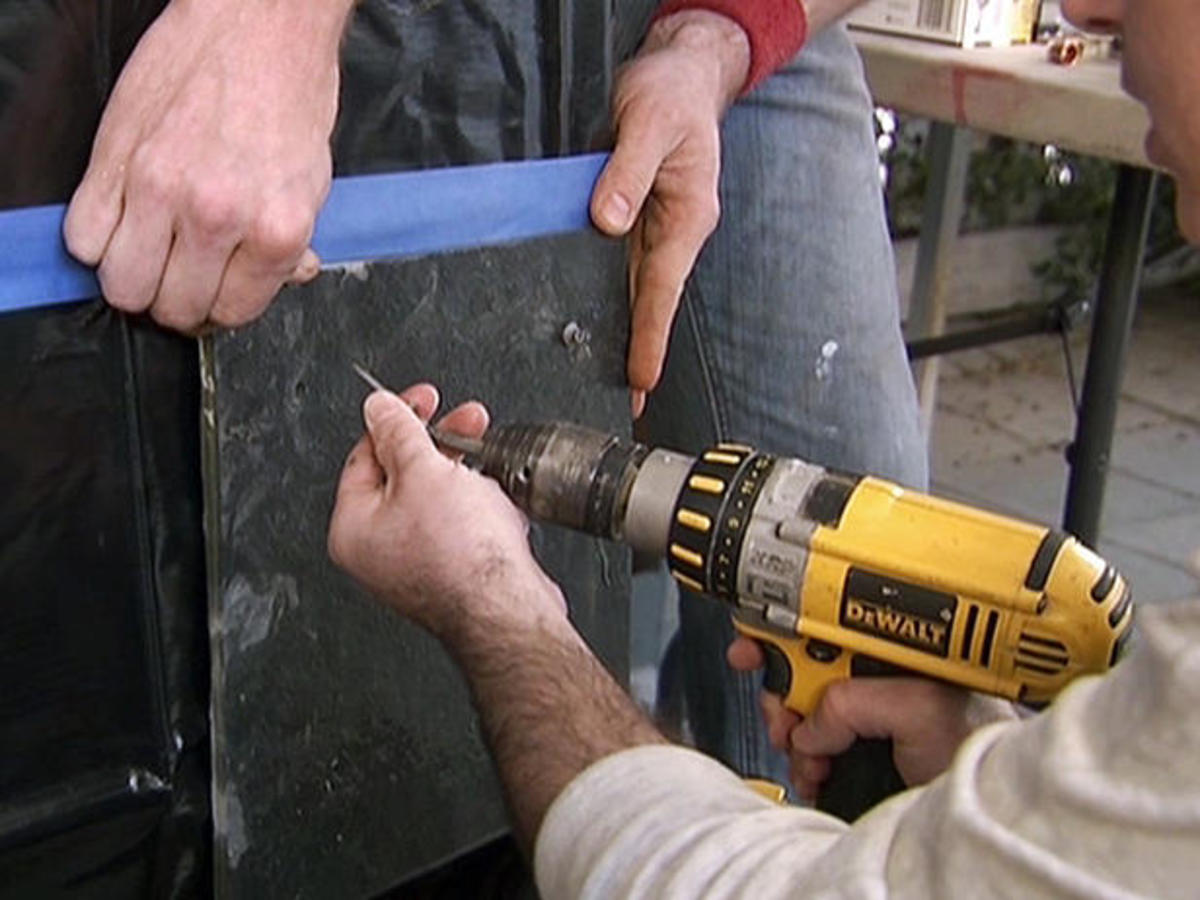
How to screw with an electric drill / screwdriver
Screwing into wood is another thing that should be easy, but it's also easy to make a mess out of it. If you want to make sure you don't split the wood, it's good practice to predrill the holes. You only need a small drill bit, just enough to give the screw a good start. Don't try and push the drill all the way in on the first go, if it's a small bit that can be fine, but if it's a larger bit and it doesn't want to go in to easy, pull it out and let it get rid of the swarf between thrusts. This should also stop it from overheating and blunting the bit. This applies more to masonry than wood, but it's good practice to do it with wood too.
The necessity of predrilling does depend on what you're making, when I'm laying boards on a roof where I use OSB board, I don't predrill, when I made my DIY subwoofers where I used MDF, then I did as I didn't want to run the risk of splitting anything and mdf splits pretty easily.
If you don't have one, get a cordless electric hand drill. Screwing with a screwdriver is not worth it nowadays, drills are cheap and they turn a hellish labour intensive job into something quick and easy. When you're screwing, then instead of doing what most people do, which is to balance the driver bit on top of the screw, then spin the bit until the screw goes flying, instead hold the screw loosely with your left thumb and forefinger, while you're screwing it SLOWLY until it bites. Once it starts going in, take your hand off the screw and put it on the main body of the drill, then you can apply more pressure and speed and remove your fingers off the screw. This stops the screw from jumping out from under the bit and the bit hitting the wood, which can mark it if it's soft wood. As the head nears the surface, slow down so you don't go too deep. This can ruin the wood. Ideally the screw will be level with the surface of the wood.
Make sure that you apply firm pressure while screwing down, if you don't then the bit can start to spin, which rounds off the screw head and renders it useless.
Make sure you keep an eye on your pencil line
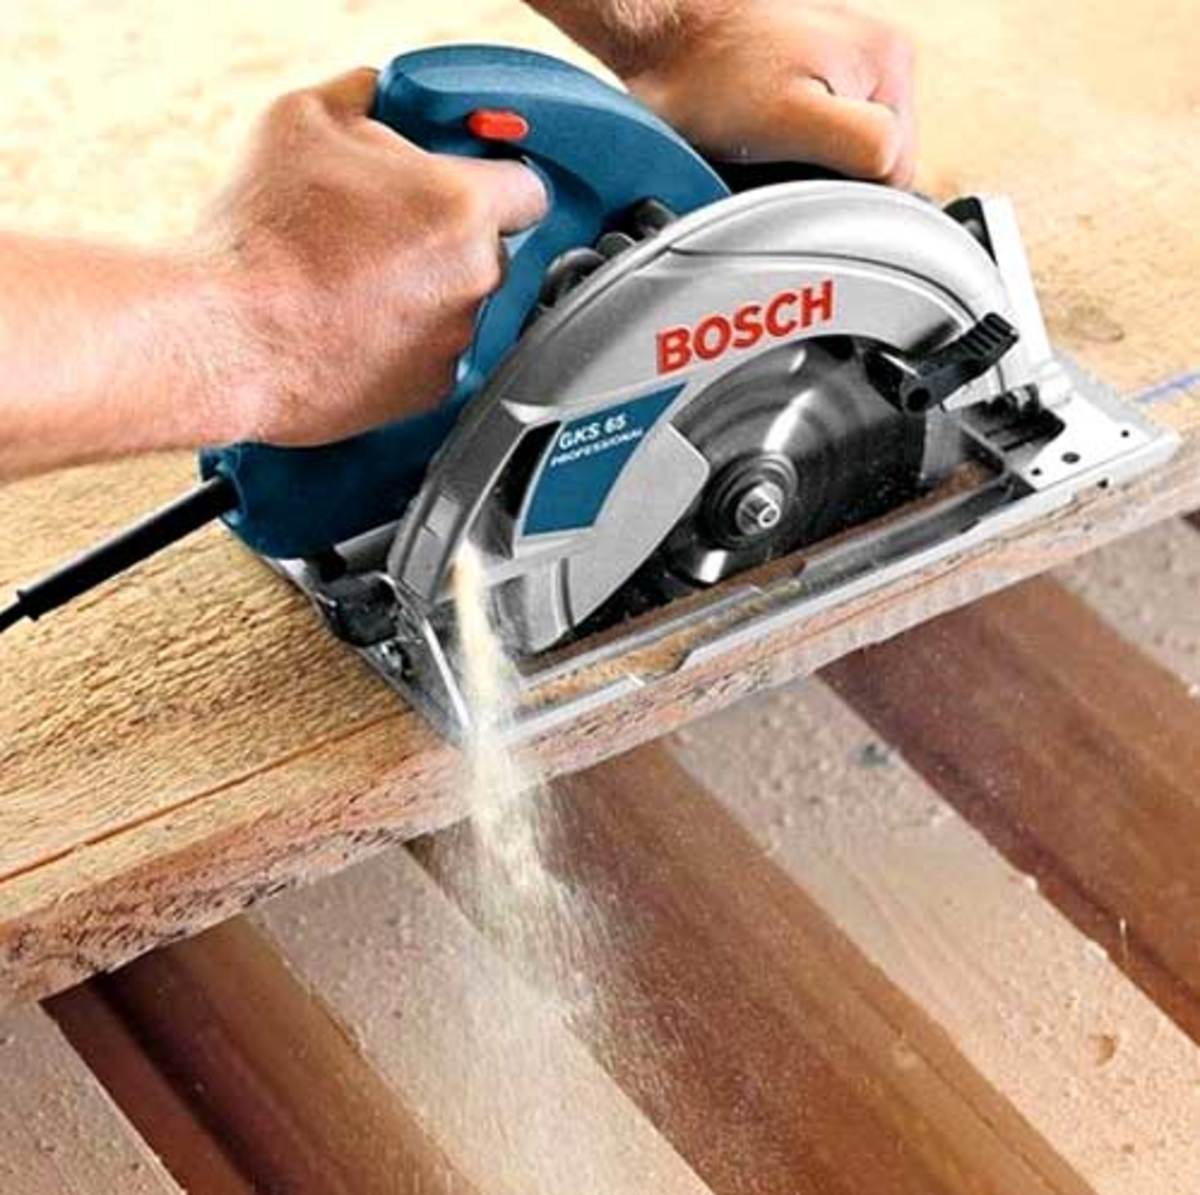
How to use a circular saw
Circular saws are very useful for me and I use them a lot. They do the same job as the handsaw, but a lot faster. They make it easy to cut 8 feet long boards, which take an age with a handsaw.
To use one then the important things to do are firstly to make sure that you have marked out the line correctly. After that then set the depth of the blade. I usually have it a about a quarter of an inch deeper than the thickness of the board. This stops it from cutting through whatever you're resting on too much. Rest the wood on something that enables easy cutting, ideally some other blocks of wood that support it as closely as you can to the line that you're going to be cutting. If you support it at the edges only, then as you cut the board bows in on itself, the cut gets tighter and tighter and then grabs the blade. This can then spit the saw out backwards. If you're just behind it, you have a spinning metal saw heading in the direction of either your ankle or your crotch, neither of which are improved by spinning metal. If you're cutting long boards, then you need to think about what happens as you get into the final 6 inches. If you don't have someone holding the board, or if you're not holding it yourself either with your hand or with some blocks underneath then it'll snap and ruin the cut. If it's supported properly, this won't happen.
Make sure when you're cutting that you use goggles and earplugs as once again a lot of stuff flies out of the blade. These things really spit it into your eye with some force though.
Don't cut your fingers off!
Well that's a bit of an outline on how to use some of the most common tools that you may use if you're going to do any DIY. With all of these tools, the same thing applies, take your time when using them, make sure that you've got the right protection and let the tool do the work, don't force them. A good thing to do to practice with all of these tools is just to get some scrap pieces of wood, mark some lines on them and practice cutting to the lines, cutting out circles etc. Way better to do that than to ruin whatever it is that you're going to be working on for real.
Also as mentioned before, your cutting skill can be awesome, but if you've marked it wrong, it'll still be wrong, so make sure you measure whatever you're working on properly, using what I told you earlier if necessary!
I hope you found this article useful, if you have any comments please leave them below.