DIY: Decorating Clay Pots for Fun and for Gifts

This is a craft that is fun to do with a group of friends. Since there are several steps in the project, it is nice to have friends to help with some of them. it does not take a lot of concentration so it is the type of activity where you can visit while making the clever little pots.
Terracotta pots hold a special beauty all of their own without any adornment. To use them for a type of storage container inside of the home, glamming them up a bit transforms them into a unique conversation piece.
Ceramics too..
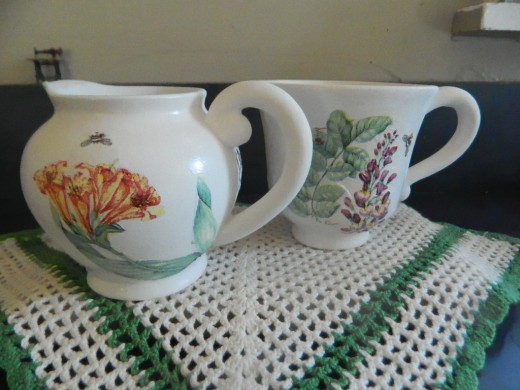
This process also works nicely on ceramic items as well.
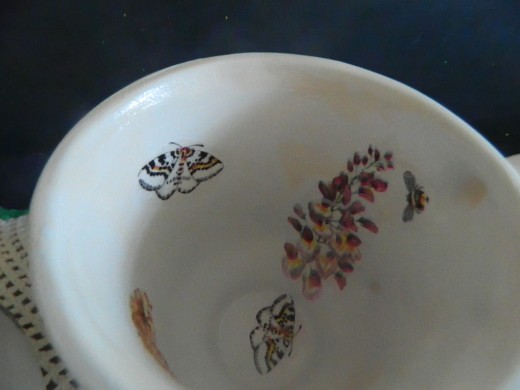
For a birthday gift, I have decorated a creamer and a cup using this technique and the results are beyond expectation.
Photos have been included.
Winter Wonderland Pot/modge Podge Is Not Dry Yet
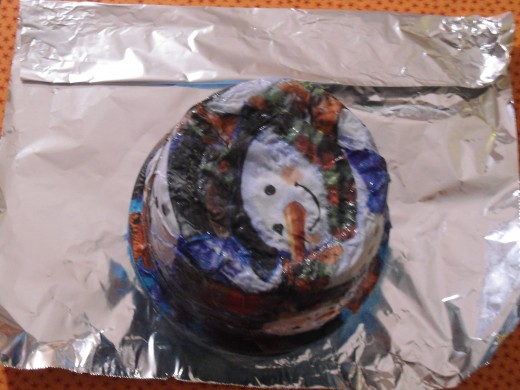
Winterwonderland Pot, Drying
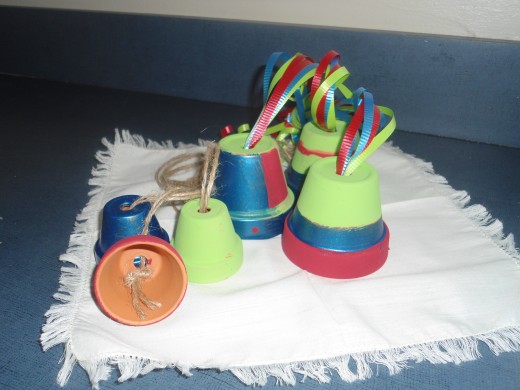
To Make Painted Bells
Using twine, cut about a 16 inch strip Fold of twine. in half and pull through the hole in the pot. Knot the end that is inside the pot so that it will not come through the pot. Attach a bell in desired.
Using ribbon for a more festive look, follow the same procedure but use multiple colors.
Notice that two different sizes of pots were used.
Using paint create pots for all occasions. There is no limit to what you can create.
Remember to give them a quick spray with acrylic spray as you do with mod podge pots.
Bellartdesings and Nquerco have written about clay pot creatons.
Bellartdesigns has written about other ways to use clay pots.
http://bellartdesigns.hubpages.com/hub/How-to-Make-a-Flower-Pot-Candy-Dish-Step-by-Step-Instructions
Nquerco has written a hub for those of you who are more serious about clay creations..
What you need and what to do for painted pots...
- clay pots
- Several colors of paint
- acrylic spray
- twine/if you wish to make bells
- ribbon (if desired for indoor use such as party decoration)
- Paint the pot on the outside (inside too if you wish). Use colors you like.
- Allow to dry. Spray with acrylic spray. Allow to dry.
More crafts that you will want to try
What you need
- two ply napkins
- small paint brush (an art brush)
- white flat paint
- small paint brush (for painting the clay pot)
- acrylic spray
- modge podge
- cans or jars to hang pots over for drying
What to do for pots with napkins..
- Paint the clay pots white and let dry completely.
- Select napkin and decide what part you wish to use on your pot.
- Cut out that part.
- Using mod podge, paint a portion of the pot.
- Apply the section you have cut out of the napkin.
- Then apply mod podge on the top of the napkin.
- Continue in this way until you have all of the 'decor' on your pot.
- Set it over a can or bottle to dry.
- When it is completely dry, turn it upside down in front of you.
- Scrunch up a piece of napkin and place it inside the hole in the pot. This will close the pot so items will not fall through it.
- Cover this spot with a piece of napkin that has been carefully cut to fit over the bottom of the pot.
- Cover that entire area with mod podge. Turn the pot on it bottom and cover the hole (from the inside) with a cut out of napkin and cover with mod podge.
- Set aside to dry for about 4 or 5 hours especially if you are in a humid climate.
- After the pot is thoroughly dry, take outside to spray with acrylic spray.
- Let dry.
Fill with treats for whomever will receive it.This is an attractive unique gift.
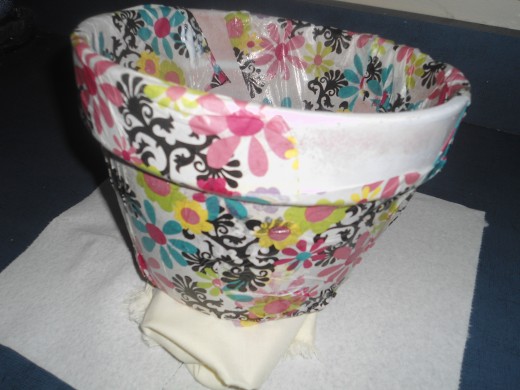
Ceramics glammed up
Peeking inside---of course, use only to sparkle up a little corner of a home
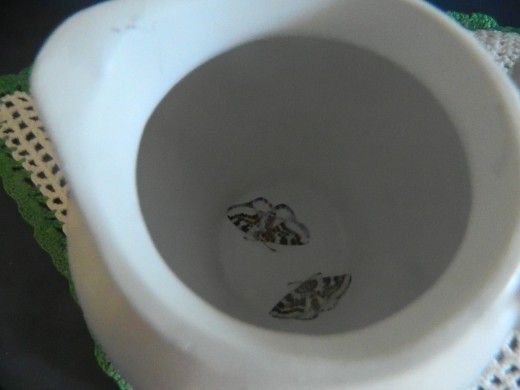
Another little peek inside
...'bells' Almost Completed...
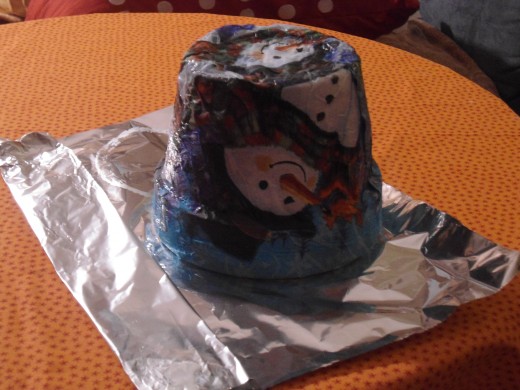
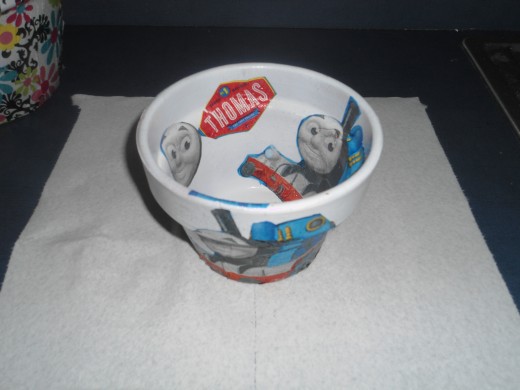
'Thomas the Train' ....all aboard!!!
Tissue Paper Pots
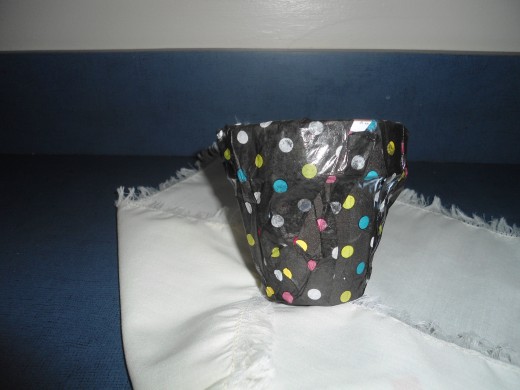
Details: tissue paper pot
Pictured (to the right) is the pot I showed in the video. It is almost finished now. I am not sure that I would use tissue paper again as it does not lend itself to this project as well as napkins due to the texture.
It is difficult to get it to lie flat the way I did it. Mod podge was painted on first, then a sheet of tissue was used to cover the pot, rather than using small sections. I tried it with a different pot (not pictured) using small sections and it went on smoother. This is not my favorite material but it can work.
There is a second pot covered with tissue using a whole section of tissue.Further experimenting will be done. I am thinking that perhaps. cutting strips of tissue, attaching and then painting in between strips...giving a striped effect may be another way to do this craft.
© 2012 Patricia Scott