DIY Refurbish Your Dresser
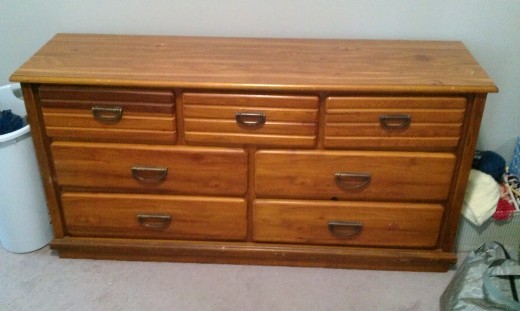
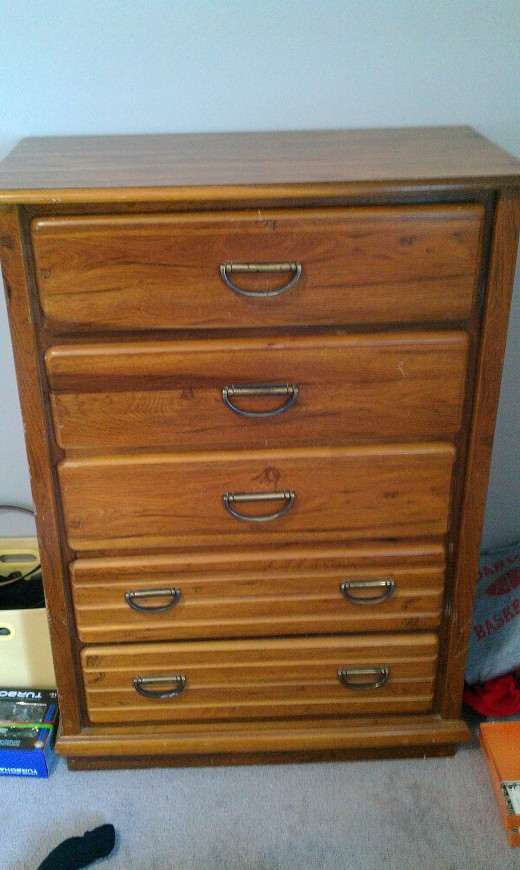
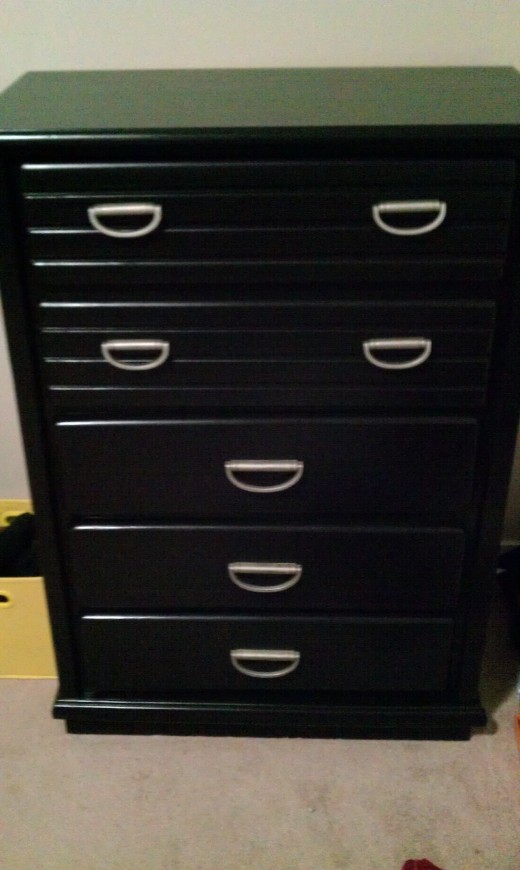
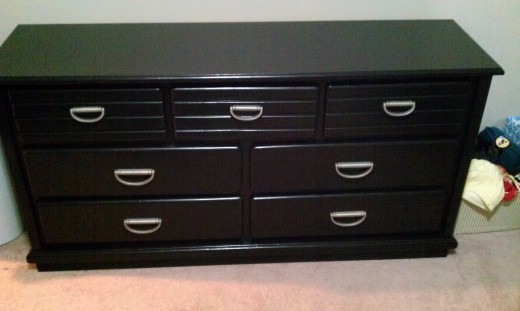
Turn an old wooden dresser into a new, modern, stylish dresser
When your income is limited, and you enjoy working with your hands, then a DIY project is the perfect task for you. My wife and I looked into getting new furniture for our home (apartment); the cheapest dressers we could find would cost us close to $200-250 per dresser (minimum). At this point in our life...we have dressers that do what they are supposed to...hold our clothes in drawers. So though they aren't exactly our favorite looking items, we were struggling to justify such a large purchase for something we really didn't need. That's when my wife fell in love with Pinterest and started getting all these crazy ideas in her head. Which leads me to this project....our very own DIY dresser refurbish. The project turned out great, and I'll even give a few tips of things I would have done differently. Enjoy.
1. Plan your trip to Lowe's or Home Depot or whatever supply store you desire. These are the supplies you will need (hopefully you might already have some of them lying around, so you won't have to purchase them).
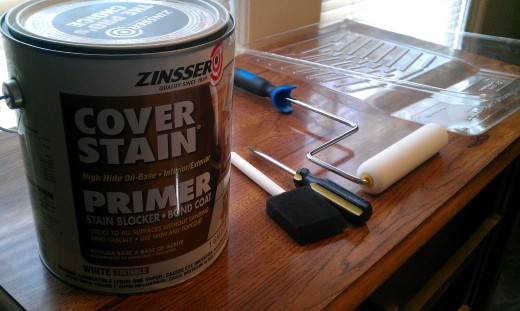
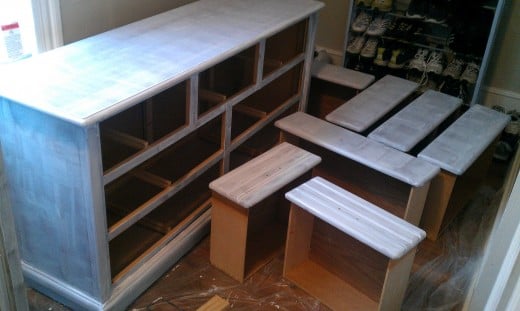
- Primer (we got a cover stain primer, as you can see in the picture, because our dressers had a smooth stain finish on them) Mistake to learn from: We purchased a gallon, we probably needed less than a quart total for both dressers. So save some money and don't purchase a gallon, unless you are planning on more projects down the road.
- Paint brushes/rollers/roller pan. We made the mistake of getting foam brushes as well, but we found out we didn't like them at all and never used them (though some people swear by them). We simply used 2' and 4' regular brushes, and were happy with the final product.
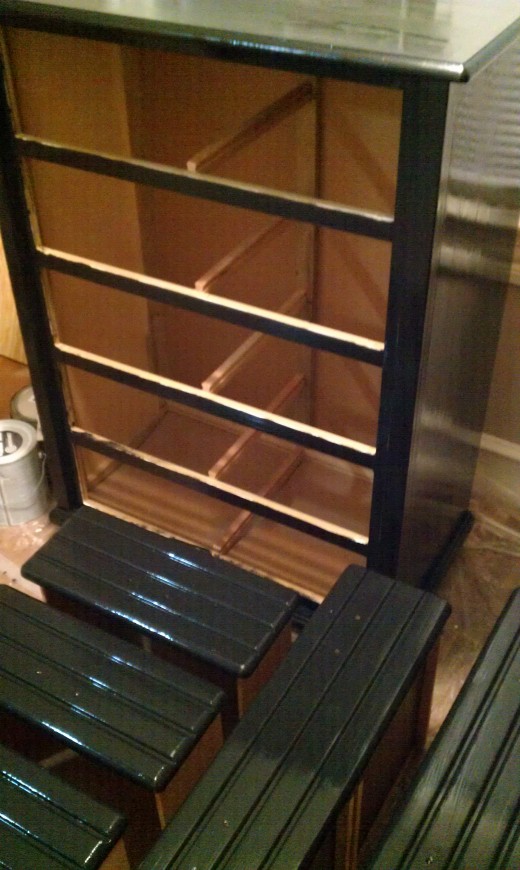
- Paint. We chose black and got Valspar Interior Semi-gloss finish so it would have some shine. Mistake again was that we bought way too much paint (which is the biggest cost of this project). We bought a gallon and probably only used three inches in our whole can.
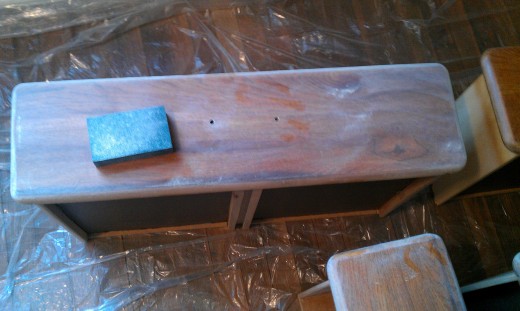
- Sand block. Sandblaster foam sanding block used to strip paint and finish.
- Drop cloth. You probably have an old sheet or towels lying around that will work just fine.
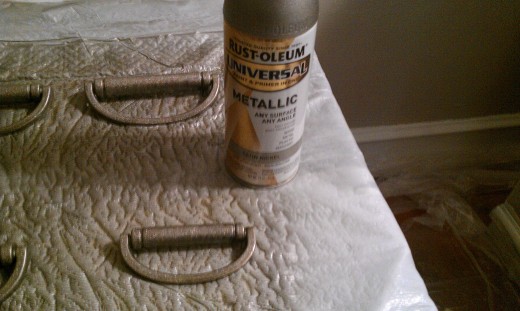
- Spray paint. We chose Rustoleum metallic spray paint that is used to cover any surface.
- Wire brush. Depending on the handles/hardware of your dresser, you might need to use a wire brush on them to remove rust, paint or grime. A stainless steel brush does the trick.
- Total cost: Our total cost was around $60. This could have been greatly reduced because about $45 of that was paint and primer, which, as I mentioned, we purchased way too much. We also purchased brushes and a drop cloth, which many people probably already have at home. So, if you are good, you should probably be able to do this whole project for $30-40. Now, compare that to $500 for purchasing two new dressers, and I think you'll agree, it's a pretty good deal.
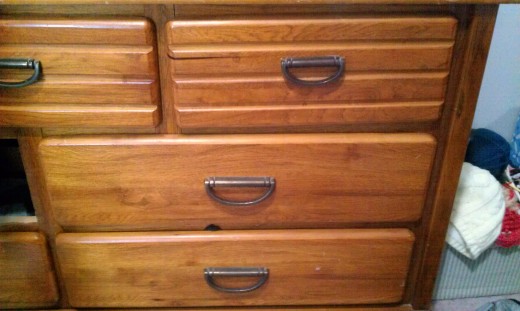
2. Empty dresser, remove drawers, and remove all handles/hardware. I would take some pictures of the dressers before, so you can have something to compare your final product to (makes the adventure more satisfying in the end). Make sure to put all screws in a safe place so that you have them at the end when you go to put everything back together. I just put them all in a plastic bowl and set it to the side.
3. Use the sand block to scuff up every surface that you are going to paint. Due to the high quality of primers and paints available to use nowadays, you don't need to break your back on this step, even if your dresser has a thick, smooth finish. You don't have to remove all the finish or existing paint; simply use the sand block to scuff up surfaces that have finish on them, and/or for painted surfaces to brush off any loose paint or dirt, etc. After you are finished with this, make sure you wipe with a towel or cloth to remove dust and loose particles.
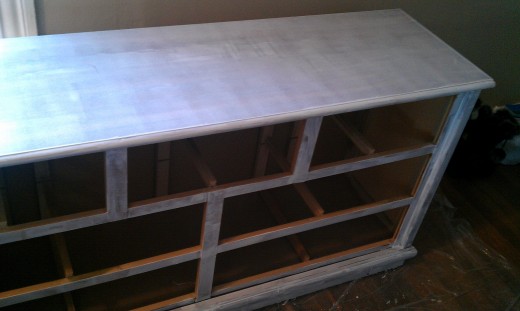
4. Prime everything that will be painted. Primer is used just like paint. So, use your paint brushes and rollers and coat every surface that you want to paint. This is important to do well, because paint itself most likely won't stick to the finish, but it will stick great to a coat of primer. So follow the directions on your primer can, and get to work. Make sure you know how long it needs to dry before applying paint. One nice coat of primer is plenty.
5. Paint. Plan on two coats right from the start. Apply the pain generously on all the surfaces, take your time and make sure you hit every single spot that you could possibly ever see. The last thing you want to do is hurry through the process and realize you have a few spots of wood showing through. Let the first coat dry, and then go back over to make sure you get all the little spots where your primer is still showing through.
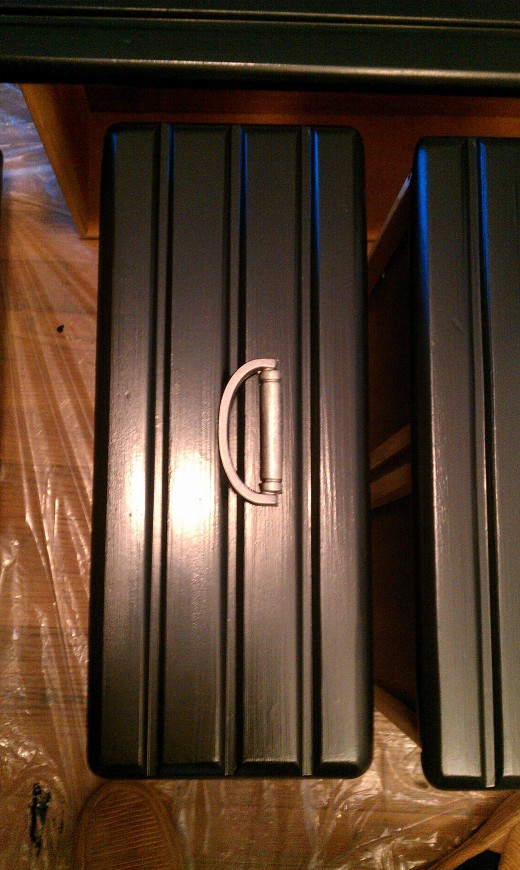
6. Hardware/handles. Originally, we purchased new hardware handles from Lowe's. Just for seven small handles and seven large handles our cost was close to $60. So honestly, when I got home and found out the holes didn't line up (off like 1/8 inch), I was actually relieved. Naturally, we returned those, got our money back, and that is when we decided to simply repaint our existing handles. So rather than $60, we spent $4 on spray paint and $2 on the wire brush. Get a bucket of dish soap and water (or metal cleaner if you have it, but soap works just fine). Let the handles soak for a while, then go to town on them with the stainless steel brush (this was my least favorite part of the project). Our handles were pretty gross metal with grime on them, so it was a tedious process to get them clean.
Make sure you let the handles dry completely before you spray paint them. We needed two coats for ours, but you can do whatever you think looks good. One tip, make sure you don't hold the spray paint can too close while spraying or your paint will pool, and have drops running on your handles. Spray from a good 10-12 inches away, depending on the kind of can you have.
7. Assemble. Once everything is dried (dressers, drawers, handles). You get the joy and satisfaction of putting everything back together. This is the best step because you get to start seeing the fruit of your labor as everything comes together and you see how awesome you really are. Once everything is together, step back, admire your work, and pat yourself on the back. Then get out your camera, start taking pictures, and send them to all your friends who didn't believe you could do it.
Other DIY projects
- DIY Paint Your Cornhole Boards
Put your creativity to good use and make your cornhole set pleasing to the eyes. Painting your set also protects the wood. Best part of it all, you can do it yourself, and you can add your personality to your work as you do it.


