How To Finish A Slab Table

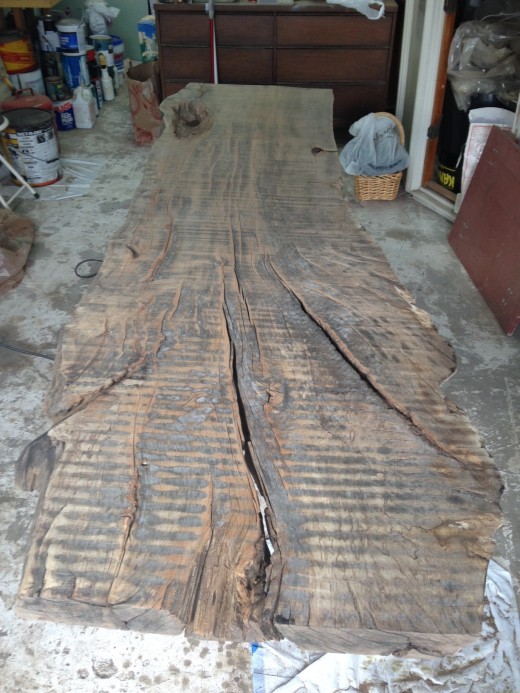
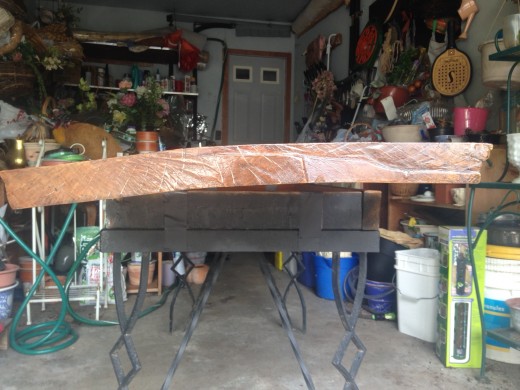
Original Slab
Introduction
Recently, I came across a wood slab table on sale at an antique store. It was a bargain and I decided to buy it and finish it my self. My experience was rewarding and decide to share it.
- Dec. 2015
Updated - July 2016 (added information on how to repair warping)
Updated - Aug. 2021 (Repair rotted wood with Acrylics)

Some Tools and Materials Needed
- Belt sander
- sandpaper (rough and fine grades)
- File
- Brush
- gloves
- mask
- sanding sponge
- Wash Mitt
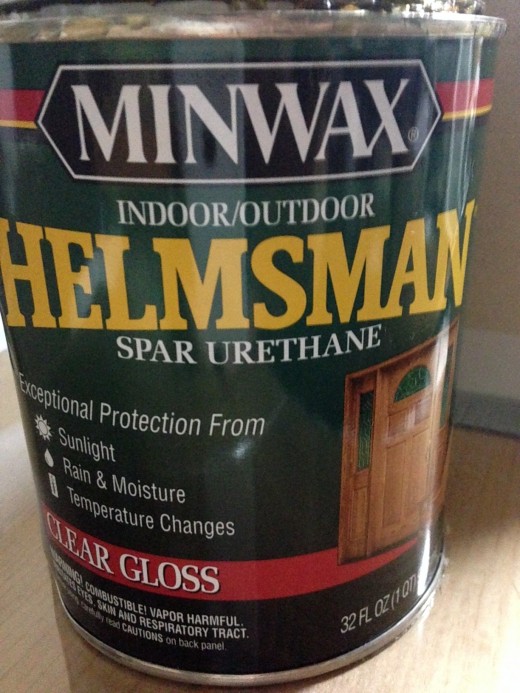
Sealant:
- Indoor/outdoor Polyurethane
- Mineral spirits
- Automotive rubbing compound
- Marine Varnish (for outdoor use)
Estimated Costs
- Wood Slab (100" L, 27" W, 2" Thick) - $270
- Materials costs - $70
- Labor - (10 hours) - $200
Total Cost: $540
How To Do It?
First, use the belt sander, "rough" grade, to sand top and bottom surfaces. Next, use the "fine" grade sand paper and smooth out all surfaces. (don't forget to wear a mask)
Use the file to repair any cracks and sharp edges.
Use the sand sponge and go over all surfaces including the edges.
Wipe down all surfaces with mineral spirits.
Paint the back side with 1 coat of polyurethane just to seal.
Paint the top surface with polyurethane and let dry.
Use the Automotive rubbing compound to smooth out bumps.
Easy sand all surfaces using the sand sponge and wipe down with clean cloth and repeat from previous 2 steps for up to seven coats.
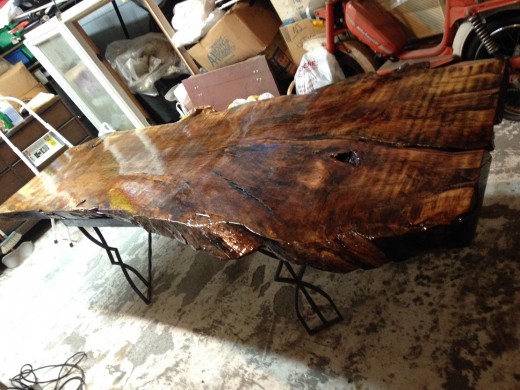
You should end up with a beautiful shining table that is also water proof for outdoor use.
Optional: You may decide to fill the holes, knots and cracks with a wood filler.
After 5 coats
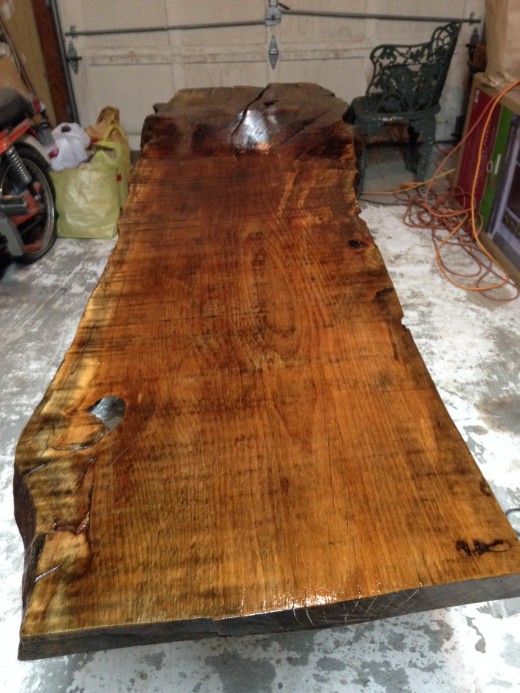
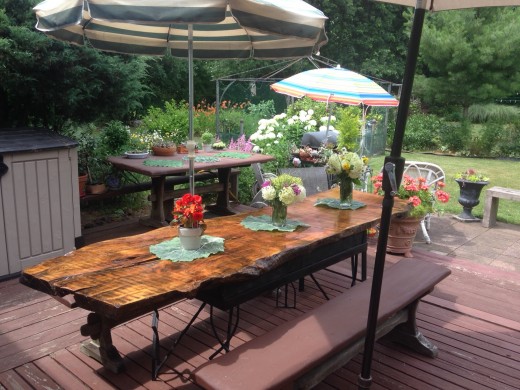
Final Finished Product (7 coats)
The Warp or Cupping
The Fix

Additional Fixes Detail
1. Repair a long crack.
On one end of the slab, there is a long crack. This has caused the slab to be un- even due to the warping. I decided to use some angle braces to prevent the crack from getting worse and also to help even the warped surface. It seems to work quite well.
2. Fill the holes?
There are a few natural holes on the slab. The question is whether to fill them or not. I have seem some using a clear resin and filled the cracks and holes to create a fabulous look. I am still undecided as of now.
3. Warping and cupping.
Recently, I placed the table on my deck and covered it with a clear plastic sheet for water protection. After about 3 weeks, to my horror, I discovered the table surface has warped along the long surface which is known as cupping. The amount of the warp was measured to be about half an inch at the center and it is very noticeable. After some research on the web, I found it is due to drying under the hot sun. The uneveness of the drying process causes the warp. To fix this, the answer is to place the slab upside down under the sun and allow nature to work. At the same time, I added some cross braces with oak strips and clamp the table using 2x3 studs. After a few days, the warp has been reduced to approximately 1/4 inch in the most extreme.
Nature Do the Work
I also discovered that bringing the table indoors over time (weeks) will allow the table to return to it's original state. It is almost completely flat now. I also learned from experts that work with wood tables that the best protection is marine varnish. A few coats of that will protect any wood from outdoor elements.
Repaired Table
Summary
This is my first attempt to work with a raw wood slab. It was very enjoyable and satisfying and surprisingly easy to do. It just takes a little patience.
My Table Needed Some Major Repairs after 5 years of use...(Aug. 2021)
Recently, I discovered some soft spots on the surface of my table. I have been using this table mainly outdoors during the summer months as a picnic table for BBQ. I store the table top in my garage over the winter months.
After some investigation, it looks like my wood slab is rotting out in several spots. These areas are rotting from within. The surface was coated with 5 layers of polyurethane, and mostly water proof.
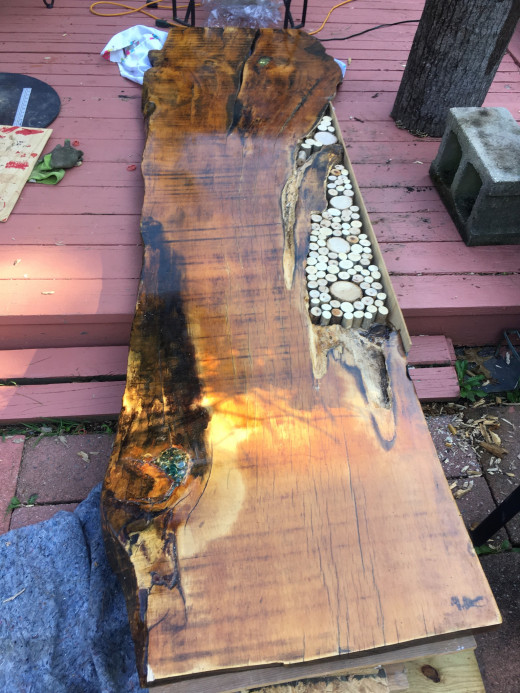
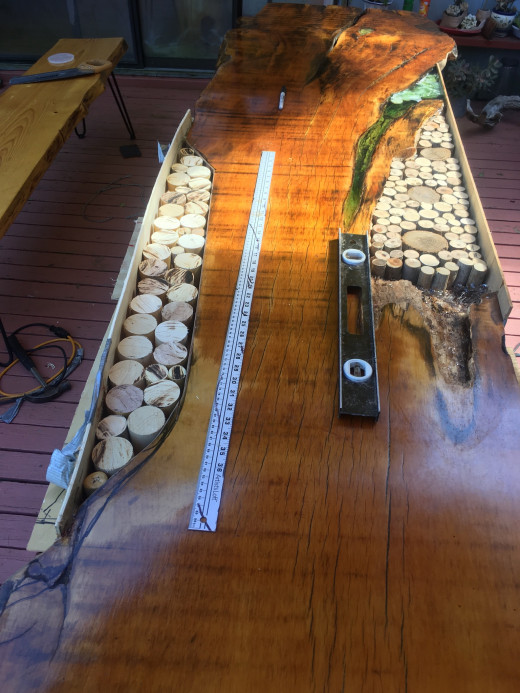
I decided to do some major repairs to salvage the table.
I started by removing the damaged wood from three areas. I then used some wood dowels to fill the empty area. Finally I used some tinted acrylics to fill the gaps.
Some Related Info
- Everhart Lumber Company and Specialty Wood Products
Speciality wood products including wide wood slabs, post and beams, specialty wood flooring, custom cabinets, custom made furniture, specialty wood paneling, hard to find wood products, custom millwork, mantels - for residential and commercial use, f - Big Wood Slabs - Hardwood Lumber, Wood for Countertops, Wood for Mantles
Wood slabs, hardwood lumber, and figured hardwoods for countertops, tables, furniture, fireplace mantles, instruments and gunstocks.


