- HubPages»
- Gender and Relationships»
- Weddings & Wedding Planning»
- Decorations for Weddings
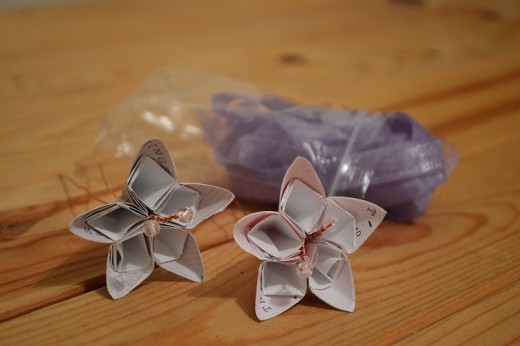
How to Make Bouquets, Posies and Buttonholes from Paper Flowers


How to make paper flower buttonholes
You will need:
Two or three paper flowers (for instructions on how to make them see the link below these two tutorials)
Ribbon
Scissors
How to make paper flower buttonholes
1. You will need 1-3 paper flowers (see link below for instructions on how to make them).
Ribbon. I used about 3/4 of a meter for one buttonhole, but you may wish to use more.
(Tip, if you have a reel of ribbon work from the reel and cut to the right size once you have finished step 6 )
Something Pointy (Pencil, knitting needle etc)
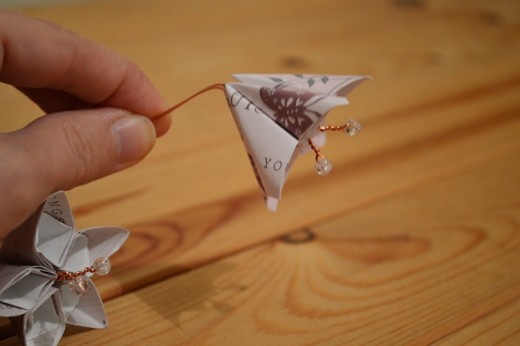
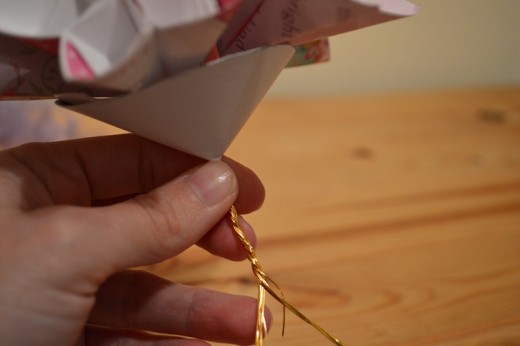
2. Tie one end of your ribbon to to one stem, just below the head. Leave enough excess to tie a bow at the end
Tip - do not pre-cut your ribbon. I have used about 3/4 of a meter for one button hole, but just in case work from the reel and cut at the end.
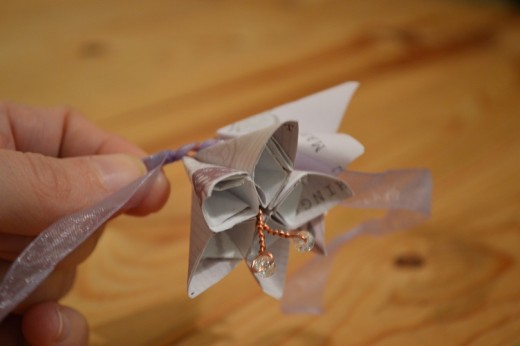
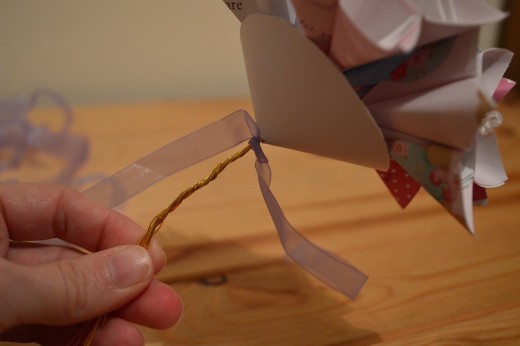
3. Leave the excess (shorter end) to one side for now in order to tie in a bow later.
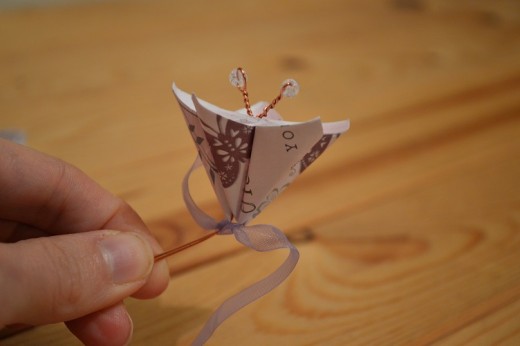
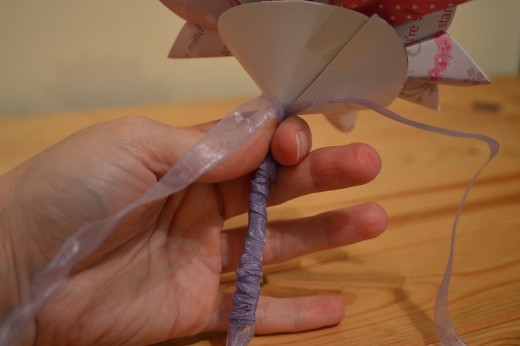
Start wrapping the long length of ribbon down the length of wire, but stop after 1cm to add an additional flower
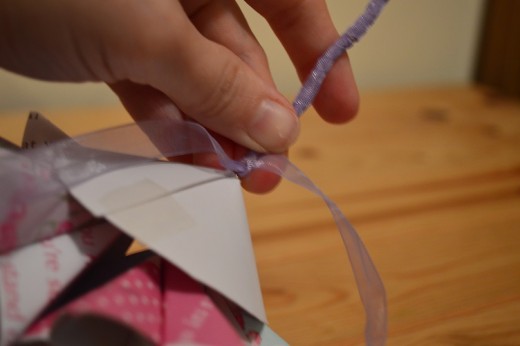
4. Add the second flower, and continue wrapping the ribbon down the lengths of wire, binding the two stems together. Stop approx 1 cm from the bottom
Tip - If you want to add another flower, just repeat steps 4 and 5 before continuing to wrap to the bottom
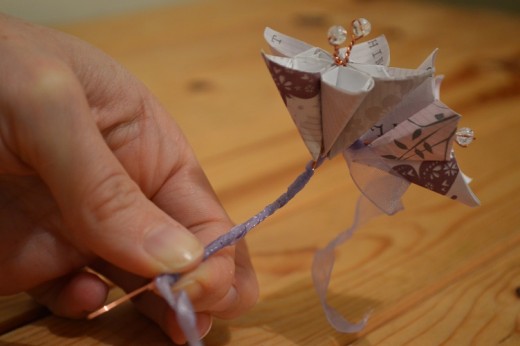
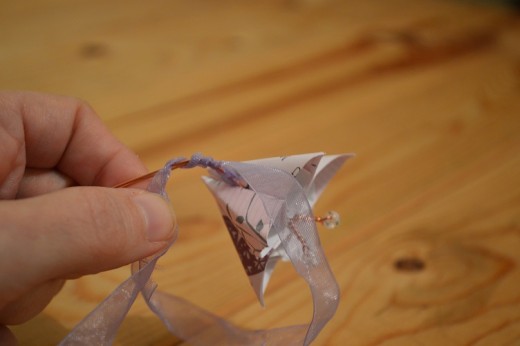
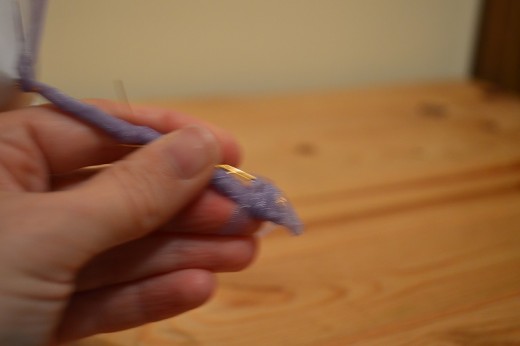
5. Wrap down and up the stems again, end at the top where you began.
Tip - If you do not want the wire ends to peek out of the end, see step 9 in the bouquet tutorial below for a solution I came up with after finishing this buttonhole. It tucks the wire safely out of the way.

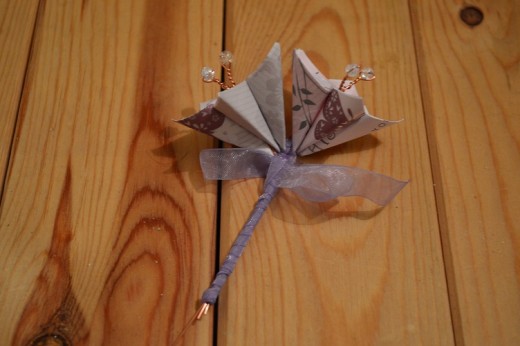
6. Cut the ribbon, leaving enough to tie a bow with the excess from the beginning.
I recommend tying an overhand knot, followed by a bow. If you are using a stronger ribbon than the organza type I used, I would double-knot by tying the bow-loops in a overhand knot, just like tying your laces
How to make a paper flower bouquet or posy
You will need:
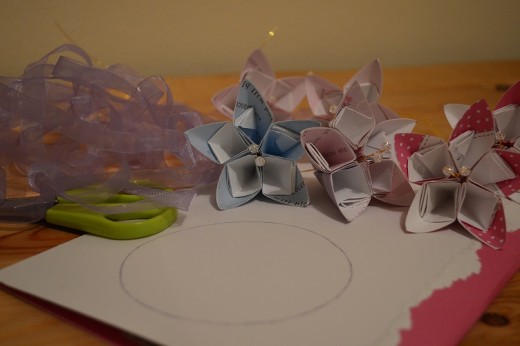
Paper flowers (see link below for a tutorial on how to make them). I have used 6 in this example
Ribbon
Card circle (In keeping with the upclycled Greeting Card theme, I used an old greeting card, and drew around a large glass on the reverse)
Scissors
Double Sided Tape
Something Pointy (pencil, knitting needle etc)

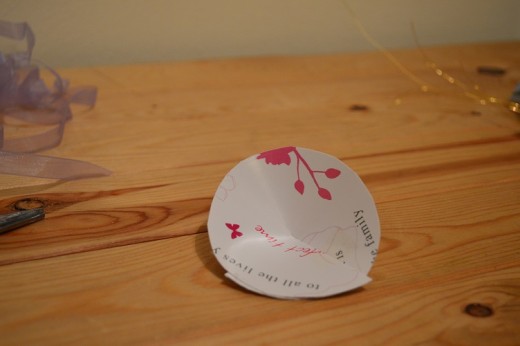
1. Cut out the card circle, and then make a single cut from the edge to the centre.
Tip - I drew around a large glass, but bigger bouquets would need bigger templates - maybe a side plate?
2. Overlap the edges to make a cone and stick the edges together with double-sided tape.
You can use normal tape, but using double-sided means that the tape is hidden between the two flaps
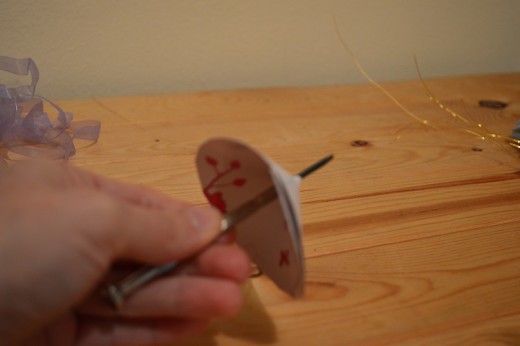
3. Push a pencil (or similar pointy object) through the centre of the cone to make a hole. Trim the tatty excess that occurs with scissors, leaving a neat hole.
Needless to say - be careful!
If you are working on a larger bouquet, you will need to make a slightly larger hole to fit all the wire stems
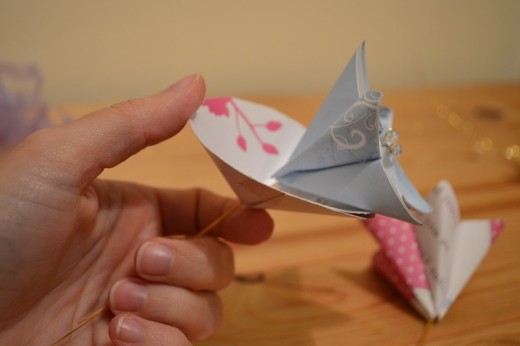
4. Thread your flowers into the cone one at a time
If you have an arrangement in mind, try to thread the flowers so that they rest in the right places.
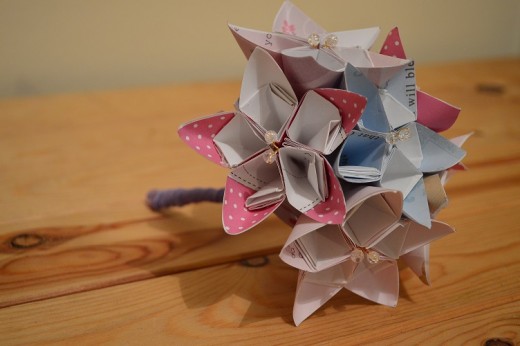
5. Here comes the fun bit, arrange the flowers.
Warning, this can be fiddly.
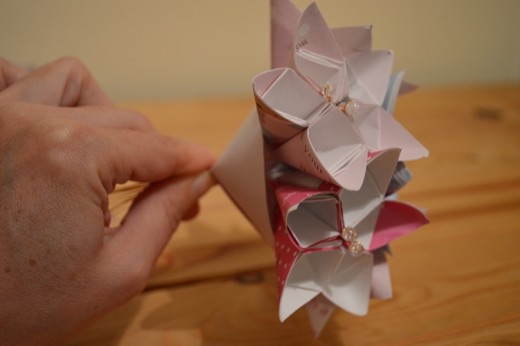
6. Once you are happy with the arrangement, separate the stems to make two even bunches. Then twist them around each other as far down the stems as possible.
This secures the flowers in place and makes the stems easier to wrap.
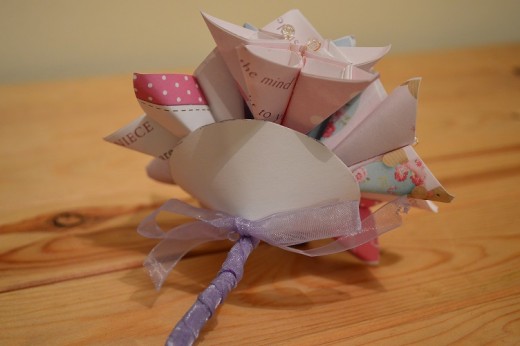
7. Now, just like in the buttonhole tutorial, tie the ribbon around the stems, just under the cone. Leave enough excess to make a bow at the end.
Tip - Do not pre-cut the ribbon. I used about a meter for my posy, you will probably need more for a larger bouquet. To save wastage by underestimating, work from the reel and cut at the end.
8. Wrap all the way down to about 1 cm from the end, and back up again
Don't worry about the pointy ends of wire sticking out of the end, we will take care of those in the next step.
9. To hide the wire ends, bend them back against the wrapped stems.
Then wrap all the way down (covering the wire ends) and up again 2 or 3 times (the more the better).
10. Come to a stop at the top of the stems, where you began.
Cut the ribbon, leaving enough to tie a bow
11. Tie the two ends of ribbon into a bow. If you are using stronger ribbon than I did, consider double knotting for extra security
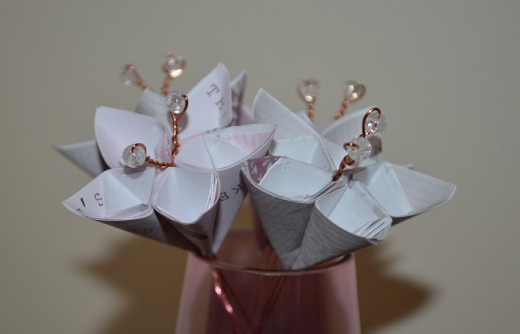
To learn how to make the paper flowers follow this link
- How to Upcycle Greeting Cards and Make Beautiful Paper Flowers
A step by step guide to creating pretty flowers out of greeting card inserts, wire and a few beads
If you like crafts you might enjoy

You might also be interested in:
- Planning a Wedding on a Budget
Tips for planning a beautiful wedding on a tight budget