How To Do Nail Art

Doing Nail Art Can Be Fun And Easy!
Doing nail art can be fun and easy but if you are just beginning it takes practice. If you are a beginner I suggest you start with a simple design. Then as you become more experienced, graduate to something that takes a little more brain power. Try not to become discouraged if you make mistakes. Doing nail art is exactly what it says art. So have fun, be creative, and don't be afraid to experiment with different things to see what looks good on your nails. You never know, you may be the first person to actually come up with a new design or trend. So let's get started.
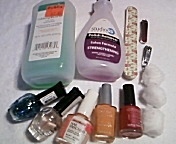
What you will need:
alcohol
cotton balls
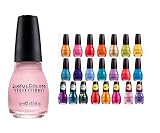
nail art polish
polish remover
orange wood stick
top and base coat polish
Instructions
1. The first thing you need to do is to make sure that you are working with clean dry hands. Make sure that the table you are working on is clean as well. It is very important to work as clean as possible to make sure that nail fungus does not develop.
2. The second thing you need to do is take a cotton ball and wipe the nails with alcohol. This is just another measure that I take to insure that the nail is clean.
3. This is a good time to make sure that your nails are well shaped. You don't want to decorate nails that are not shaped well as this will take away from the finished look. Once you have finished shaping your nails, remove any residue left from you shaping your nails as this may show up on your polish. You can do this with a cotton ball.
4. Now that your nails are shaped, polish your nails with one coat of the base coat. The base coat will allow your nail polish to last longer. If you do not have a base coat, you can replace that with clear polish. Let your base coat dry for about five minutes.
It's Time To Decorate Your Nails!!
5. Think about what colors you like and how you may want your nails decorated. To make small fine lines or dots you will need to purchase nail art polish because it has a very thin pointed brush that you can use. You can also use your regular polish for certain designs.
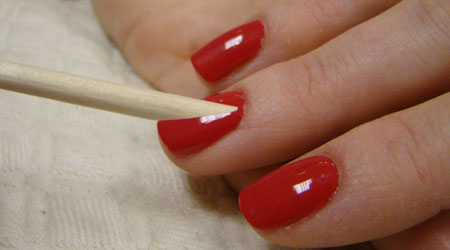
6. Practice-This makes perfect! Try some things, trial and error to get the swing of it. If you do not like your design, simply start over. This is why you have an orange wood stick, polish remover, and cotton balls handy. You can take the end of an orange wood stick, take small pieces of cotton and wrap it around the end of the stick, in a circular motion. Try not to make the cotton too thick. Just enough to help you with cleaning up any polish that is left around your cuticle area. the cotton balls or tissue can be used to clean the nail and start over if you need to. Not all mistakes will require that you start the whole nail over.
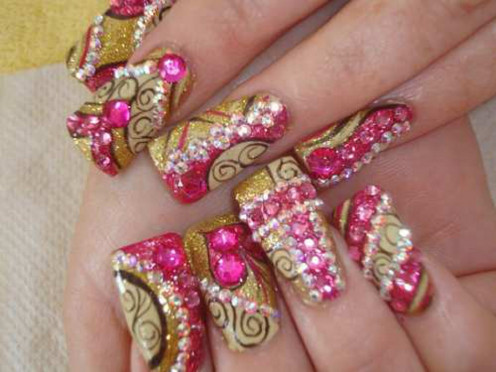
7. Once you have your design in tack, you can add small rhinestones with your orange wood stick. Let your design dry for another five minutes. Then once it is dried, add a top clear coat. This time your polish needs to dry for about twenty to thirty minutes to make sure that every thing is well dry.
Now you can show off your design to your family and friends. You could even start decorating nails to earn some extra cash. Nail art is a very fun and creative way to enjoy a look that is different, unique, and designed specially to meet your needs. Remember practice makes perfect. In no time you will be doing some of the more creative designs that take more skill and time, but you can do it. Soon you will be able to accent your wardrobe with nails that can even match your outfits. Your hand will look one hundred percent better, and every time someone looks at your nails they will give you comments that you will love.Try taking pictures of each design to see how you've progressed. Take your polished nails to the next level by adding designs that are specially designed by you.
Orange Wood Stick Used For Decorating Nails

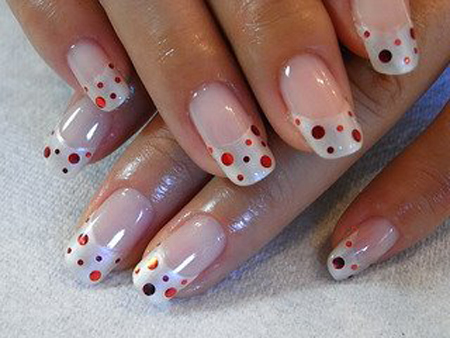
Learn How To Do Polka Dot Nail Art