- HubPages»
- Fashion and Beauty»
- Skin Care»
- Facial Skin Care
Saving Your Skin: Oil Cleansing

The shock of my life
A few weeks ago I slept through my alarm and by the time I'd woken up I literally had 10 minutes to get out the door. Make-up was the last priority but that's no problem; I get a lift into work so it's easy enough to do in the car. So out I went into the freezing cold, got into the passenger seat, pulled down the mirror and … oh my god what happened.
My skin was grey. Dull, flat, zombie grey! And it gets worse; I had dark circles, spots, old scars from old spots, dry skin on my lips and a thread vein on my nose.
So, as you do, I pulled out my phone and searched for the cause of this mess. Small word of warning, don't search for causes of grey skin on google. After five minutes I was pretty sure I had about a week to live. 'It can't be caused by any of this,' I thought, 'there's got to be some other reason.'
It was all my fault
Then it hit me. What was I expecting?
I had abused and neglected my skin for years; my office job means I never see the sun, I sleep in my make-up, get about six hours a night, smoke and I can't even remember the last time I cleaned my face properly. I'd been using foundation to cover the worst of it and since I never see my bare skin in natural light I'd simply never noticed how bad it was. The grey tint was more than deserved.
At the time it was all I could do to add a bit of blusher and get to the office but once there I spent half the day (quietly) searching for some skincare advice. There is a LOT of useless information out there! Now, I was only looking for natural stuff, mainly because I'm too cheap to buy the good, organic, healthy (read EXPENSIVE) products and the low-priced brands are full of chemical nightmares (parabens and formaldehyde anyone?).
After a while I found it, my secret weapon, my skin saver, the choice which should have been obvious from the start... Oil!
The magical solution
I'm not talking about the black, sticky stuff we make jet fuel from, I'm talking coconut oil, olive oil, grapeseed oil, almond oil, vitamin E and those described as essential. Now it's still not the perfect solution and there was a lot of conflicting information out there so I've tried and tested a few to find out which ingredients work best. There's also a few things which certain skin types will need to change as well so I've included recommendations for dry skin, oily skin and sensitive skin too.

Why use oil cleansing?
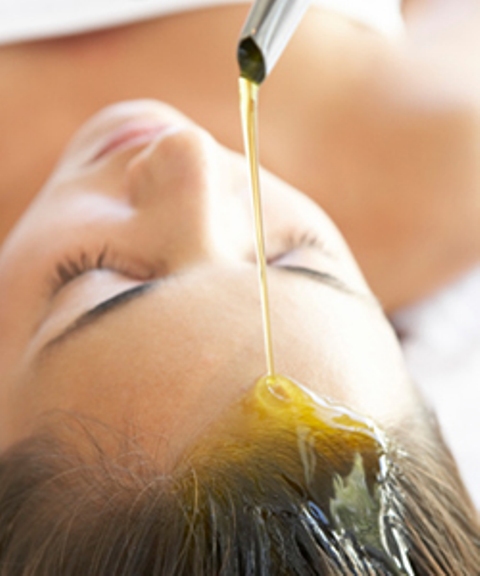
So the number one greatest discovery I made was also the beginning of any good skincare routine. I cleaned my skin. But I didn't clean it the normal way with soap and water, instead I cleaned it with oil.
'Why would you put oil on your face!' I hear you cry, 'what about breakouts and greasy horrible skin? There's no way it could do anything other than clog your pores even more!' It seems backwards but I promise you oil will clean your skin better than soap, that fancy organic cleanser from Paris, even better than bleach (please don't put bleach on your face). The reason it works is because like removes like, ever ran out of nail varnish remover and used more nail varnish to get the old stuff off? It's exactly the same.
So what the oil is really doing is melting away all of the sebum (natural oil we all produce), the dirt, the make-up, the drool from the night before; it's lifting it from our skin and making it so everything can be wiped clean. Not to mention the oil itself is incredibly moisturising and leaves the skin feeling fantastically soft.
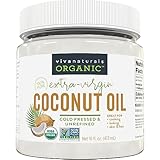
Where to get Coconut oil
How to make Oil Cleanser
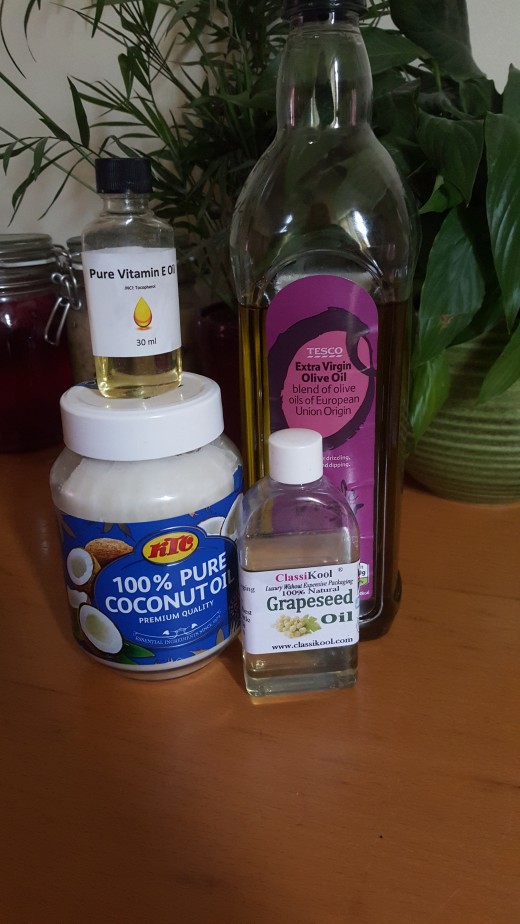
So how do you make this cleanser? It's amazingly simple:
- ½ cup of Coconut oil (melted but not hot, a minute in the microwave should do it)
- ½ cup of Olive oil
- 1tbsp Grapeseed oil
- a few drops of Vitamin E oil
Mix them all together and pour into a nice jar or tub.

How to use the oil cleanser
So simply apply it to your skin, even with make-up on (it'll take the lot off), run a face cloth under the hot tap, wring it out and put it over your face until cool. The heat helps to unblock pores and shift any dirt that won't move. When the cloth is cool, simply wipe any excess oil off your face. If you used it to remove make-up then wipe it all off now and repeat the oil cleanse.
I noticed the softness from day one as the oil put some much needed life into my skin; the luminosity started to return to my skin about a week later and I had people commenting about how much better it looked; 'you look so healthy!' 'What foundation are you wearing?'. The difference was phenomenal! My spots became much smaller and are now starting to disappear altogether, and the dry skin? Gone! Not a bit in sight!
Where to get Vitamin E

What kind of oils do you need
Now the ingredients I use aren't the most common ones you see online. Castor oil is used in the majority of cases but I decided to leave it out. It's an astringent oil which is why it's often used but also means you run the risk of drying your skin out if you use too much in the recipe. There's a fair bit of controversy regarding castor oil and it's sustainability plus the fact that the seeds which it comes from contain ricin, a highly toxic compound. It's up to you of course but I find that no astringent is needed for my skin and if yours in particularly oily you could always try Hazelnut oil as a good alternative.
If you don't have the ingredients to hand, you'd also get away with simply using Olive oil but keep in mind that you won't have the anti-ageing effects of the Vitamin E, the anti-bacterial acne crushing Coconut oil or the Grapeseed oil to help oily skin. Nonetheless it WILL work as a cleanser, a basic one but it gets the job done.
I'm lucky enough to have fairly normal skin, a little on the oily side occasionally but for the most part it's balanced and the recipe above reflects that. For those out there who do need to modify it I've included a few idea's:
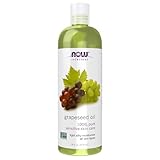
Where to get Grapeseed oil
Oil cleansing for Dry, Oily and Sensitive Skin
For dry skin: Avoid using hot water, warm to lukewarm should be fine. Also try leaving the oil on for a little longer and massaging your face with your fingertips in order to exfoliate and moisturise. Definitely stay away from Castor and Hazelnut oil.
For oily skin: Take a look at Hazelnut or Castor oil if the original recipe doesn't work for you. Also you could try lowering the amount of olive oil and replacing it with more Grapeseed. You'll have to play around with the amounts to find the perfect solution for your skin.
For sensitive skin: Do a patch test with the oils first on the inside of your elbows, while none should be a problem it's best to check using an inconspicuous area first! As for dry skin, keep the water more warm than hot and you can also add tea tree oil to your cleanser as an anti-bacterial agent if you're prone to breakouts.
For everyone: It has been know for people to suffer breakouts when first using this method so don't worry if this happens, it'll stop after a week. You'll also find that you don't really need moisturiser with this method either but some like to use it anyway.


