Stripes on Nails with Easy Flower Design

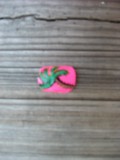
Final Design
 Simple and Beautiful!")
DIY and Save Some $$$
Crystal's View:
Are you tired of spending so much money on getting your nails prepped and pampered every two weeks? Have you notices how awful your nails feel and look when you take "fake" nails off? Well if you have some time during the week (and well let's face it, you are in the nail salon at least 30 -45 minutes per visit), then you are in the right place for new ideas and a DIY tutorial for an easy design look that lasts around 1.5 weeks!
Beautiful Nail Art :)

")
Say NO to "Fake"
Once your natural nails have outgrown the fake nails, you strip them off only to find how horrible your natural nails look and feel now. They are rough, stripped, weak and simply unattractive. So what do you do? In order to keep them from falling apart you throw on some nail polish or revisit the nail salon and spend more money.
What I propose is this, save your money and enjoy the art of nail design. Yes, I consider it an art. There are a plethora of designs that can be made, not including the many accessories that can enhance the design! The other plus side besides tuning into your creative side is your nails don't ever have to have that nasty weak and rugged feel again. Sounds amazing already huh?
Well let's get started with this simple, easy DIY design!
Winter Colors

What You Need To Start
- Nail Polish Remover (Personally, the ones with Acetone work the best)
- Cotton Balls
- Nail Clipper
- Nail File
For this tutorial I used:
- It's So Easy Stripe Rite (White)
- It's So Easy Stripe Rite (Silver Sparkle)
- It's So Easy Stripe Rite (Black)
- Nina Ultra Pro (Ink-Ling)
- In a Hurry Air Dry Top Coat w/ UV Protection
*most of the nail polish was purchased at Sally's Beauty Supply

Stripe Design and Flower Prep
- Start off by using nail polish remover to get rid of any polish on your nails previously put on. You want to be able to start with a clean slate. This way when you polish with different colors they won't mix with the previous ones.
- Cut your nails to the desired length with nail clippers and then go back through with a nail file to smooth any rough edges and create the desired shape. Personally, I like the tips with a straight across edge and smoothed out round sides. :)
Guideline to Flower


Prep is Over! Time to design :)
- Begin by placing your first coat of Ink-Ling nail polish. You may need to wait 3 or so minutes and place a second coat depending on how dark you want the color to be. Personally I needed two coats.
- Test out your striping ability on one of your nails. A steady hand and a whole lot of practice is key. Don't fret if you don't get a straight line. Curvy lines can be just as fun! Practice, practice, practice! You will be a pro in no time.
- Approximately 3 stripes on each nail, spaced evenly creates a beautiful design.
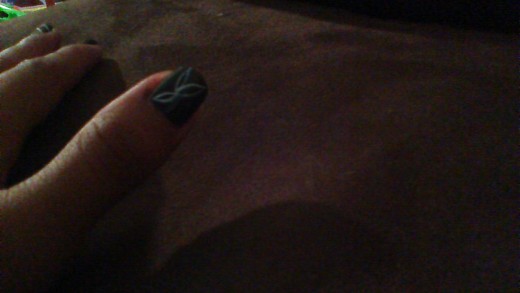
- In order to create the flower, choose your non-dominant hand to have the design. Choose a nail on that hand that has a large enough surface for the design...usually the ring finger or thumb nail works best for me.
- The photos will Guide you through the steps to create the flower: Begin by creating one pedal at a time.
- Use the white stripe polish to create the pedals. Make about 4-5 pedals. Don't worry if a line is out of place...simply remove the mess up with a Q-tip dipped in water.
- Slowly and carefully stripe the silver sparkles inside each pedal.
- Lastly, go over each nail with the top coat. This step is Very IMPORTANT! All the beautiful work you just created can be washed away with water. So make sure to seal the nails with the top coat and let it dry before you wash your hands.
- Repeat with your dominant hand...and you are all finished!!! Congrats on your DIY design!
Also check out...
- Halloween Nail Design
This nail design tutorial contains spiders, webs, dots, and stripes. Great look for October and Halloween!