Trendy Nails: Do it Yourself Manicures
Easy and Cheap Nail Polish Tricks
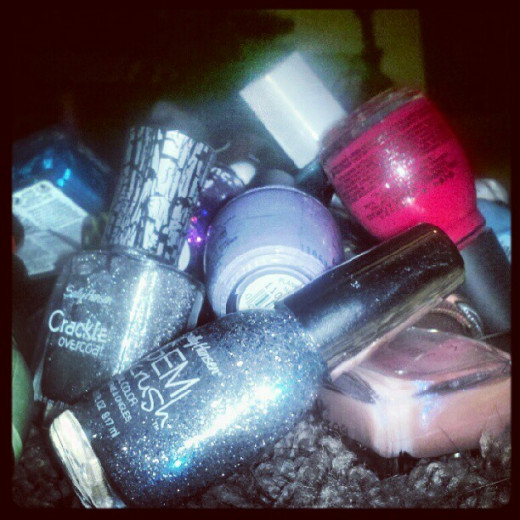
If there's one thing I collect more than books, it's nail polish. With colors in almost every shade and plenty of time every Saturday morning to sit down and give my nails some TLC, I find myself looking for new ways to make my manicures just a little more fun and stand out just a little more than your everyday color scheme.
There are many new nail trends out there that may look more difficult to do than they really are. You don't need any fancy kits or polishes to achieve most of these looks, unless, of course, you're looking at getting that magnetic or crackling polish. If you're like me and enjoy experimenting with those weekly manicures, then you've come to the right place to find new ways to do your nails that don't cost you any more than what you already pay for your nail polish.
Do-It Yourself Manicures Help Stop Nail Biting
- Why People Bite Their Nails and How to Stop
Why do people chew their nails? After all, nobody finds fingernail biting attractive, but some of us just can't help it. For some, nail biting is as difficult a habit to stop as smoking cigarettes.
Dotted Nails
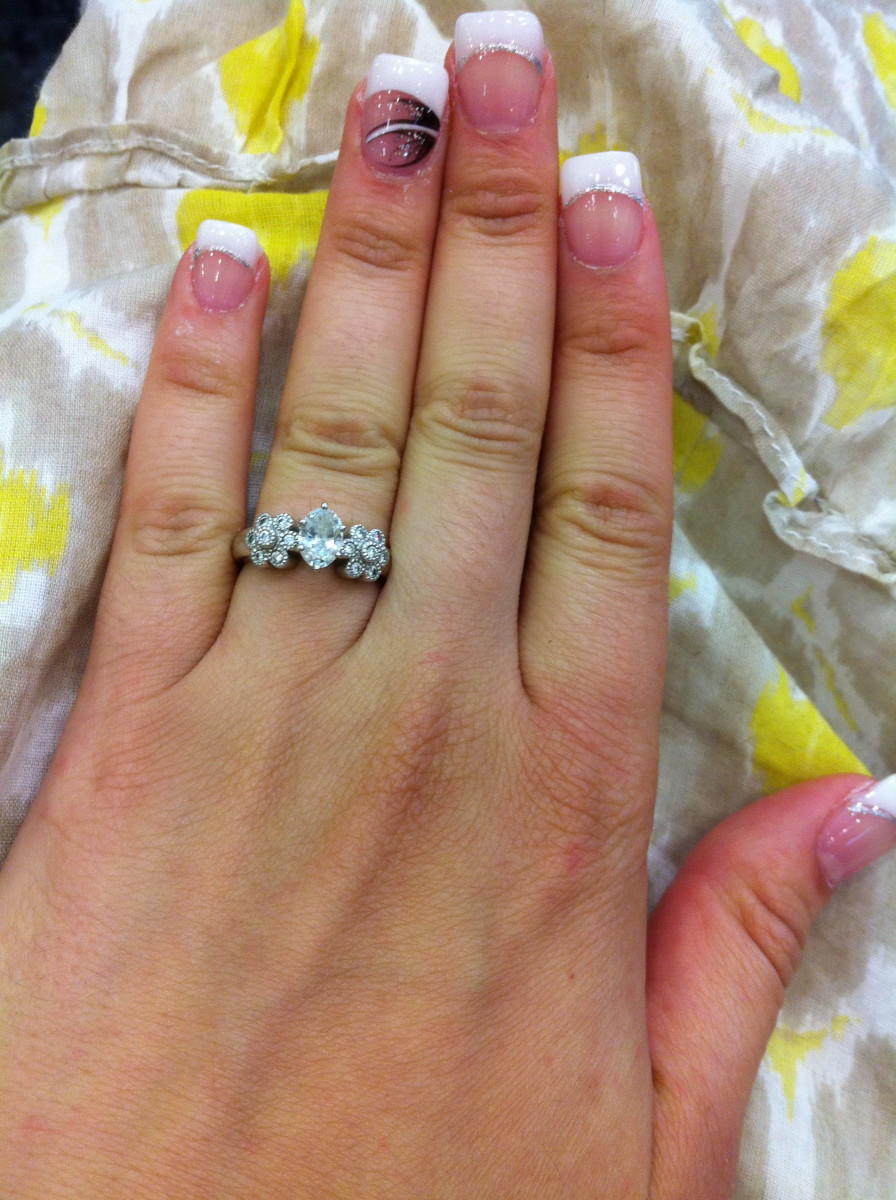
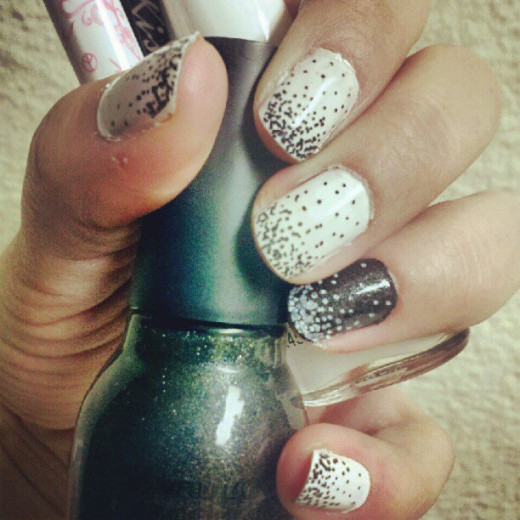
Dotted Nails are really easy to do. After your nails are prepped and ready to paint, choose the color you will use as your base color. I chose white for all of my nails except my ring finger, which I painted black. I did this because I had black and white nail pens so I wanted to invert them on my ring finger just to make it a little more interesting. Of course, it's all up to you and what you'd like to do.
After painting my nails black and white and waiting for them to dry, I grabbed my black nail art pen and did small dots all over the first nail I chose to paint. I began with the dots being pretty separate, covering the entire nail, then started at the tip of the nail, making the dots more dense at the tip and then fade to the bottom. The first couple of nails took the most time but once you get the hang of what you're doing it will move a lot faster. Repeat this until all of your nails are dotted to perfection.
Once you are finished with the dots. Hold out your hands, stretching your arms down as far as they go. This way, you get a good look at all ten of your nails at once. You want to make sure that they all look pretty much the same and that no one nail has more or less dots than the other. Go back and fix any that are necessary and finish off with a clear top protecting coat once they are dry.
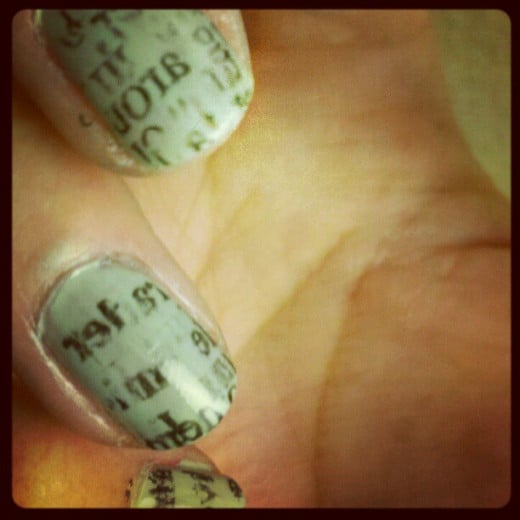
Newspaper Nails
Newspaper nails are another trendy manicure that is easy and stylish. All you need is the nail polish of your choice, some rubbing alcohol, a small container, a protective top coat, and some newspaper.
Once you have gathered everything together, make sure and cut the newspaper into small enough pieces so that they can be placed over each nail. After this, apply the nail polish of your choice. When your nails are dry, begin by dipping one of your nails into the rubbing alcohol. Then, place a strip of newspaper to the nail and gently press and hold for about thirty seconds. Remove and repeat this process until you get a look your happy with. Do this until all of your nails are done, finishing them off with a top coat to protect them.
Sephora Neon Nails Tutorial
Neon Nails
This one is also a simple one. Start by applying one color at the base of your nail. Then, wait until it dries before applying the second color of your choice at whatever angle or shape that you like. Top it off with a protective top coat once it's dry and then you're done.
This doesn't have to be just for neon colors, have fun mixing it up with whatever you desire. You can even use more than two colors, just pairing them in different ways for each nail. One other option is to use nude colors in different shades of beige or brown and do the same thing. If you don't think your hands are steady enough to create shapes, use scotch tape to tape off different shapes for you to paint in.
Gradient Glitter Nails
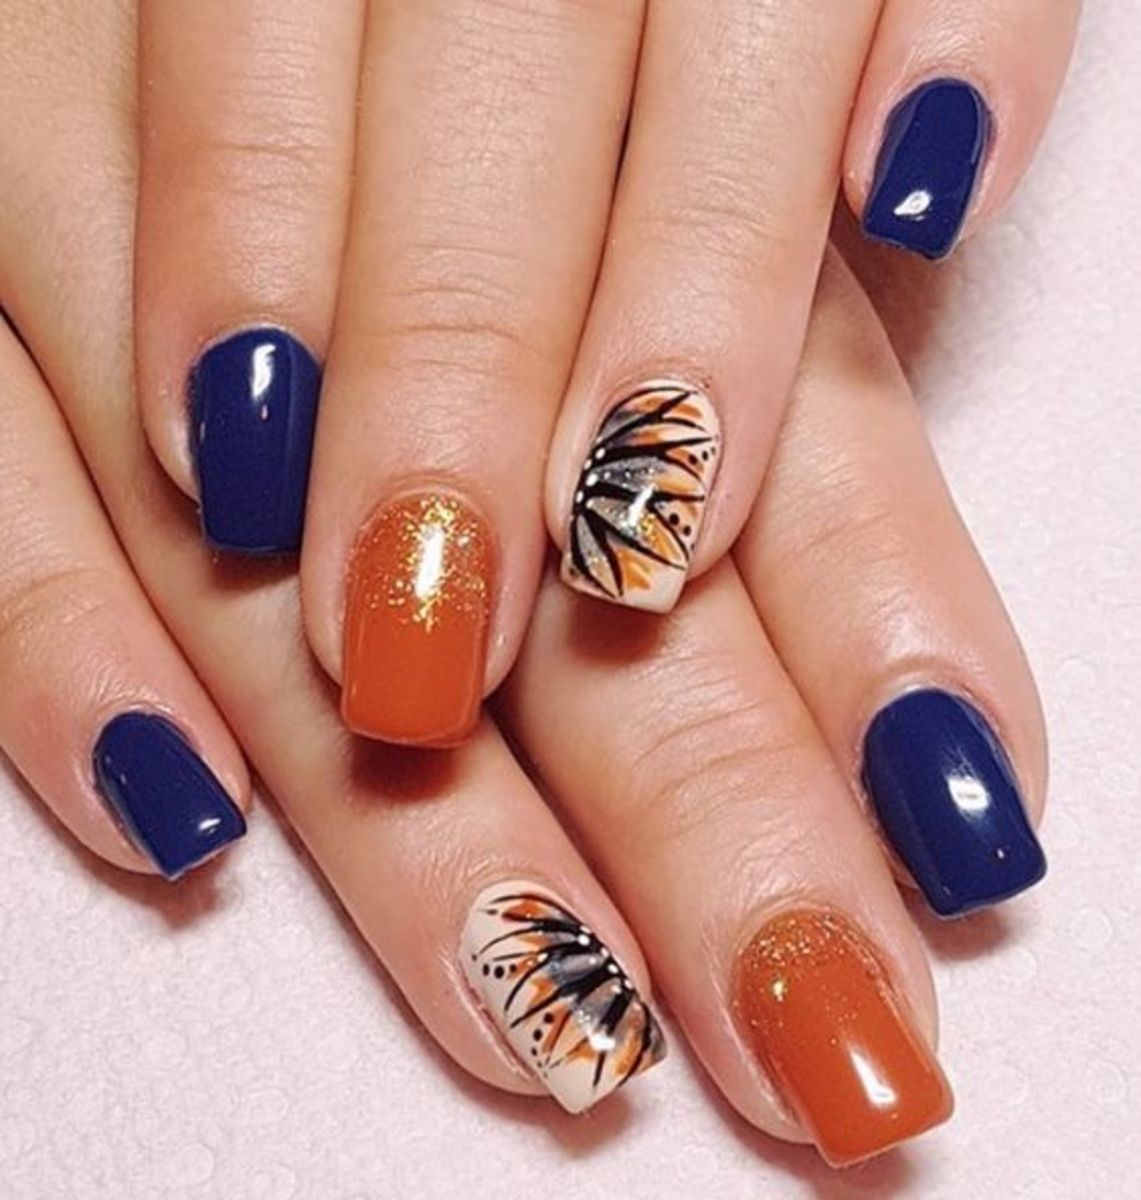
Glitter can be fun for just getting that extra shine to your nails. To get this particular look, you will need one nail polish of your choice as well as two different glitter polishes. Begin by applying one coat of your desired nail polish. Let it dry, and then take one of your glitter polishes, only painting the bottom half of your nail. Once this has dried, use the other glitter polish to do the top half of your nail. When this is dry, top it off with a protective polish.
It's just as easy as the look above, but just requires that extra time sitting through each step as they dry.
Marbled Nails Without Water
Some Helpful Sites With Examples
Marbled Nails
Marbled nails look cool and are almost as difficult as they appear. For this one, it is definitely important to read all of the instructions before beginning as the process is a bit time sensitive. Not only will you need three nail polish colors, but you will also need a small stick (a toothpick or orange stick works), a small jar (or paper cup), and some tape (which is optional).
Fill your small jar with warm or room temperature water. If the water is too cold, the nail polish will not do what you want it to do and it will seize up instead of spread out in the water. Loosely open each bottle of nail polish you've chosen to use, I like to use red, yellow, and blue nail polish but the colors you use are, of course, up to you.
The tape is optional so this part you don't have to follow but you may want to tape around your nails to protect your finger from getting slathered with nail polish. Scotch tape works just fine. You may also want to start off painting your nails one of the colors you chose. Black or white are the most common colors for this step.
Let one drop of each color fall into the water until you have a few concentric circles of polish. You want to create a bull's-eye shape quickly before it's too late for this to work. Take your small stick and drag through the polish immediately, starting at the edges and working your way in toward the center. Do this until you create a design that you like and then dip your finger horizontally into the jar until it's completely submerged.
Before lifting your finger out, use the stick to trace around your finger and get all the unused nail polish out of the water. After this, lift your finger and let it dry before taking the tape off or using nail polish remover to clean it up. Repeat until all of your nails are marbled and then finish with a top coat.
Like I said, the marbled nails look is difficult. Don't get discouraged if you don't get it right the first time. I know I didn't. Just remember to be patient and have fun!
Another version of how to do marbled nails is to the right. This one does not use water and looks a lot less messy but the overall look isn't as marble like as it would be if you used water.
Ombre Nails
Quick Tip
Adding crackle nail polish on top can make this look extra snazzy.
Ombre Nails
There are two versions of what is considered the "ombre nails" look. One involves painting each nail a different color, while the other makes each nail have a gradient effect with two different colors. The first is definitely the easiest. Just choose five different shades of a certain color paint each finger a different one, going from darkest to lightest, lightest to darkest, or an all out mixture.
The second type is a little more complicated. First, you want to choose two different colors. These don't have to be different shades of the same color. You can choose pink and purple or white and blue, for example. Paint one color first as the base, then take a cosmetic wedge and use this to apply the second color. The video at the right shows you just how to do this.
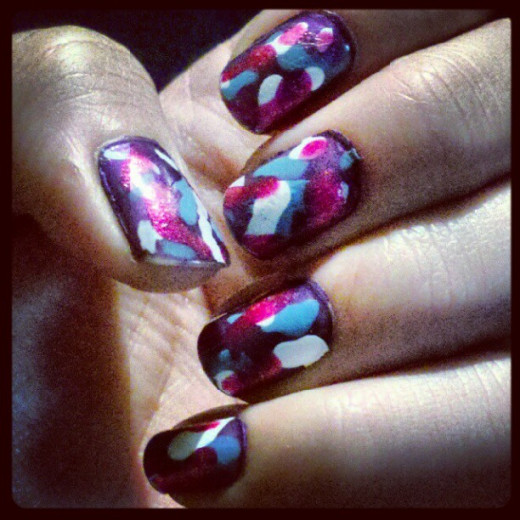
Graffiti Nails
This look is called "graffiti" nails but doesn't actually look like graffiti. It reminds me more of paint splotches from a paintball gun or something similar. Whether you think the name is fitting or not, it is still a cool look and surprisingly easy to do.
First, you want to decide on your colors to use. You want to use one color as your base, and then pick three to five others to splash on top of it. Paint your nails the base color you've decided to use and then let it dry. After your nails are dry, take each of the other colors you've chosen and make short, random squiggles. You don't want to cover your base color but you want enough to make it colorful and splattered looking for that graffiti effect. Let them dry, apply a top coat, and you're finished.
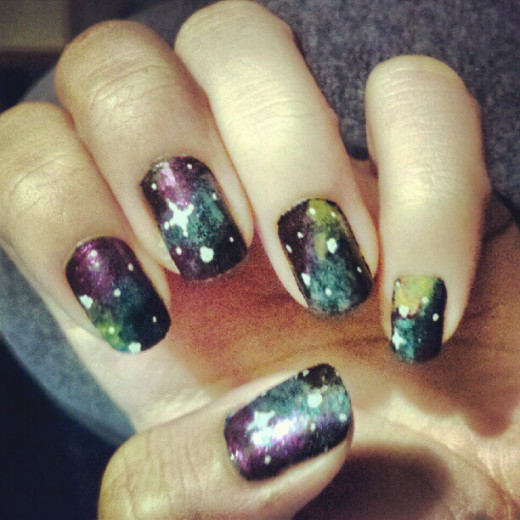
Galaxy Nails
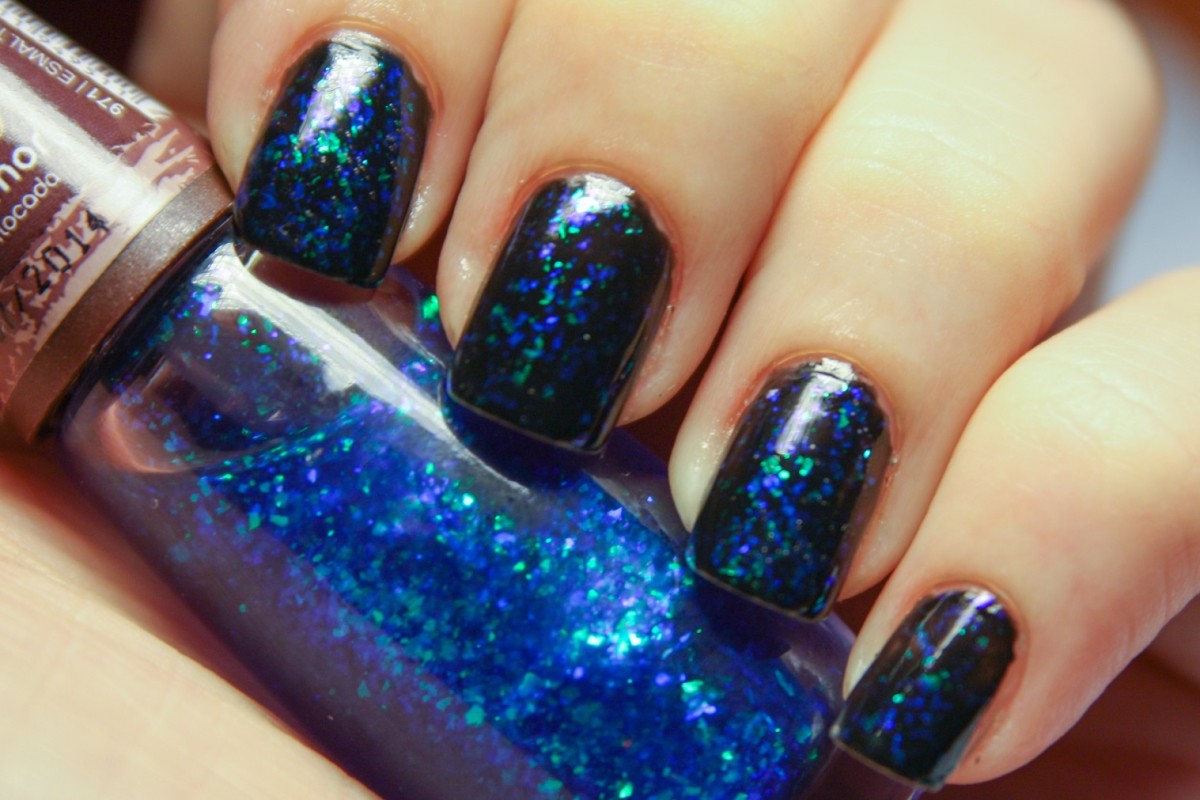
Sometimes referred to as "Space Nails," the "Galaxy Nails" manicure is a lot like the glittered look, mixed with the ombre nails look. Start by painting your nails black. Once they're dry, take a makeup sponge and apply shimmery silver polish down the middle of each nail. Once this is dry, use another sponge to apply a little hot pink and dark blue. Let them dry and use a nail art pen to apply some white dots for stars. Again, when they're dry finish off with a shear polish and then follow up with a clear top coat to protect your work and you're done.
This is one of those you can definitely have fun with. Try out different colors and check out some of the other "Galaxy Nails" looks online for some extra inspiration. For some extra sparkle, add glitter nail polish before the final top coat.
© 2012 Lisa


