- HubPages»
- Fashion and Beauty»
- Clothing»
- Women's Fashion & Clothing Styles
Turning Old Clothes Into New: How To Personalize or Make a Simple Skirt

In today's economy, we all try our best to spend wisely and save as much as we can. Having to pinch pennies should not mean silencing your fashion sense. If you can sew and love Do-It-Yourself (DIY) jobs then why not do what I did. Design and make your own clothes. They do not all have to be runway worthy but that would be a plus.
I started when I was a teenager as I am usually on the receiving end of hand-me-down transactions. With some of my clothes coming from a number of different personal tastes there was no feeling of togetherness. That and I have a bit of an anger streak. Together they looked as if they belonged in a warehouse instead of a closet so I decided, much to my parents’ dismay, to personalize my clothes. This usually meant that I would cut them apart and restyle them.
I have absolutely no training in designing and making clothes so it took some time and a lot of practice to figure out how to attach the pieces of materials to make them look the way I want them to look. I am still learning and loving every second of it.
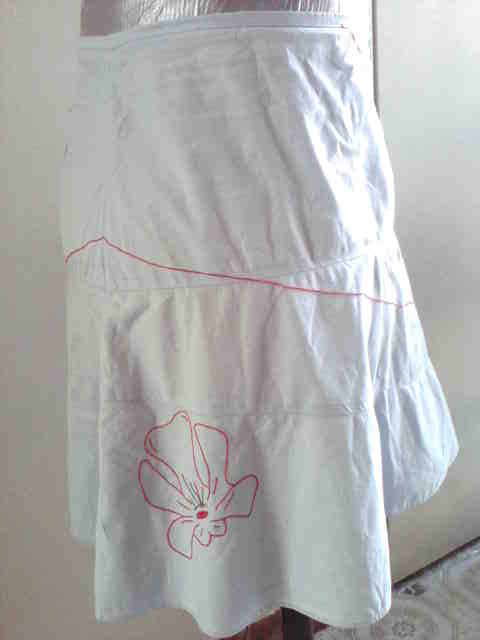
Project: From Oversized Ankle-Length to Fun and Girly
Seeing my interest in redesigning clothes (and my state of boredom at the time) my stepmother gave me a skirt she had just bought but was not likely to wear. It was a long baby-blue skirt about three sizes too big for me. Grateful for my project I got my sketchbook and redesigned my new skirt


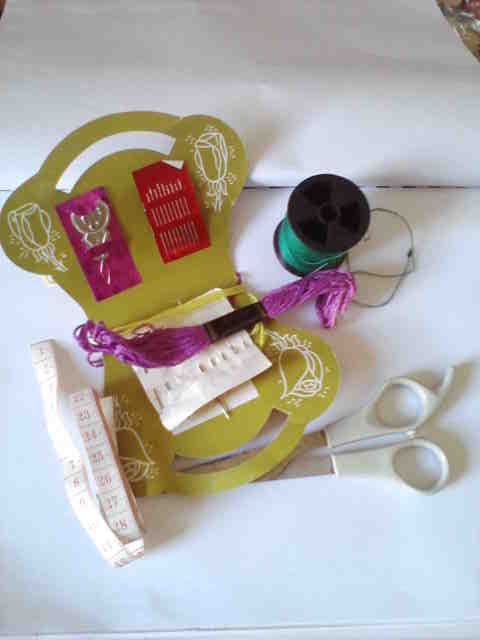


Materials
- 1 oversized Skirt
- 1 pair Scissors
- Embroidery and darn Needles
- Measuring Tape
- Chalk or pencil
- Red, greed, and yellow Embroidery Threads
- Sewing Thread
- Pins
- Beads and/or sequins, (optional)
Basting
Basting is a type of hand stitch. It is a temporary stitch that holds the materials together so they do not shift when you are sewing. An extra-fine thread and a Sharps needle is used for basting. This will prevent press marks. I use contrasting colors when basting so they are easy to remove.
Instructions
- Measure the skirt to see how much of it would need to be cut in order for it to fit. I decided to keep the waistband intact as a zipper was already in place.
- Measure twice then cut the skirt to the desired length.
- Place it inside out on the table or work area. Use the chalk to outline the new alterations and use pins to hold the front and back halves together as you baste them together with a bright colored thread. (I used red so it would be easy to see and remove.)
- Remove the pins.
- Turn the skirt right side out and try it on to be sure it fits. (DO this before cutting the extra length off the sides so you don’t cut off too much).
- Adjust if necessary.
- Cut about one inch away from your basting.
- Use a Backstitch stitch to join the new edge together. (This took some time as I did it by hand and wanted it as neat as possible.)
- Use a Blind hem stitch to hem the skirt.
- Remove your basting from the sides and hem of the skirt.
- Draw your designs on the skirt using the chalk or a pencil.
- Use embroidery thread to embroider along the lines.
Get the perfect embroidery thread for your project

Variations
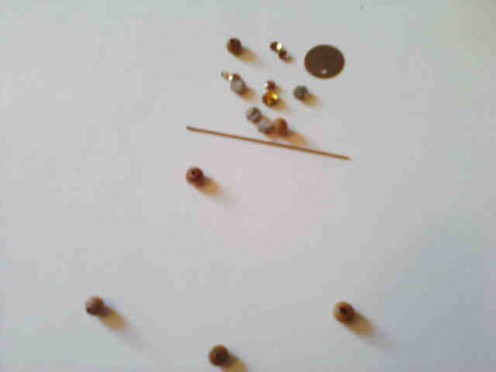
You can add beads to your embroidery design or use beads instead of embroidery.
If you decide to add beads, use a beading needle. Beading needles are fine narrow needles with very narrow eyes. They fit perfectly through any beads and sequins.

Keep a Sketchbook
If you like designing or personalizing clothes or other fashion items, you must keep a sketchbook near you at all times. You can cut out photos of designs you like for inspiration and paste them in your sketchbook. Your book does not have to be expensive, you do not even have to buy one. I made my own sketchbook (photo to the right). It is big but handy.


