How To Set Up Your 3d Printer
Setting Up Your Printer (Basics)
Whether you have an off-the-shelf 3D printer or one built from a kit, you'll need to set it up before you can actually start printing. The specific steps differ from one model of printer to next but, on the whole, each one will normally require you to go through the same sort of procedures in order to get the possible results from your printer. Also, it's worth noting that over time your printer can lose its initial settings, so retracing the steps detailed here will help keep it in tip top condition and keep it printing successfully as much as possible.
Do you own a 3D Printer? Are you happy with it?
A Level Playing Field
One of the most important steps to getting your printer ready, and the one that often needs to be reviewed from time to time, is making sure that the print bed is level. The calibration process can be very different depending on the model of printer used, but they usually require you to raise the bed until it's within a few millimeters of the tip of the extruder nozzle. Once there, move the bed so that one corner of it is directly under the nozzle, and slowly, usually by hand if possible, raise the bed until the distance between the tip of the nozzle and the top of the bed is 0.25mm. This is obviously a very minute measurement, and getting a set of callipers in there to measure it can be difficult. What you can do in this instance is use the callipers to measure the thickness of some card or a few sheets of paper - even folded paper is ideal. With the 0.25mm ascertained, you can then carefully slide the card or paper between the printer bed and the nozzle and continue to raise the bed until the card is just nipped between the two.
Now, carefully move the bed until it is under another corner and check the distance with the card again. If the card is nipped the same as the first corner then proceed to the next corner and so on until you've measured all four corners of the bed. If it's a little out, you can often fine-tune the bed by turning the thumbscrews or with an Allen key turn the screw that raises or lowers that particular corner of the printer bed.
As mentioned, move the printer bed so that the nozzle is above each corner and repeat the process. If you want, you can also move the nozzle so that it's above the centre of the print bed and see if the distance is the same as the corners. If not, then there's likely to be some warping of the print bed, which can come as a result of an over tightened bed (the screws that fasten the bed to the X and Y axis mount). In cases such as this, you can often gently push the centre of the bed down or loosen the screws that fasten the bed slightly so the centre bulging is lessened or removed.
Once the print bed is level and the same distance from the nozzle across all four corners, you can begin to zero out the distance and configure the printer software to identify that distance as 'home'. Usually one corner of the bed will be classed as home at a specific distance.
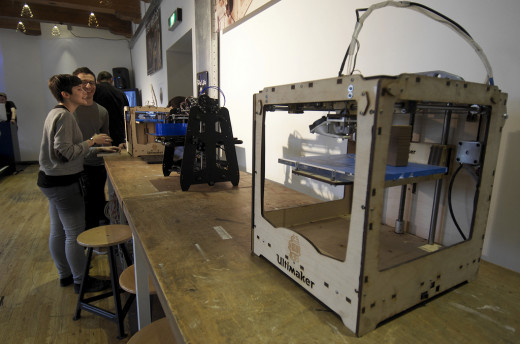
Preheating
While we're on the subject of the print bed, it's worth mentioning that preheating both the bed and extruder can make the printing process significantly more successful than diving in and heating the nozzle and going for the print.
By preheating the bed, for example, you're setting up the printer with a stable platform on which to adhere to. One of the most common problems in 3D printing is the curling and warping of a print on the bed. If it's preheated, to around 50°C on average, then the filament will stick to the bed and form a stable area on which to print. Likewise, preheating the extruder and nozzle will remove the first few blobs of what was previously left in the extruder reservoir and start you off with an amount of melted plastic ready to print with. Either way, heating both, with the bed being preheated around 15 minutes before printing, can make the process a lot more successful.
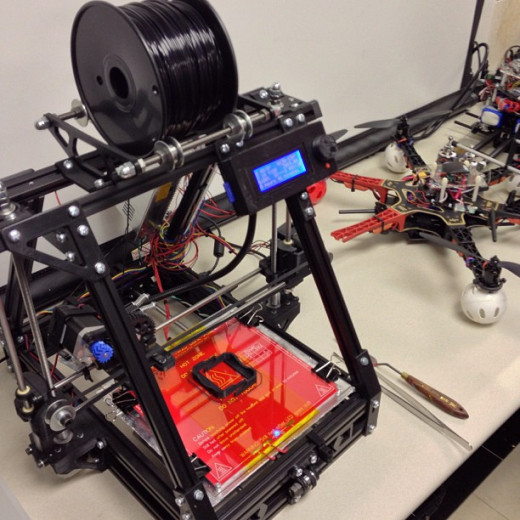
Check The Movement
When setting up your printer, it's worth taking a moment or two to check that the movement of the motors is free and that anything they move, such as the cogs used in the extruder, move freely without catching or unnecessary stiffness. If you find that the movement is jerk and stiff, you could try loosening the mounting screws that attach the motor (or the part that's particularly stiff) and see if that frees the movement enough so that the motor isn't under as much strain. If the motors and their attachments can't be loosened, then consider using a small amount of grease to lubricate the movement so that it works a little better. This is particularly needed on the Z-axis struts, as they can become tight over time.
In addition to the motors, also check the tightness of the drive belts (if your printer has any). They should be tight at all times; over time they can wear loose, so you can remove them and reseat them if necessary.
Although you'll only need to go through these steps the first time you come to set up your printer, they are parts that can weaken over time and through frequent use. If your printer is beginning to make an odd noise from the motors or excessive squeaking when moving, then go through the setup process again.
Setting The Voltage:
If you've built a 3D printer from a DIY kit, then you'll no doubt have already set the voltage for each of the motors through the drivers on the controller board. The usual setting for the likes of the Velleman K8200 is around 0.425V, but it can be increased to at least 0.55V if the motor is sticking slightly.
Initializing the voltage of the motors is a vital part of the setup process and one that can greatly affect the performance of the printer and the results of the prints themselves. In order to make sure that the voltage is set correctly, it's best to check each drive point with a multimeter, and make minor adjustments if needed, then power off the controller board and discharge any remaining current stored both on the board and in the power brick, if your printer uses one.
Once the excess current is discharged, reconnect the power, and measure the voltage once more across all the motor drivers to check that the values specific to your printer are correct.
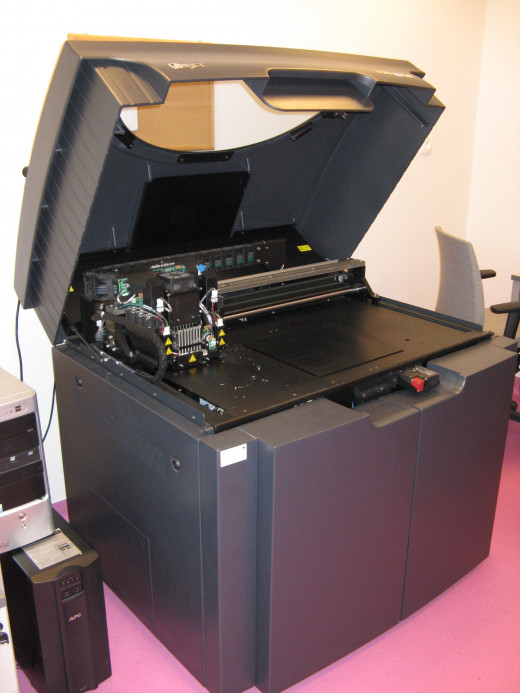
Priming The Extruder
Before you're able to print anything, you're going to have to prime the extruder and feed in a small section of the reel of filament, so that some of it is sitting in the extruder reservoir ready to use.
Regardless of the model of printer, the first thing you'll need to do to set up the extruder is to heat it, normally to around 190°C, but other printers may require slightly more or less heat. Once the printer is up to the correct temperature, you can pull back the extruder butterfly bolt that attaches the feed spring and feed the filament into the extruder hole with some slight pressure. Usually, you'll have to either wind one of the extruder motor gears by hand to feed a section of the filament into the extruder or you'll just need to apply some pressure and use the software that came with the printer to automatically turn the extruder motor to catch the filament and feed it in to the extruder. Either way, after a moment or two, you'll begin to notice some plastic flowing out of the nozzle. When this happens, you can move the extruder to the zero (home) position and remove the blobs of plastic from the nozzle with a set of tweezers.
Check Your Plastic
Glancing at the reel of plastic attached to the side of your 3D printer may be perfectly fine if you've recently fitted a new spool. However, after a few dozen prints, you may want to make sure you have enough for the task at hand. Although it's quite difficult to gauge by eye how much plastic you have, in terms of length, it's possible to unroll just enough to check without making too much of a mess of the spool. You should be able to unroll around a couple of metres' of plastic from the spool without too much difficulty, which is generally more than enough for most of the print jobs you'll likely send through to the printer at any one time.
Some software will tell you roughly how much material will be used for the job at hand. The UP! Plus 2 software, for example, is reasonably accurate at letting you know how much in length the current print job will consume. More often than not, though, the software will simply slice the model and start the G-code process, so it's always best to quickly check the amount of plastic on the spool before you commit to the print.
It's fairly easy to add more plastic should you run out mid-print. All you need to do is pause the print and run through the priming of the extruder, adding the start of the new reel at the end of the old one, making sure there's enough plastic in the extruder reservoir. Or you can just be at hand when the plastic runs out, and feed in the start of the new reel at end of the old without pausing the print. It depends on the printer model. It may sound very simplistic, but you'd be surprised at how many users print away without considering how much material they're using. After all, most of us print on paper without checking the ink levels every time.
Setting Up The Software
As with the hardware calibration, setting up the software is also a vital step in the setup of your printer. Most printers use different software packages to control the printer itself, so it's a little difficult to pinpoint any particular issues inherent to one program over another. However, as with most software, the values contained within can become corrupted for a number of reasons: crashes, software updates, hardware upgrades and firmware updates can all contribute to the parameters of the software being altered in some way. It's not often it happens, but you can guarantee if it can, it'll happen just when you least expect it or when you need to do something important.
When you first set up your printer, you'll no doubt enter the model into the software or run through some sort of calibration routine where the printer will determine the dimensions of the print area and the measurements of the Z axis. If the initial calibration is successful, make a note of the numbers used. Should they ever be wiped or corrupted in any way, then you can return them to their default working values easily.
The initial setup is relatively easy and the instructions for your model of printer will no doubt be included with the print itself, but pay special attention to the section that involves the movement of the printer either manually or automatically. This is where the printer will be fine-tuned to the dimensions of the print bed and the nozzle, as well as the movement of the motors.

