How to Connect Windows 7 to XP

Sharing files between Windows 7 and XP is a simple task. Do the following steps to access a shared XP based computer from windows 7.
To view and transfer files between Windows 7 and XP based computers, both the computers must have same 'Workgroup' name. Lets check the 'Workgroup' name first.
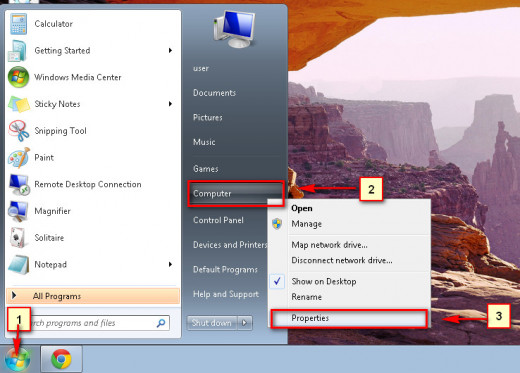
1. Click Start, right click Computer, and then click Properties.
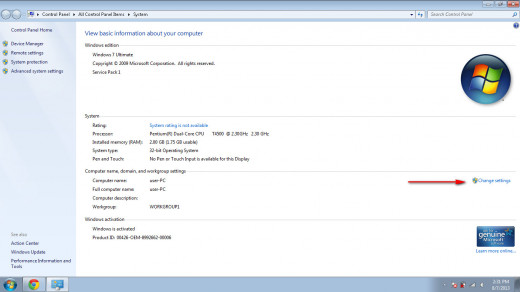
2. You can see the workgroup name under Computer name, domain, and workgroup settings.

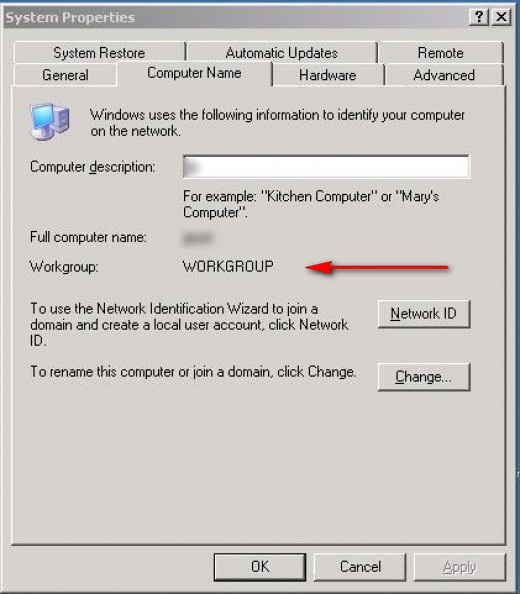
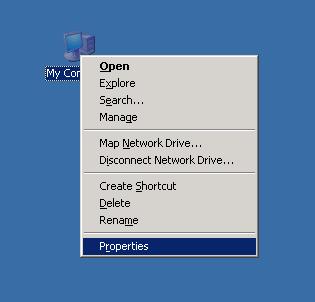
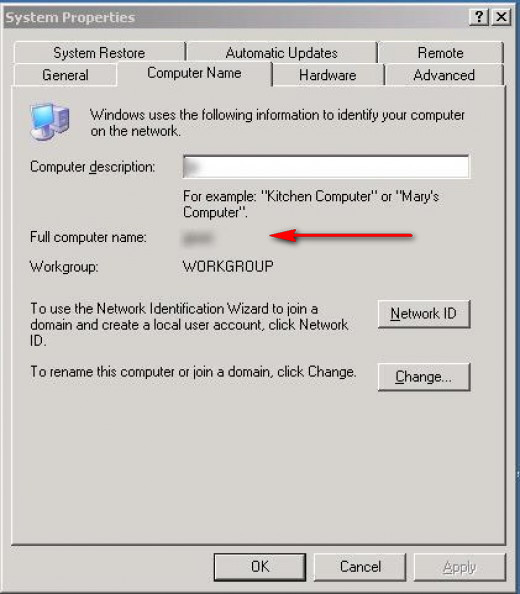
3. Now, You should check whether the XP is also having the same workgroup name. To do that. right click on the 'My Computer' icon in XP and select 'Properties'. Click the 'Computer Name tab'. Here you can see the workgroup name. If both have same name, skip to step 7.
4. Click Change settings, if you want to change the name of Workgroup.
5. Clicking 'Change settings' will take you to a 'System Properties' window. Press the 'Change button'.
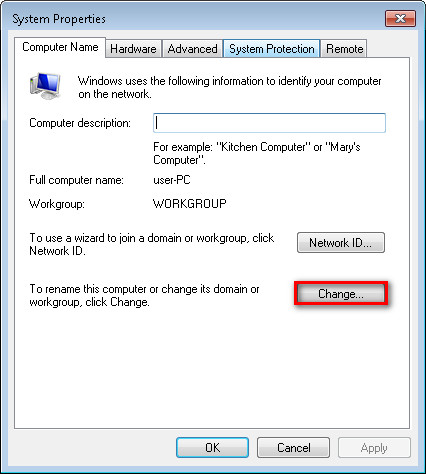
.
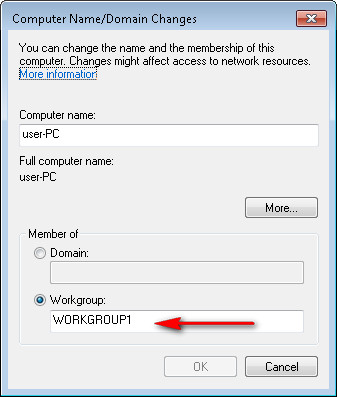
6. The 'Computer Name/Domain Changes' window will appear. Here you can change the name of workgroup. Press the OK button. The computer may restart. (If you want to change the workgroup name of the XP based computer, then right click on the 'My Computer' icon in XP and select 'Properties'. Click the 'Computer Name tab' then press the 'Change' button. Here you can change the name of workgroup. Press the OK button).
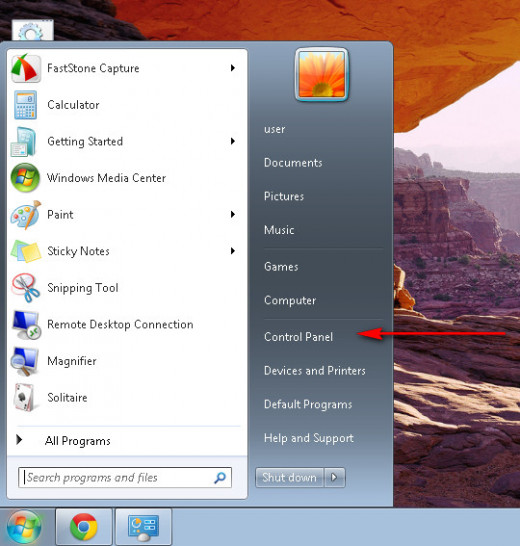
7. Click Start button , and then click Control Panel.
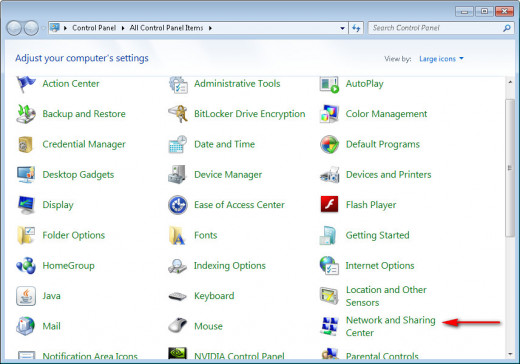
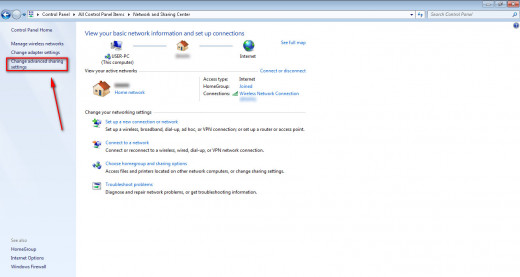
8. Click Network and Sharing Center.
9. On the left side of the window, you can see 'Change advanced sharing settings' link. Click on it.
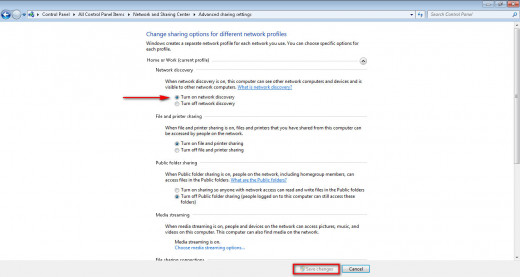
10. Click the 'Turn on network discovery' radio button. Then press the 'Save changes' button.
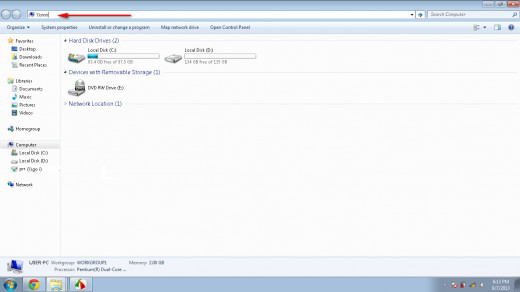
11. Go to 'Computer. Click the 'network' on the left side.
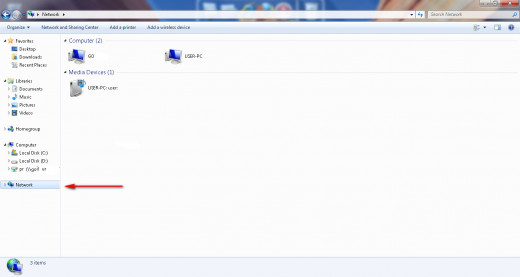
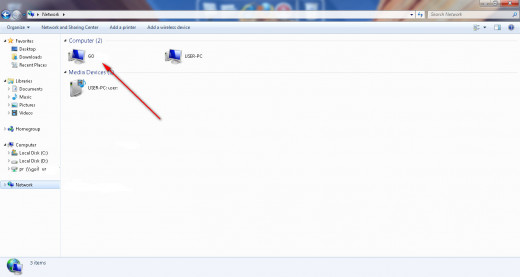
12. You should see the network computer now.
.
13. If Windows 7 does not detect it, then the Link-Layer Topology Discovery (LLTD) Responder component is not installed on the Windows XP-based computer. For more information and to install LLTD, go to the link below http://support.microsoft.com/kb/922120
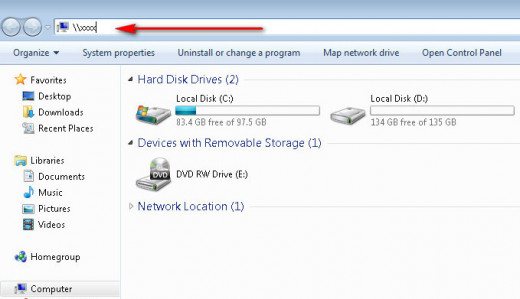
14. If you don't want to install LLTD, then type the network share path name in the address bar and press enter. The share path name looks like '\\xxxx'. Go to Step 15 to know how to find out the computer name in XP.
15. Right click 'My Computer' icon in XP, and then select 'Properties'.
16. Click the 'Computer name' tab. You can find the name of the computer on the right side of 'Full computer name'
17. Type the name in the address bar. If the name of the XP based computer is 'Speed', then type '\\Speed' in the address bar and press Enter key.
18. Now the network drive will be visible. If you have any question related to this article, please leave a comment.

 in Windows 7")