- HubPages»
- Technology»
- Computers & Software»
- Computer Software
How To Replace Audio in Windows Live Movie Maker

For everyone that's using Windows Vista or Windows 7, there's a great free bit of software to convert your home movies into a file that can be used to upload onto YouTube and author it in HD, as well as adding numerous effects to it.
However, a strange problem with Windows Live Movie Maker is that it doesn't appear to have the option for you to replace the audio track, or remove it all together. Don't worry though, there's an extremely easy way to do it.
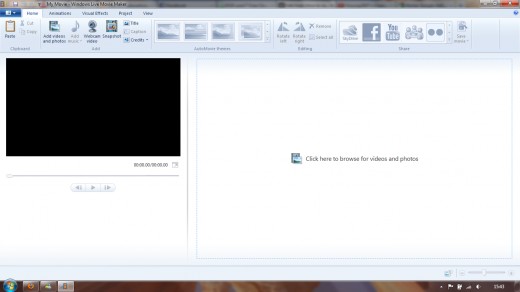
- When you have Windows Live Movie Maker open, open your video file of choice.
- Then, go to 'Edit', click on 'Video Volume' and you'll be presented with a slider. Move this slider all the way down to the left, where it shows a speaker symbol with a line going through a circle.
- Hit the 'Home' button on the top banner, and you should see the 'Add Music' button. Click on this, and navigate to your chosen audio file. It doesn't have to be music, as long as it's in a mp3 file, you can use it.
Success, you've just replaced the audio on your home movie in three simple steps. Movie Maker really is a great way to make professional looking movies from your home video files. It's perfect for making YouTube videos, especially since it's free!