Painting With Light Photography

Painting with Ligth
Painting with light in photography is a project that can easily be undertaken once you understand the characteristics and behavior of light and its effect on photography and the undeniably dependency which photography has on it.
Light is a necessity for photography, without light there is no photography. Painting with light is a photography project that can be easily accomplished once you fully understand the characteristics and behaviors of light.
Whether light is incidental or created, natural or manipulated, knowing how to use it can render photography as art. There are several ways of using any available light to create photos that would otherwise not be possible under normal circumstances.
A common photographic projects is to block part of the light and only use a small controlled portion of it to highlight certain parts or used to create special effects.
On a sunny day place a blocking agent such as a large cardboard between the subject and the light source, only leaving a small hole through which the light can pass. The size of the aperture will depend on the effect that you want. Focus on the portion that is illuminated and take the shot. This will have the same effect as shining a spot light in an otherwise darkened room unto selected parts of your subject.
Try placing colored cellophane panels between the subject and the light source to add color or to change the overall color rendition of the subject. You can also place colored filters unto the camera lens for the same effect, although it will be a bit more pronounced.
In a darkened room, Use the same techniques of placing colored cellophane or colored filters between subject and light for an unnatural ,yet aesthetically pleasing effect. If you want to make one particular color really stand out, then use a spot light with a colored filter of the color that you want to highlight and shine it unto the subject, such as red for a red flower which is surrounded by other colors. Much like you would find in a wild flower field.
Another useful technique for creating special effects is to use translucent subjects such as glass, even marbles. and shine a small spot light directly at the colors that you want to highlight. This takes a little bit of planing and re-arrangement of the subject since the idea is to point the light source at the subject from behind.
For example; take a cardboard box or anything that will hold glass marbles, arrange the color marbles of your choice so as to concentrate them together, surround these with other colored marbles. Make a small incision at the base of the box, shine a light through it and photograph from above. Note: use only enough light to create the effect, a pen light is great for this. A stronger light will render the shot as darkened silhouettes/shadows.
A holiday project which can be used at any time, is to shine colored lights ,such as red for Christmas,at the background of your subject (make sure that the light source is hidden from view), thereby casting a slight tint on the general finished product. If you don't want to add a tint to the finished product, then the background light source should be of lower intensity as that from the main light source.
You also need to have the background separated by several feet from the subject, otherwise the main light source which is used to illuminate the subject will overpower the reflected color. By using a plain white background and this technique, you literary have multiple backgrounds.
A general rule for adding "warmth" to photos, especially portraits, is to use an orange filter on the camera lens. Alternative materials are warm colored cloth, such as skin toned t-shirts, pantyhose, warm colored walls, yellow or taupe colored ceiling or gold colored reflectors, whatever will reflect a warmer tone back to the subject.
The reverse effect of adding "coolness" to a shot is to use light blue to blue materials as filters or reflectors. The setting Sun provides an excellent glow that adds a general warming tone to any photo. Take advantage of opportunities to photograph just before the Sun retreats below the horizon.

Of further interest

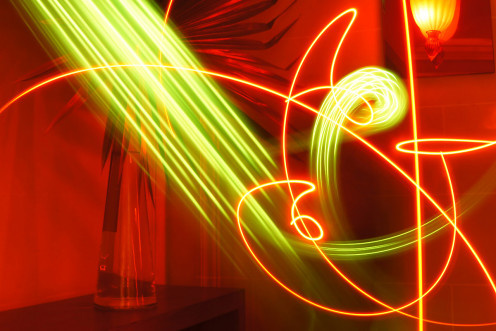
Off course if you really want to "paint with light", then night shots are ideal but dusk offers good opportunities as well.
Basically anywhere where the light is dim will work.
Use the camera's B setting to record lights from car brake lights, neon signs, stars, fireworks etc.
You can use glow sticks, like the ones that divers or cave explores use.
Have the subject "draw" or "write" in the air while you record it with the B setting.
Note: the B setting stands for bulb on most cameras, and will keep the shutter open for as long as you depress the shutter button.
You will also need a tripod because the shutter speeds required for these shots will be slow.
- Painting With Light | DIYPhotography.net
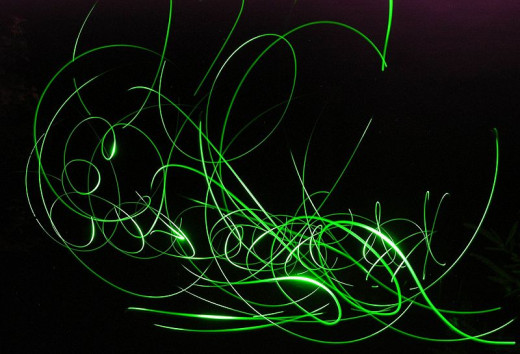
Painting with light is a fun technique that gives great results. It is called painting with light because this is what you are actually doing while taking the shot - painting with light. You don't need much to experiment with this kind of shot, just
Was this interesting?
© 2011 Luis E Gonzalez


