DIY Candy Corn Party Favors And Decorations

Making Your Own Creepy Candy Corn Decorations And Party Favors!
Having a Halloween party this year? Have you thought of making your own party favors and decorations?
If you enjoy making things I'm sure you'll have fun with these ideas, I sure did!
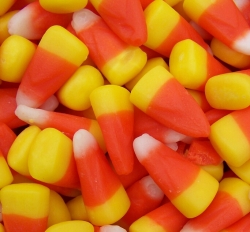
I love candy corn, and I love creepy things. So I thought why not put the two together?
I have several decorating ideas here that have to do with candy corn and creepy crawlies. I hope you enjoy!
Photo Credit: Flickr
Candy Corn Monster Ball
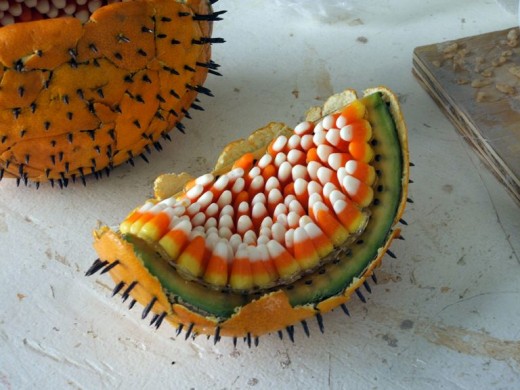
Candy Corn Monster Ball
All you'll need are one inch nails, a cantaloupe, orange peels, candy corn, and a hot glue gun with glue.
1. Begin by the peeling oranges. Peel at least 3 oranges or up to 12 depending on how much of the cantaloupe you want to use. You can eat the oranges later, or make fresh squeezed orange juice! Yummy!
2. Cut the cantaloupe into a good sized wedge and remove the seeds. Now it's time to hammer your nails into the flesh of the cantaloupe until it goes through the rind, and stops against the flesh.
3. The orange peels are ready to be added. Just press against the nails and let the peel go through, and rest against the rind. The peels should look like the ones in the picture and they should fit together evenly.
4. Next, get your glue gun ready, and start gluing the candy corns on top of the nail heads. If you're working with your kids, be sure to tell them glue's HOT!
Repeat with the rest of the melon if you choose, but just the quartered pieced looks good by itself. It's up to you!
My Halloween Tree!

I made this by going into the back yard, and getting some cool looking twigs. I also got a clear container and some rocks to stop the container from falling over, because the "tree" was top heavy. Then I decorated the twigs kind of like a Christmas Tree. I made a candy corn garland, and hung it on my Halloween Tree along with a fake bat and some spiders.
The rest of these pictures I took myself.

Candy Corn Garland
This was really fun to make. It was like making a popcorn garland, but there were a few small issues.
This garland was a little tricky to make, but I've given some tips on how I did it.
1. First, you can't run the needle through an area where the two colors meet or the candy will break apart.
2. What I did was run the needle through the middle of the orange color. Sometimes the candies broke but not very often. And when they did, I just had a little treat to eat!
3. Another thing, it was a little hard running the needle through the candies. I defiantly needed a thimble to help push the needle through so it wouldn't hurt my finger.
4. The last little problem was that the needle kept getting chunks of candy stuck to it, making it even harder to run it through the candies. So I had to keep a wet paper towel nearby to clean it off every once in a while.
I made this in one evening, and I absolutely love the end result! It's one of my favorite decorations I've made. It does the trick to get into the Halloween spirit!


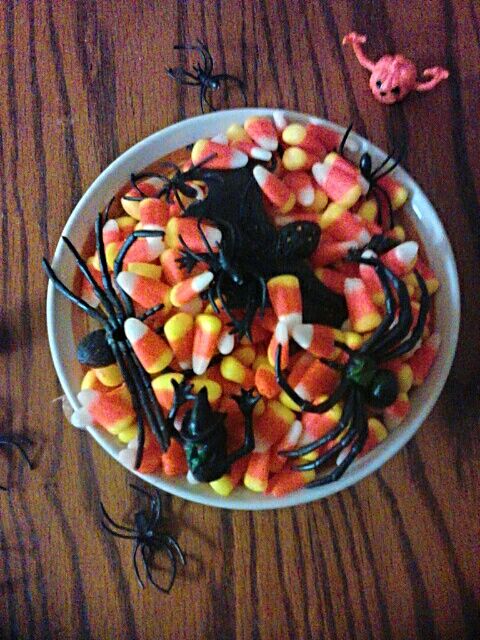
Candy Corn and Creepy Crawlies - I love this idea, I bet you could get some attention with this!


Come And Get Some, I Dare You!

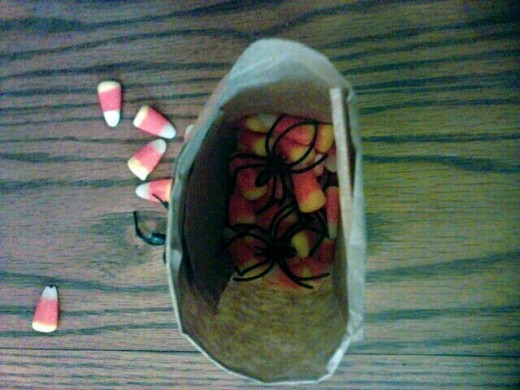
DIY Candy Corn Party Favors
You can put anything you wish into these pockets for the kids. Watch their faces as they get a surprise when they open them! :D
The Lady Behind The Curtain made these cool Halloween party favors, and I got permission to share them with you.
I've included the link, all you have to do is click on the picture to see the directions.
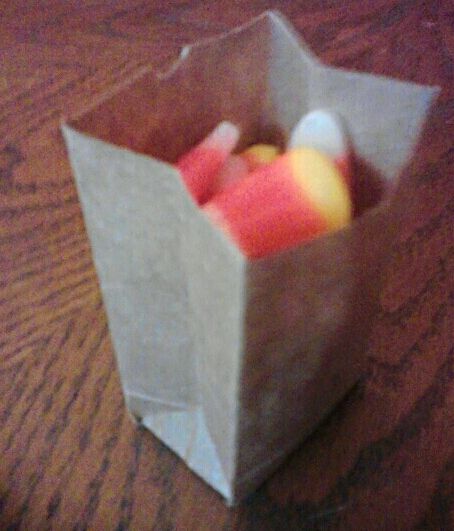
Mini Paper Bag Party Favors!
I love this, it looks like I just came home with a shopping bag full of giant candy corns!
I made this mini bag by following the instructions in the video below. I even made the little semi-circles paper bags have.
I didn't have any stamps to put on the bag, but it still looks fine to me.
But if you have some Halloween stamps in your possession it might make it a little better.
How To Make A Mini Paper Bag - For party favors
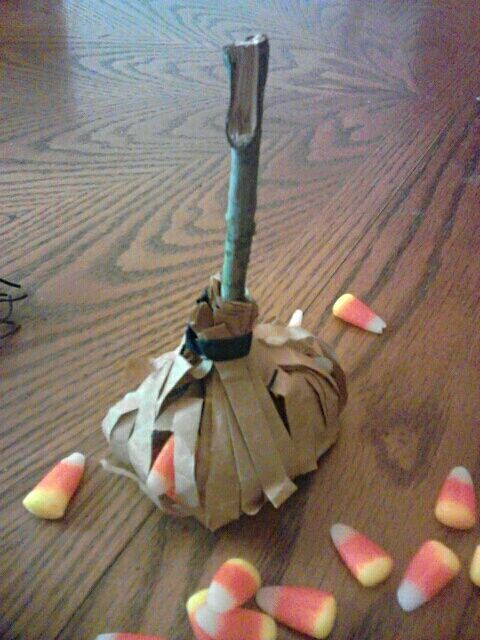
Witch's Broom!
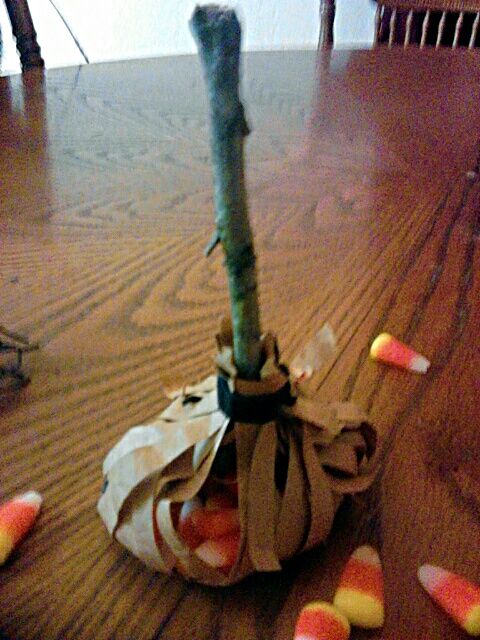
I got this idea from the Martha Stewart website, I liked it so much I made my own.
I made my own little paper bag, and I didn't get too fancy with it because it was going to be cut up anyway.
Once I finished the bag I cut little strips all the way down to the bottom on all sides till it looked like this:
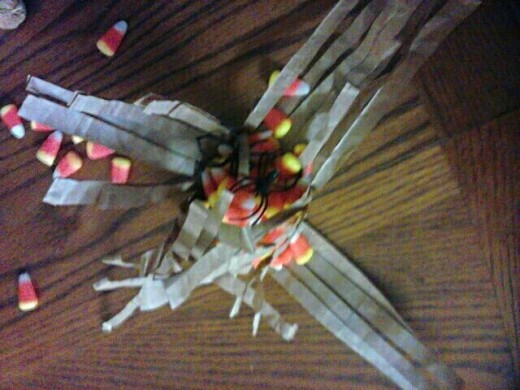
Then I took a stick from the back yard and wrapped it with the strips and tied the strips to the stick with a black ribbon. I then cut the strips evenly right along the ribbon. Voila! A witch's broomstick: