How to Make a Personalized Flower Pen Using Floral Tape

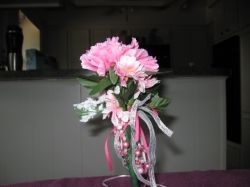
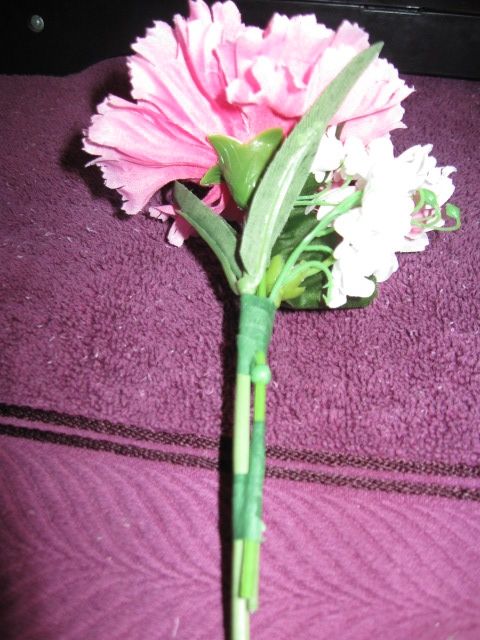
Custom made flower pen

A special pen for a special girl, a personalized flower pen.
A flower pen is a fanciful pen that is made to look like a flower. The pens are enjoyed by adults and children.
This lens will detail the materials, instructions, and possible pitfalls of making personalized flower pens using floral tape. While I have made many of these over the years, I have never done one with beads and charms.
I came across a remarkable young lady recently. She is 8 years old. She's very smart, but she has difficulty writing. Because its hard for her, she doesn't like to do it.
She said she wouldn't mind, if she was writing about something she was interested in, or cared about. Out of the mouths of babes. While she was telling me all of this, over cookies, it occurred to me that someone needed to make writing more fun for her.
A larger pen would make it easier. I mentioned this to her and she said she knew. She had some and they were easier. But, she was embarrassed to use them at school because they were ugly.
Pretty pens are more fun for kids to use
Little girls love to talk.
While getting to know her, I found out her favorite colors and a few of the things she liked. She's the daughter of a co-worker of my husband.
This article, and the pens produced to illustrate the process of how to make a personalized flower pen, are dedicated to her. I will send them to her father, via my husband along with a diary in hopes she will practice her writing at home.
These are fatter because I used so many flowers. Using a pen that's a little fatter should make it easier for her to write.
Since I'm using her favorite colors, flowers, and a few charms of things she likes, it will be personalized just for her. As long as I can keep it from being ugly, I think it's all golden.
A special pen for a special girl.
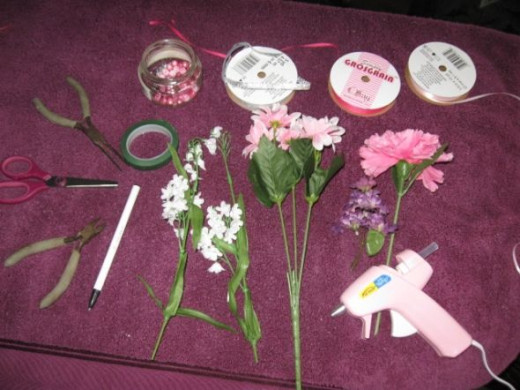
Step one - Assemble the materials.
Get everything together that will be needed.
Getting everything together at once makes the whole process go faster. It's annoying to have to stop in the middle and go hunting for needed items.
The materials used to make the pen in the picture.

When using beads, be sure to keep them from rolling about.
Notice, the small jar. This is for holding beads. I got the beads for the project this morning, along with the flowers and charms. The beads are easiest to work with if you leave them on the string they came on.
Inevitably, I always have some escape, hence the jar. If stringing your own, use a beading tray to prevent such escapes.Be careful not to leave any escapees on the floor. Someone will step on it. It will roll. They will fall.
Be diligent in your pursuit of all escaped beads. They are to be considered highly dangerous, especially for me, who is considered an accident waiting to happen.
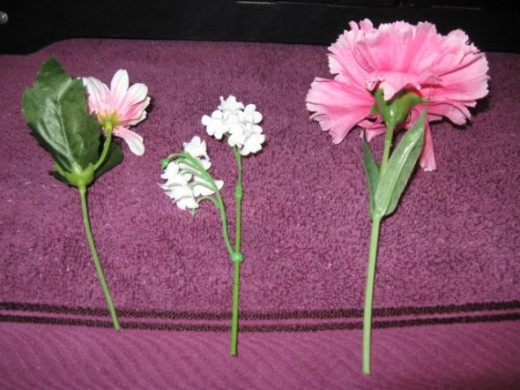
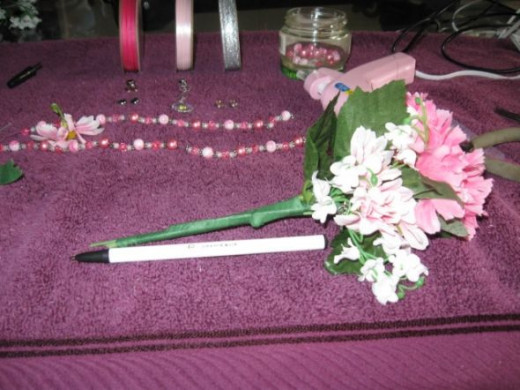
Step two - Pick the specific flowers you are going to use.
Lay them out where you can see them all, but keep the original bouquets close in case you mess one up, or need a filler flower.
Lay out the flowers to be used
Pick your specific flowers. I bought these on sale. They were the right colors and only $.99 each. The little purple one I already had, but ended up not using.
Step three - Start cutting the flowers.
Using the wire cutters, cut out the flowers you wish to use from the bouquet.
Always cut fake flowers pointing down

Use a firm grip on the tool and the flower. I have had them pop up on me when not really watching what I was doing. There's nothing like a rose bopping you in the head to get your attention. Placing the flower downward towards a work surface, like in the picture, helps prevent that. I find it easier to cut holding them up in one hand, like you would carry a bouquet, but that's what results in me getting flowers to the head.
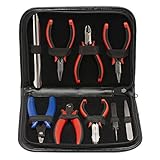
Tools needed:
Keeping flowers monochromatic with only one or two accent colors works well.
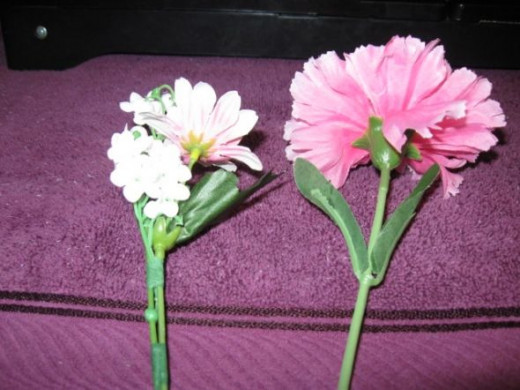
Step four - Start building your bouquet.
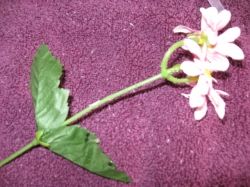
Experiment with one or two flowers at a time.
I like the one in the photo here, but the leaves are too low.
NOTE: If you want leaves, you will need to push them up the stems before you start taping.
I like to keep some of the leaves. It looks more natural and ties in the color of the floral tape nicely.
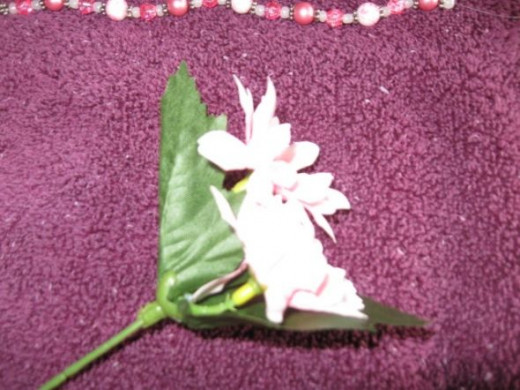
Three lonely flowers.
Three become two, - when flowers start connecting.
And, two become one.
Hold tightly at first to be sure nothing moves on you.

Step five - Keep adding in the flowers.
Bind each new addition with floral tape as you go.If you're like me, you may be thinking I don't need that much tape. One quick wrap around the top, and I'm good to go.
When using multiple flowers, be sure to bind at top and bottom. I don't know why, but the flowers seem to have a mind of their own.
They will start to slant and wiggle if you don't tape the bottoms.
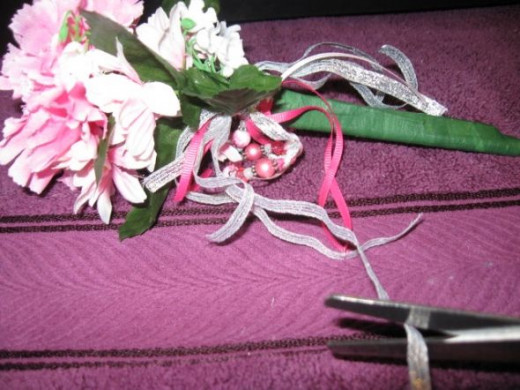
Step six - Lay the bound flowers by the pen.
Trim any stems that need it using the wire cutters.
Cutting the flowers can result in flying bits.
Be careful. When cutting off little ends they tend to snap and fly sometimes. If doing this in a group, always turn away from others to make the cut. It's a good idea to turn your own head as well, or wear goggles. I have never been popped in the eye, but I have had one hit me in the face. Keep stems shorter than the length of the pen minus the tip.
Use the back of the open cutters not the front to make it easier on your hands
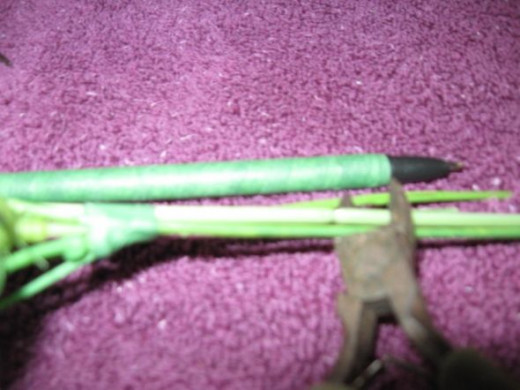
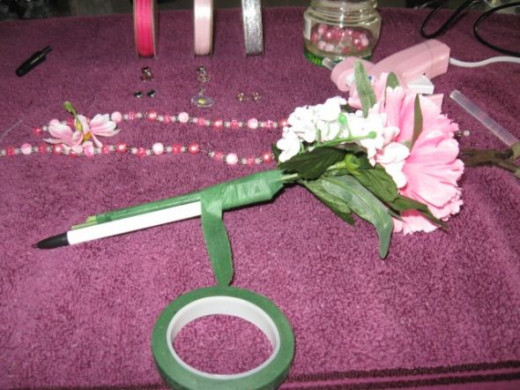
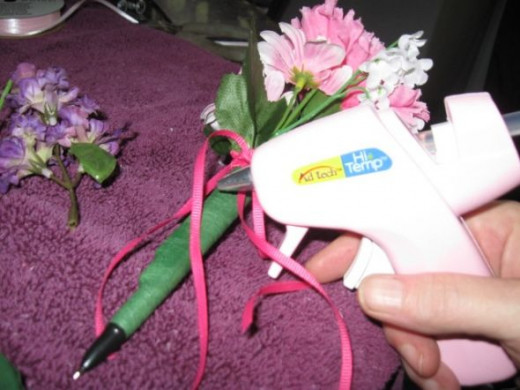
Step seven - Hold pen and flowers and start wrapping.
Wrap the pen and the bouquet together using the floral tape. Start at the top and work your way down. Keep the tape taught as you go.
Try to keep the tape tight
Step eight - When you get to the bottom, make several layers of tape. Cut the tape.

Pull the tape and press it down firmly.
Step nine - Repeat the winding of the pen starting at the bottom and work your way up.
Because there are several flowers used, multiple layers of tape will be required to hold everything together firmly over time.
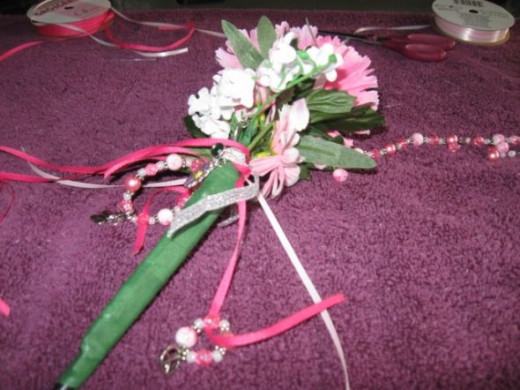
Be sure to do a few extra tape loops at the bottom

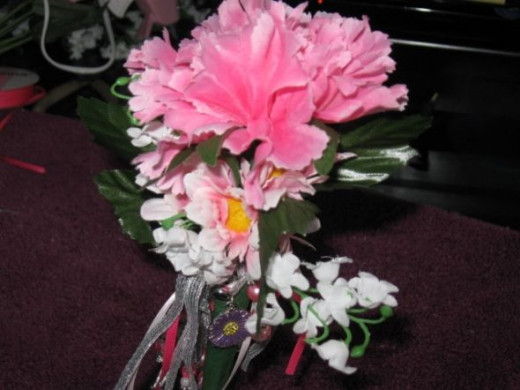
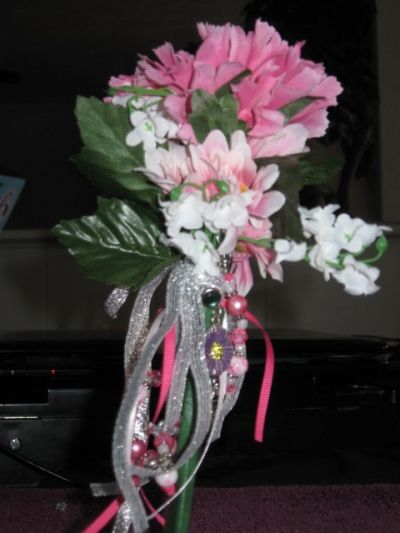
Adding charms, beads or stones adds visual interest to the flower pen
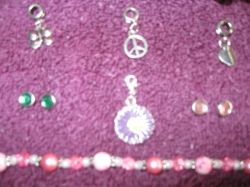
Step ten - Bling it up.
Bling it up. For this pen, I used light and dark pink, very thin ribbon. I also used a thicker silver, shimmery ribbon, and several charms, all representing things the young lady had told me she likes, such as peace signs and flowers.
I had wanted to do a unicorn charm too, but could not find one at the store. I needed to get it done by the end of the day.
Cut your selected ribbons. Use the tiny twisty to affix the charm to a flower, or string it onto the ribbon. I got the twisty tie right out of the package the charm came in. It was holding the charm in the package.
I did one charm with the twist tie, and one just stringing it on the ribbon. I won't be doing the twisty tie again.
Time saving tip -
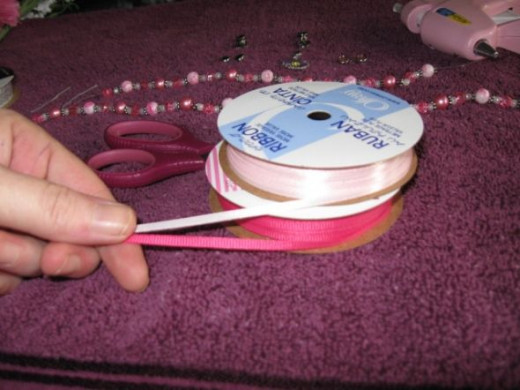
If you want your ribbon the same length, but don't want to measure, pull and cut both spools at the same time.
I can't say I would recommend the twisty tie.
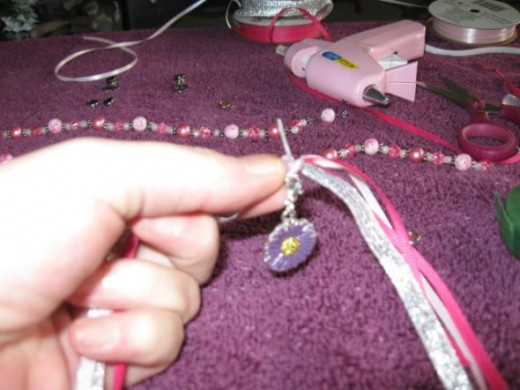
It was awkward to work with and I don't like the way the charm hangs from it. I do think it would be useful for affixing a larger charm right in the center by tying it to the pen. The connection could be covered with ribbon allowing the charm to peek out underneath.
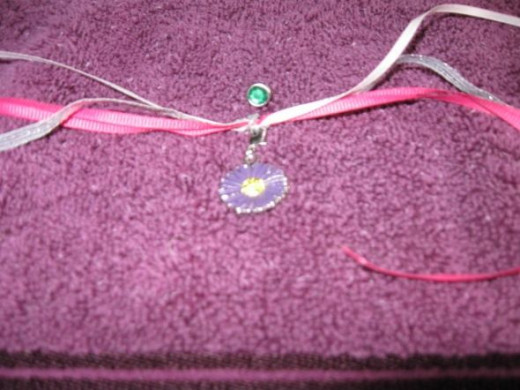
Purple flower charm attached to ribbon with a pronged gem stud
Be careful with the glue gun.
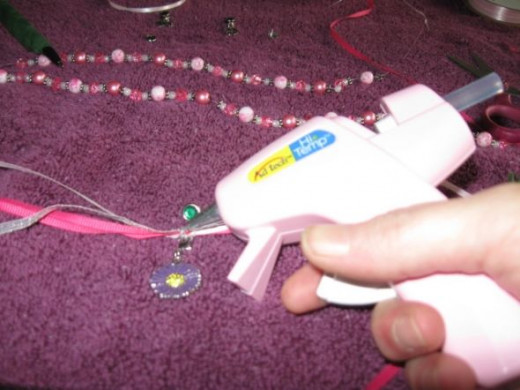
Seriously. I know better and I still got a small burn. It was my own fault for not having the materials spread out enough. I'm not used to taking pictures while I work. I laid the glue gun down and grabbed the camera. The phone rang, so I sat the camera down, grabbed the phone and leaned on the table when answering. Yep. You guessed it, right on the gun, of course. Owch!
My favorite pick.

Using the needle nose pliers, separate some of the charms from the barrels
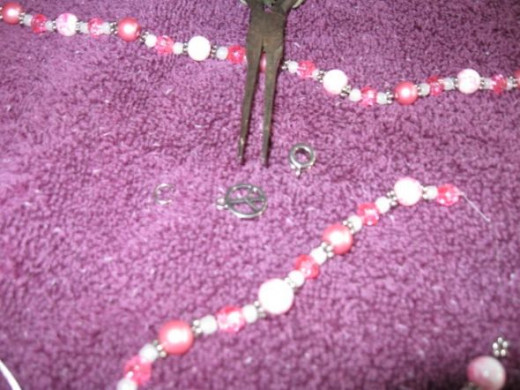
I used the pliers to open the little metal ring that was holding the charm. I placed the charm on the bead strand and closed the ring with the pliers. The ring is tiny. I had to have really good lighting to be able to see it. I started adding them to the pen by connecting with one ribbon at a time using simple knots.
Three charm rings for the flower pen

Step eleven - Trim off any excess ribbon.
It needs to be shorter than the length of the pen minus the tip. Make the cuts on a diagonal to give a more finished look.
Step twelve - Embellish and cover holes.
Using a hot glue gun, glue down flowers, studs, jewels or charms anywhere up top where the pen and bouquet meet that might have a hole or look too thin.
Finally!
All done. Yahoo. Do the happy dance.
This was fun and I learned a thing or two to apply to more detailed pens in the future.Many schools have stopped teaching cursive writing in America. So many children can't write well. I hope for at least one girl, that changes.
It was so much fun. I did two. - I already had everything out.

Go inspire someone to write something brilliant with a brand new pen, made for a special someone, by a special someone, you.
Pink flower pens will be adored by many a little girl and some big ones, too.
These are so much fun to make.
Be it for a party, classroom project or just some crafty time spent with the gal pals, this easy project is sure to be a hit.
It's really good for fundraisers, gifting large groups and appreciation mementos.
How many times have you had to hunt for a pen?
Never again with one of these.
Many a teacher keeps these in a flowerpot on his or her desk ensuring a pen is always on hand when needed.
To really jazz it up, add in some lollipops or pixie sticks for a sweet look.
Ingredients:
- Artificial flowers
- Glue gun with glue stick
- Floral tape
- PenTwist ties - tiny (optional)
- Wire cutters
- Needle nose pliers
- Beads, charms
- Ribbon
Time required -
Prep Time: 5 minutes
Total Time: 10 to 15 minutes, depending on how fancy you get.
Serves: 1
Instructions
- Assemble the materials.
- Pick your specific flowers
- Using the wire cutters, cut out the flowers you wish to use from the bouquet.
- Start building your bouquet by taping flowers together.Keep adding in the flowers binding with floral tape as you go.
- Lay the bound flowers by the pen. Trim any stems that need it using the wire cutters.
- .Hold the flower bouquet in place beside the pen.
- Wrap the pen and the bouquet together using the floral tape.
- Start at the top and work your way down.When you get to the bottom, make several layers of tape and cut the tape. Pull the tape and press it down firmly.
- Repeat the winding of the pen starting at the bottom and work your way up.
- Cut your selected ribbons and tie on charms and beads.
- Trim off any excess ribbon.
- Using a hot glue gun, glue down flowers anywhere up top where the pen and bouquet meet that might have a hole or look too thin. Go inspire someone to write something brilliant with a brand new pen made just for them.
© 2013 Rhonda Lytle


