Photographing Flowers - My Tips


Lovely Flower Photographs
I fell in love with taking close-up photographs of flowers. With my camera, I can capture a flower and keep it forever. It appears on my computer screen larger than life with every detail of petal, dew drops and pollen there for me to see.
Maybe you would like to take lovely flower photos. Take a look at my photo tips below where I tell you what I've learned so far. This lens also displays some of the Zazzle gifts I've created using my flower photos. It's lots of fun to turn your photos into mugs, mousepads and tote bags on Zazzle.
(photo by Virgina Allain)
My Photo Tips for Flowers - And Links to My Other Nature Photography Pages

►It's important to get in close to the flower. Morning or late in the day are better times for good lighting. Noontime lighting washes out the flower, overexposing it.
►Find the macro setting on your camera and use that when you are close to the flower.
►Hold the camera very steady while clicking the shutter. Use the grid system (like tic-tac-toe) with the important part of the flower showing where the grid crosses.
►Take a lot of photos, keeping the best one or two and discarding the rest.
►Look at photos by others on Flickr or Pinterest. Analyze which ones catch your eye and have the strongest appeal. You have to train your eye.
- Tips for Taking Mushroom Photos
One particularly rainy summer in New Hampshire I became a specialist on photographing mushrooms. I never knew there were so many unique and colorful mushrooms. - Take a Fall Photography Walk
Tips for making the most of a walk that will bring back some great photos.
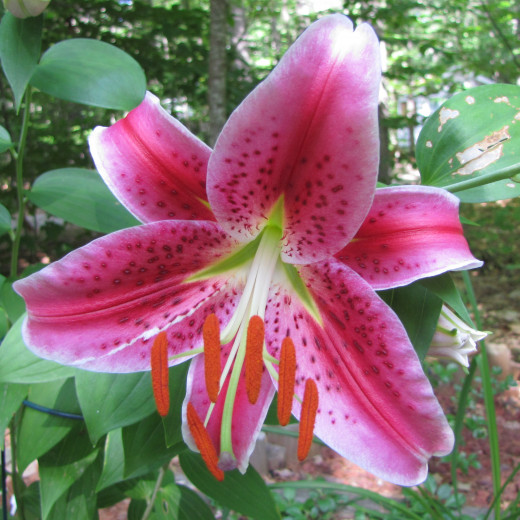
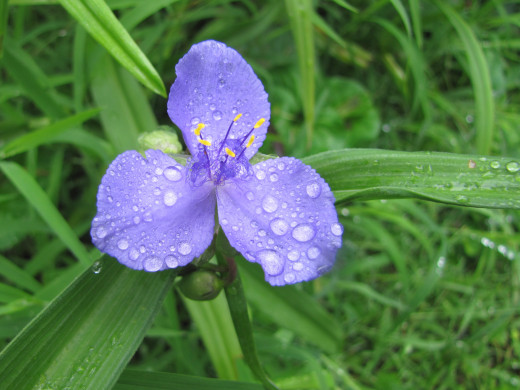
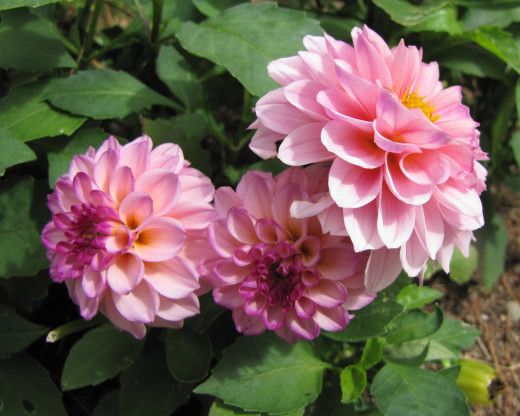
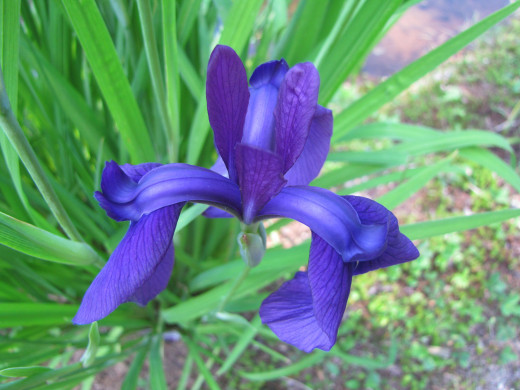
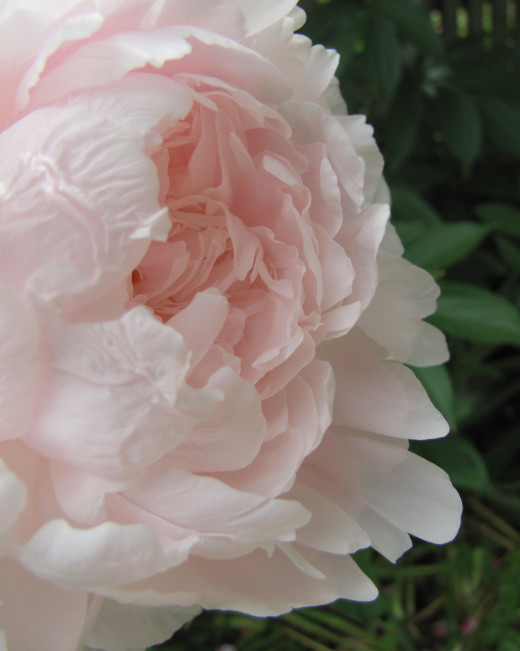
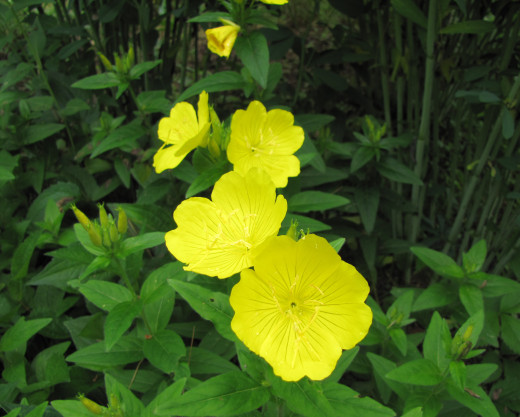
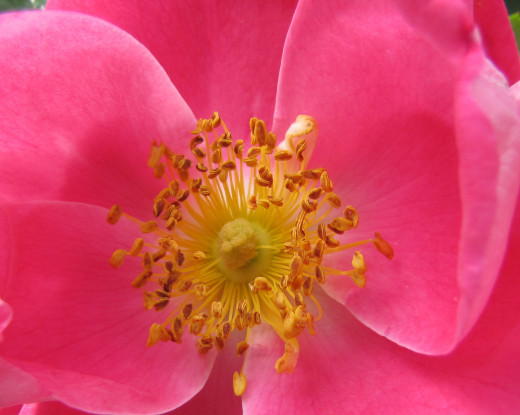
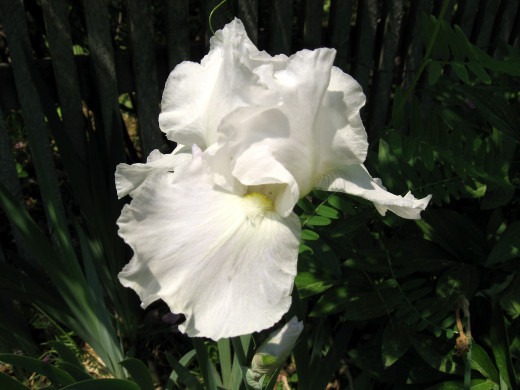
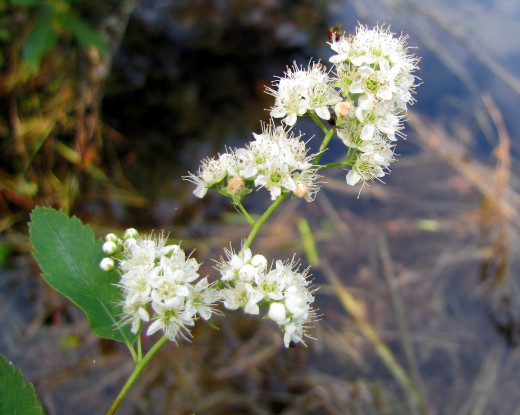
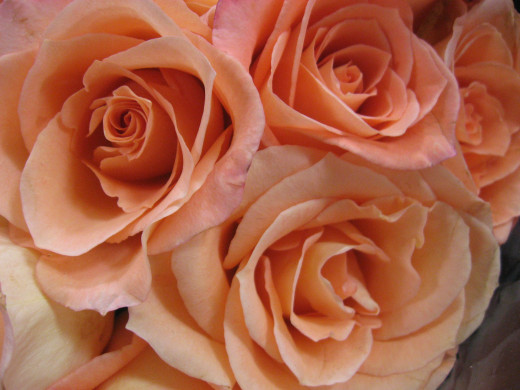
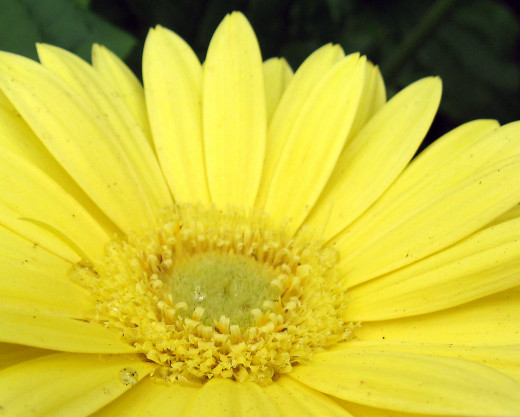
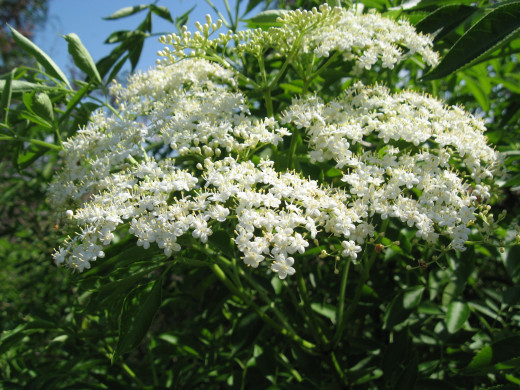
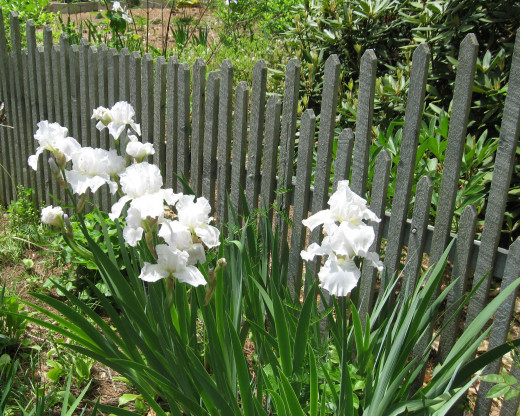
Some Favorite Flower Photos - Taken by Virginia Allain
Click thumbnail to view full-size


Some Cameras and Gear to Consider
I use a Canon Powershot A550 for my flower photography. It works great. Last year I upgraded to a Canon Powershot SX20is. What a great camera! The A550 is handy as it fits in my pocket when I take a walk in the woods, but for capturing wildlife, you can't beat the SX20is with all that zoom.
Of course, for really crisp flower photos you'll want to use a tripod.

Spring Flowers
Springtime Is a Great Time to Take Flower Photos
Grab your camera and capture the beauty of springtime. After the dull colors of winter, the bright colors of tulips, lilacs and forsythia brings joy and freshness to our lives. Here's how to get beautiful spring flower photos.
Instructions
- Find the flowers, wherever you can. Maybe you're lucky enough to have a yard full of daffodils, crocus and iris. If not, take a photo walk around the neighborhood or to a park. People usually don't mind someone taking photos of flowers along the sidewalk. Don't venture into anyone's yard though.
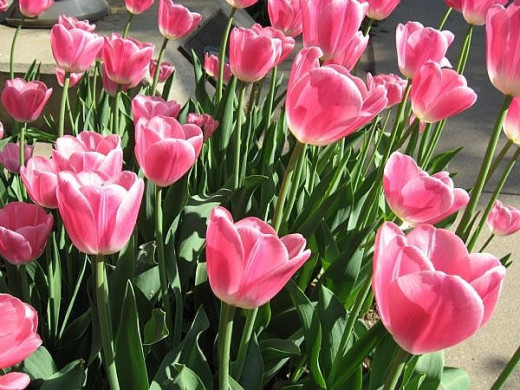
- Take some overall shots where there are broad swathes of color. These tulips were in entrance to the Wichita Botanical Gardens for all to see without paying admission. I'm sure there were more lovelies inside the garden, if I'd had more time.
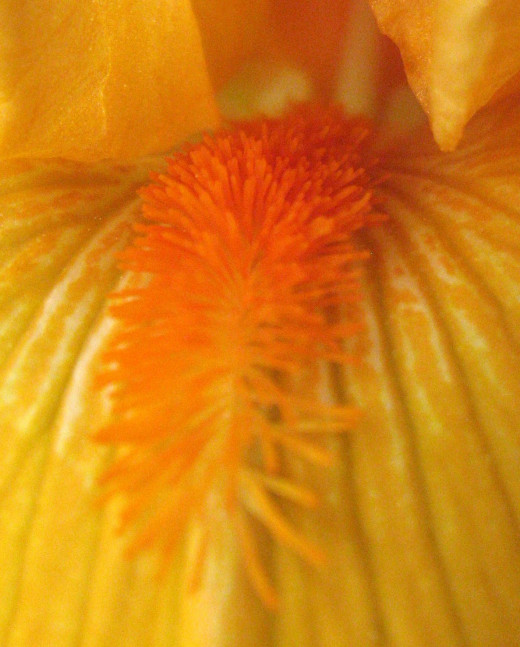
- Get up close and personal with the flowers. Isolate a particularly gorgeous specimen and take photos from several angles. Take photos from the side, from the top, and from underneath.
- Go out early in the morning and late in the afternoon to get the special light on the flowers at those times. The sun at noon is not good for photos. You want that luminous look and shadows to create good photos.
- Don't forget the flowering trees. They are a treat in the spring. Stand back to get the full view. Then get in close and get a macro of a clump of flowers on a branch. To get a macro, set your camera on the close-up setting. On most digital cameras, that is the one with the flower icon.
Tips & Warnings
- Avoid windy days when the flowers won't stay still for the camera. Sometimes early in the morning, there's less wind.
A Tripod Improves Your Steadiness for Better Photos

Flower Photography Tips - Video on You Tube
Books on Macro Photography - from Amazon
I taught myself to take flower photos by the hit-or-miss method. You can make your life easier by getting a book by an expert and doing some reading. You'll find books similar to these at your public library for borrowing as well.
I find some great flowers to photograph at Walmart.
No wind, no harsh sun, and it's free.
Other Examples of My Flower Photos - for your enjoyment
I post them on Redgage and on my blog.

Find Ways to Share Your Photos
I've put mine on cards, mousepads, tote bags and other products using the Zazzle website.
You can also use your own photos to create fun and unique cards. A quality notecard can be costly and most are fairly bland, without being personal. You can make a greeting card from your own photos and personalize your message and design for its recipient.
Your greeting card can be as complex or simple as you want, and because it is customizable, you can create them for nearly any occasion. Keeping your own greeting cards on hand can also save you from needing to make a last-minute trip to the card store for a birthday party or other special occasion.
Things You'll Need
- Photos on 4-inch by 6-inch paper or smaller
- Blank notecards
- Doublestick tape
- Scissors or paper cutter
- Stickers
Instructions
- Keep on hand some blank cards. The cheapest way to do this is buy notecards at yard sales, dollar stores or from the clearance shelf of a discount store. Don't worry if they have a design on the front. You'll be covering that with your photo.
- Select a photo that has meaning to the recipient. For instance, if sending a thank you note after visiting someone, choose a photo that you took of something in their home or something relating to activities during the visit. Of course, your lovely flower photos can be used for any occasion.
- Attach the photo to the front of the notecard with doublestick tape. There are great tapes available for scrapbooking that are easy to apply that you can just roll on to the front of the card. You could use glue in a pinch, but it is harder to get a smooth, lump-free seal between the photo and the card when you use glue.
- Trim the edges of the photo if you don't have a perfect match with the card. Sometimes the card is bigger, and sometimes the photo is larger. After the two pieces are sealed together, trim off the excess.
- On the back of the card, cover the manufacturer's mark with a decorative sticker. Write your own logo on there so the recipient can see that you made the card.
- Hand letter something like this: "Made for you by ______" or "Especially for you by _____" .
Tips & Warnings
-
Look for blank cards that fit your usual photo sizes, such as 4-inch by 6-inch or 3-inch by 5-inch.
© 2009 Virginia Allain


