How To Cake Decorate The Easy Way Step 4
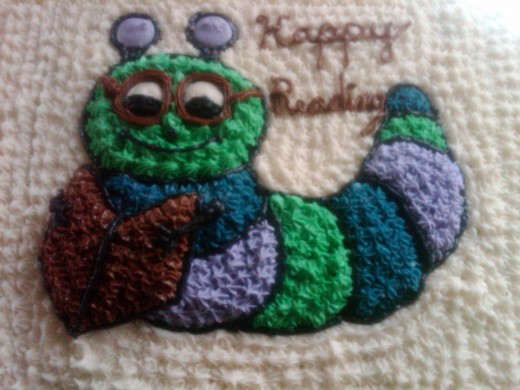
Before we proceed into this hub, let’s review steps 1, 2, and 3 (How to Cake Decorate the Easy Way). Step 1 talked about how anyone can draw on a cake, and showed the supplies that you need. In Step 2 showed you how to make your stencil to put on your cake. In Step 3 showed you how to use your decorating bag and how to do some of the basic decorating techniques. Now we are in Step 4. This is the final step showing you how to work with your stencil on top of a cake giving you the results of an artist.
I chose a picture of a caterpillar, which I found this a very easy one to draw on a cake for beginners and you don’t need a lot of colors to make this drawing stand out. This stencil is shown in How To Cake Decorate The Easy Way Step 2. Also in Step 2 you will notice in (Photo1) is the original drawing that you used to make your stencil. You will need to use it as a guide when decorating. This helps if you forgot to add something or if you cut out a part and can’t remember what the drawing looked like.
Getting Ready To Decorate Your Cake
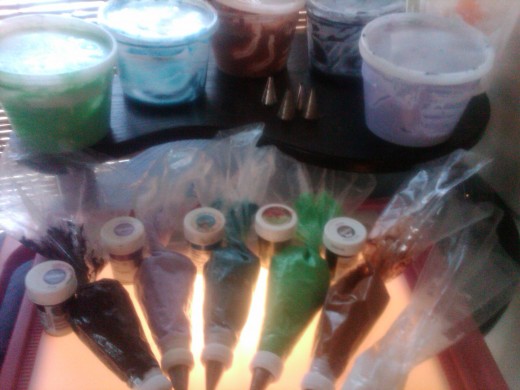
Now you have your cake all ready for decorating right? Your stencil is finished. You have your icing already made up with different colors for each container. And your decorating bags have some of the icing in them ready to be used. I will be using a brown box as my cake for demonstration.
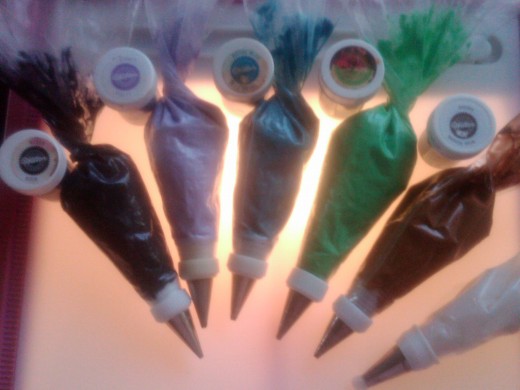
The Disposable Bags with colored icing and the clear containers with icing shows you how easy you can see the colors.This is like using paints on canvas, but instead it is using icing on cakes. Also you will notice each bag has a coupler. Couplers are great to work with because you can change your tips easily. For example; If you need the same color for decorating your cake but you need a different tip, then unscrew the cap, remove the tip, then put on another one, and then screw the cap back on. See (Photos 1 & 2) If you don't use a coupler and decide to drop the tip in the bag, and then add the icing, then it's going to be a bit awkward to change the tip and might get a little messy. And by the way you can use your Disposable Decorating Bags several times over.
For your drawing to stand out, use black icing for outlining, and white icing for the background. I will also show you how to make this drawing 3D just with icing. When your cake is finished it will look like the picture is popping out of the cake and I guarantee you that no one will want to cut that cake. So you better take a picture of it before it’s too late. So always have your camera on stand by and don’t forget to put the film in it…..HAHA!
Put your cake on something a little higher than your table when decorating. This will be a lot easier on your back. I put a bigger cake pan turned upside down sometimes or a little table or stool on top of my table if the table is too low.
Now that we have everything in place…..LET’S GET STARTED!
Using The Stencil
- Spread a thin layer of white icing on the top of cake.
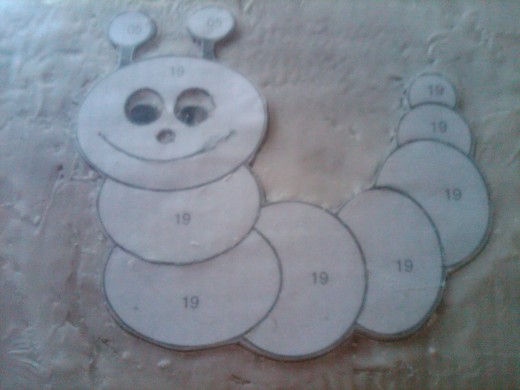
- Take your stencil and position it on top of cake. Once the stencil is on the cake, make sure you put it where you want it. Because once in place it will be harder to move the stencil around. Press the stencil down lightly making sure all the edges are down. (Photo 3)
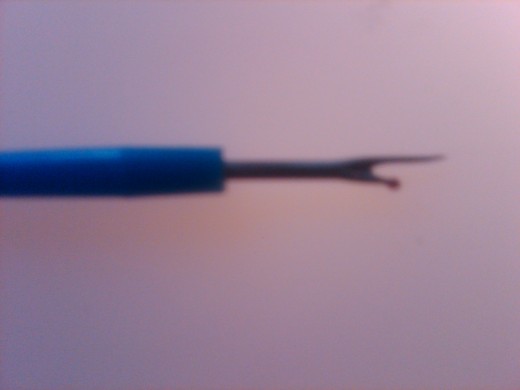
- Take your ripper and you are going to outline the stencil starting on the outside edge. Then do the inside, making sure you outline wherever you cut. When using the ripper, you will notice a little lip. That lip is going to touch the stencil lightly as you outline the stencil. I found using a ripper that way makes outlining a lot easier and makes your hand steadier instead of a toothpick and it is safer using the ripper. (Photo 4) Because when using a toothpick, you never know if it is going to leave a sliver of wood in the cake when you outline. I’m not saying that will happen, but it will depend on what kind of toothpicks you buy. So for me, I would rather be safe than sorry if you know what I mean.
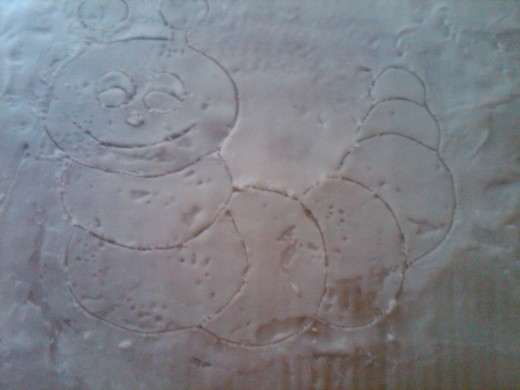
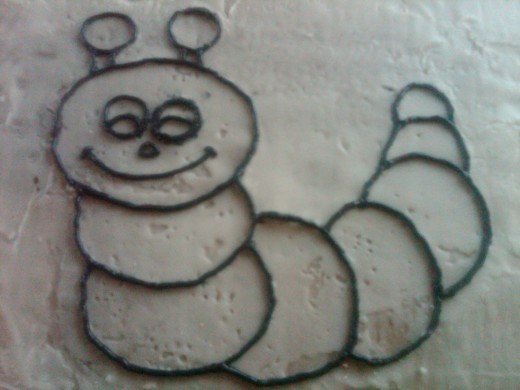
- Now slowly and carefully lift the stencil off the cake. I usually use the ripper to help lift the stencil along with the use of my other hand. Once the stencil is off, wipe the icing off the stencil. This stencil then can be used again several times over. You will now notice the outlines on the cake once the stencil is off. (Photo 5)
Decorating The Cake
- Take your black icing and outline the stencil with # 3 tip.( Photo 6)
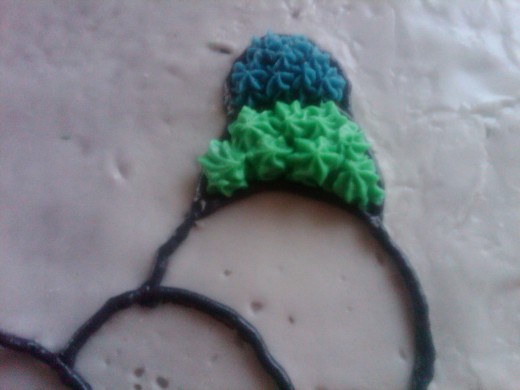
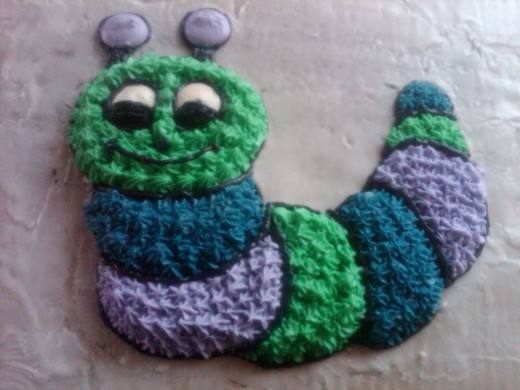
- To make a drawing 3D, study it. Look at the way it is drawn. Always look at the part that is further away from you, that is the part you ice first. Then check what part would be next to ice. For example; if you check out the stencil I'm working on, you see the circles, the first part I would ice is the last circle at the end of the tail. Then the next circle in front of that one and so on. To give that 3D look, all you do is put stars on top of stars till you are satisfied of the results. (Photo 7). The stencil is filled in with star tip #16. I found that the star tip # 14 works better in small areas than the 16 tip. The eyes are filled in with the round tips # 7 and 12. The antennas are filled in with round tip # 12. Now Re-outline the inside of the drawing. (Photo 8)
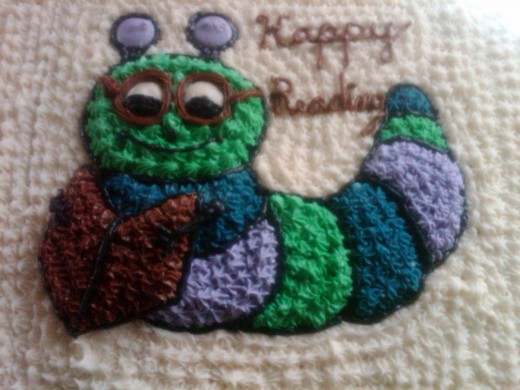
- Fill in the background of the cake with white icing, and use tip # 18, and then re-outline the outside of the drawing. Then decorate the sides of the cake in a Zigzag up and down motion with white icing with the same tip as the background. If you find the tip a little hard to do the sides of the cake, then go with tip # 21, it is a bigger star tip and a lot easier to work with.
- The last thing to put on the cake is the writing or the printing. I found that printing was easier for me when I first started doing cakes. All I did was get a 6 inch ruler and outlined a line on the top and bottom how long and wide I wanted my letters. I found capital letters were better and then once I got better at my cakes then I started to write on them. Which ever works better for you. If you decide to write, then I would go with tip # 2. I like using that tip when I write because it doesn't take much space as if you used tip # 3. (Photo 9)
And there you have it, your perfect picture. The more cakes you make the faster and better you will be. And by practicing with other cake decorating tips and with your imagination anything is possible in what you can create. So I hope you have lots of fun doing this.
Cakes From Classes

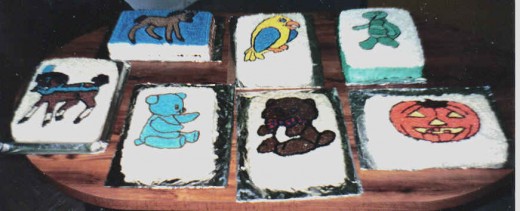
Photos Of Other Cakes
I have taught this cake decorating course to other people and I would like to show you some of the cakes they did in my classes.
You will notice in (Photo 10) two cakes that were not outlined in black icing, they don't stand out as good. That is why I suggest using black because it makes the pictures stand out better and makes them POP OUT of the cake.
In (Photo 11) shows some more cakes done in my classes.
SO IF THEY CAN PAINT ON CAKES.......YOU CAN DO THAT TOO......AND USE YOUR IMAGINATION........AND MOST IMPORTANTLY HAVE FUN WHILE YOU ARE DECORATING!!
