Preserving the Harvest-How to Make Rhubarb-Strawberry Freezer Jam

Strawberry Rhubarb Freezer Jam-A Taste of Summer in Winter
The day I made my first batch of strawberry rhubarb freezer jam I realized that I would never again have to leave the tangy taste of rhubarb and the sweet kiss of strawberries for summer, I could have it all year round! Before I learned how to make strawberry rhubarb freezer jam, and how to can in general, I always left rhubarb to the happy days of summer, seeing as my freexer is usually already full of beef and deer no room can be spared for produce most of the time. I thought "it's too hard", or "it's too time consuming". How wrong I was! Makingyour own freezer jam is super simple, and is a great project for the whole family to pitch in. Older kids can help wash and chop the rhubarb, and fill jars, while little ones can be your taste testers. Are you ready to see just how easy it is to make strawberry rhubarb jam?
What You Need to Get Started
You'll need some tools and ingredients, of course, to get started making your strawbeery rhubabr freezer jam. They are:
Tools
- 8 oz (half-pint) jars (about 6)
- Self-Sealing lids and rings for jars (6)
- Canning funnel (helps get the jam in the jar instead of all over your counters)
- Stock pot (for cooking jam). You'll also need a canning pot or another large stock pot. Many stores sell pots with racks inside that are perfect for canning.
- Jar tongs (you really need these!) to get the jars in and out of the boiling water
Ingredients
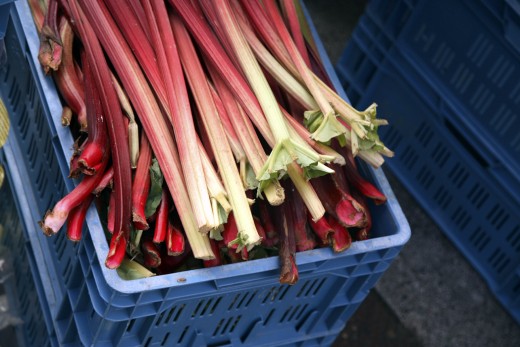
- 5 cups chopped and washed rhubarb
- 3 cups suger
- 1 packet strawberry Jello
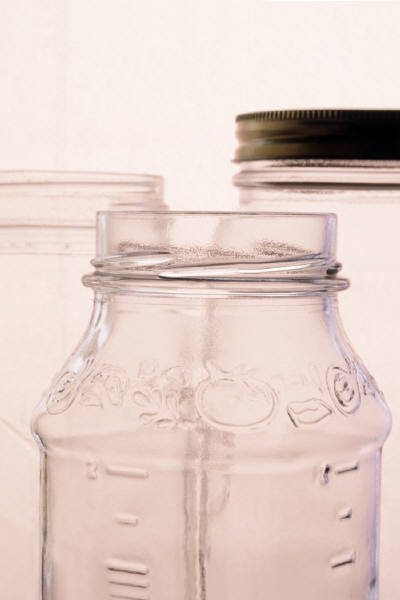
Step 1-Sterilize the Jars and Lids
Before you begin make sure your jars are clean and don't have any cracks or chips. Flawed jars can let in air which will spoil the jam inside faster than your stinky Cousin Harry at a dinner party. Gross! After making sure the jars are whole sterilize them by boiling them in hot water for several minutes. Don't forget to do the lids too! Bacteria is the ultimate enemy in canning and everything we do as home canners is directed towards killing the bacteria, molds, and enzymes that cause food to spoil.
Step-2 Start Cooking the Jam
Combine the 5 cups chopped rhubarb and 3 cups sugar in a large pot and place over medium heat. The rhubarb will begin the release juice and the mixture will become liquid like within a few minutes. Continue to cook the rhubarb and sugar over medium heat (it should be a slow boil) until most of the rhubarb chunks have broken down and the mixture is very soupy and somewhat thick. The great thing about this recipe is that it doesn't require any pectin to set up, because the Jello takes care of that and provides a strawberry flavor too! Once the rhubarb mixture has cooked down to the point where it is soupy and all the chunks are broken up, add the packet of Jello and stir it in until it is dissolved completely. Using the canning funnel, pour jam into the sterilized jars, leaving about 1/4 of head space in each jar. Wipe the rim of the jar to ensure that it is clean, and place a lid on top. Secure the lids by tightening down the screw bands, but only until fingertip tight. You don't want those puppies on too tightly, otherwise your jars won't seal!
Step 3-Freeze or Seal
At this point you have a choice (feels like one of those creepy "Choose you Own Adventure Book", doesn't it? I promis you won't die); you can either put the jam in the freezer as is, or you can put it in a hot water bath to vacuum seal the jars and store them on the shelf. I like to seal the jars because my freezer space is limited already, I don't need to be piling past jars in addition to everything else. If you want to seal your jars, read on, if not, freeze away and enjoy!
For those who want to seal their jars the process is very simple. Get a large pot, a canning pot or stock pot work with a rack inside, both work and fill it about half way with water. You want that rack to lift the jars up a bit so the glass isn't on the direct heat, and also so the jars are evenly heated. Bring the water to a low boil and place the jars (gently) into the hot water. Make sure each jar is covered by at least an inch of hot water! Boil each jar for about 10 minutes, after which they can be taken out of the hot water bath. The gasses inside the jar will force their way out and leave a vacuum, which makes an audible "pop" as each jar seals. Make sure your jars are all sealed, you can tell by the indentation on the lid. If any did not seal simply place them in the freezer. Now you can store your freezer jam on the shelf until it finds a new home or works it's way into your freezer to be eaten!
Conclusion
Once you try homemade jam you'll never go back, and chances are that once you try making one kind of jam you'll be hooked and become a jam and canning machine! Have fun with your produce and forget about waste, because canning is a great way to preserve produce year round.


