Great and Spooky Recipes for Your Halloween Party

")
Mousse-Filled Witches Hats
Ingredients:
- 1-3/4 cups of heavy whipping cream, divided
- 1 cup of milk chocolate chips
- 6 ounces of semisweet chocolate, chopped
- 1 teaspoon of shortening
- 1 package of ice-cream sugar cones
- Halloween sprinkles
- 12 thin chocolate wafers
Steps:
- For making the mousse, in a small saucepan, bring 1/2 cup of cream to boil, when boiled remove from the heat and stir in the chocolate chips until smooth. Transfer to a bowl, cool to room temperature, stirring occasionally.
- In a small bowl, beat the remaining cream until stiff peaks form; fold into the chocolate mixture. Cover and refrigerate.
- In a microwave safe bowl, melt the semisweet chocolate and shortening; stir until smooth. Brush the melted chocolate over the ice-cream cones and roll the tips in sprinkles. Refrigerate until set. Before serving, spoon mouse into the cones. Top each with a chocolate wafer, invert into a serving plate.
- Enjoy your mousse-filled witch hats:)
")
Whole Wheat Witch Fingers
Ingredients You Will Need:
- 1 cup of butter, softened
- 1 cup of powdered sugar
- 1 egg
- 1 teaspoon of almond extract
- 1 teaspoon of vanilla extract
- 1 1/3 cups of white whole wheat or all-purpose flour
- 1 1/3 cups of white whole wheat or whole wheat flour
- 3/4 teaspoons of salt
- 3/4 cup of blanched almonds
- 1/2-1 cup of strawberry jam
Steps:
- Beat the butter and sugar together until it turns fluffy. Add the egg, almond extract, vanilla extract and mix together. When mixed well, add the salt and flour. When thoroughly combined well, cover with plastic wrap and refrigerate for 40 minutes.
- Preheat the oven to 325 degrees Fahrenheit. Take about a fourth of the dough out of the fridge and start rolling the dough to make the fingers. Roll them to the size of your pinkie finger, both in length and thickness. Add an almond to the tip as this will be the fingernail and press down to make sure it is secure. Form a knuckle by squeezing, and then use a knife to make the creases. Place on a Silpat on a cookie sheet, leaving about a centimeter between them. Repeat with the rest of the dough until the cookie sheet is full.
- Bake for 17-22 minutes or until slightly golden. Let the cookies cool, and then remove the almonds from the cookies. Add some jam in the cavities and then put the almonds back making sure you used enough jam to make your cookie fingers ooze out a little. You can also add jam on the knuckles to make it look more bloody scary.
What is Your Favorite Horror Movie?
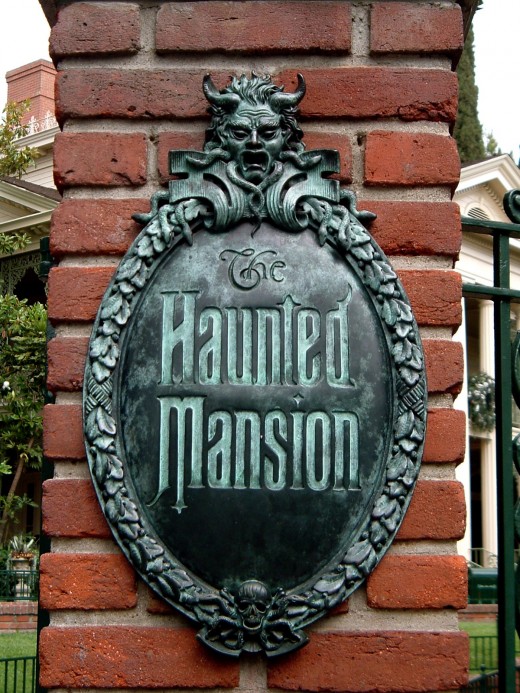
Disney's Haunted Mansion
There are many contemporary 'haunters'- those who create haunted attractions as a year-round profession -point to only one attraction as the one that most inspired them: the Haunted Mansion at Disneyland in Anaheim, California. The mansion opened on August 9, 1969 after more than a decade of planning.
It was first conceived of as a walk-through attraction, but concerns over moving large masses of guests quickly through the Mansion led to the use of the 'Omnimover' ride system, which is a small clamshell-shaped cars that could each pivot 360 degrees, directing the guests' attention to an exact scene.
After Walt Disney died in 1966, the two artists were put in charge of completing the Mansion, long-time 'Imagineers' Marc Davis and Claude Coats, oversaw the artistic direction of the attraction: Coats felt that guests would want genuine scares, while on the other hand, Davis favored a lighter, more comedic approach. Fortunately in the end they were able to compromise, with the first half of the ride concentrating on atmosphere and a few shocks, while the second-set first in a ballroom, then a cemetery-featured humorous singing ghosts and a knee rattling caretaker.
What made the Haunted Mansion so successful and influential, however, was not in its similarity to haunted houses and 'dark rides' (the tawdry carnival haunted houses) of the past, but its use of startling new technologies and effects. Ghosts were no longer just white sheets hung in trees, but were instead casual shimmering translucent figures that moved, spoke, and sang. A witch was no longer a rubber masked figure bent over a fake cauldron, but a completely realistic bodiless head floating in a crystal ball, conducting a complex siance.
Pneumatics provided the astonishing effects, and the Mansion also featured intricate sets, beautiful artwork (including paintings that change from tranquil to horrifying), original music and sound effects, and superb voice acting, especially from narrator Paul Frees. The Mansion was an unqualified hit, and soon spawned copies in other Disney theme parks.
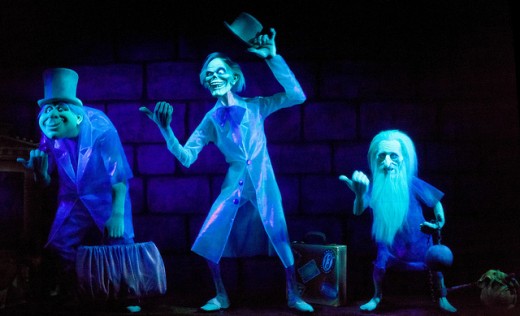
Disneyland Haunted Mansion
")
Halloween Pumpkin Punch
Ingredients You Will Need:
- 750 ml bottle of spiced rum
- 1 cup of orange juice
- 1 cup of lemon juice
- 1 cup of spiced syrup
- 1/2 cup of pumpkin puree
- 2 1/2 cups of sparkling water
- cinnamon sticks for garnish
- dry ice
- large pumpkin or punchbowl
Steps:
- In a large bowl, add the spiced rum, orange juice, lemon juice, spiced syrup, and pumpkin puree. Stir to combine.
- Once combined, pour the mixture through a fine mesh strainer into a large pitcher and chill until ready to serve.
- Meanwhile, place a large bowl into your hollowed pumpkin. Be sure your bowl is safe to handle dry ice as some materials will shatter when exposed to ice, it is preferable to use a metal bowl if you have one. Next, use tongs to fill the bottom of the bowl with dry ice and cover with a small bowl. This bowl will hold your punch.
- Pour the mixture into the punchbowl. Add the sparkling water and stir in everything together.
- Pour the hot water into the bottom bowl so that it contacts the dry ice making the vapors appear.
- The smoky effect will only last based on how many dry ice you used, how hot the water, and how quickly the ice melts. If you wish to keep the smoky effect you will have to put more ice as the ice you put earlier will melt.
- Stir the punch as you serve.
")
Graveyard Cake
Ingredients You will Need:
- 1 Poundcake
- 4 sticks of biscotti
- 1 20oz. package of Oreo cookies
- 1 box of Pirouline cookies
- 1 box of Petit Ecolier cookies
- 1 16oz. container of vanilla icing
- 1 tube of black gel icing
Steps:
- Place the 1 1/2 inch slices of pound cake on a tray so that it covers the bottom completely. You can also add layers to make it high if you want to.
- In a zip plastic freezer bag, crush the Oreo cookies until they have a dirt-like consistency.
- Transfer the crushed Oreo cookies into the poundcake until it is completely covered.
- Spoon vanilla icing into a medium bowl and add drops of color using food coloring until it is a light gray tone color.
- Break the biscotti into three segments, and using a knife spread vanilla icing onto all of the biscotti bits. Let the icing dry for about 10 minutes.
- Once the icing dries, decorate with black and red gels, creating the written text RIP or other headstone words onto the iced biscotti pieces. Let dry for 10 minutes.
- Place the iced biscotti, Piroulines, and Petit Ecolier cookies in the "dirt" so that it looks like a graveyard.
- You are welcome to serve this with ice-cream so that guests can serve the "dirt" over their ice-cream.


