Fun With Faux Finishes

Brick is one of my favorite faux finishes

Choosing the finish that's right for your space
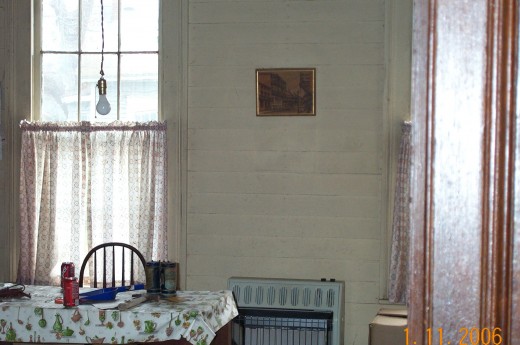
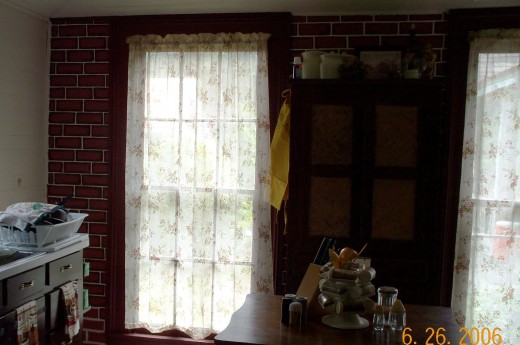
When we remodeled a historic home in Stewart County (Circa 1852), the kitchen had not been updated since 1938. In an effort to embrace the Victorian style and still keep a functional kitchen, we elected to create an accent wall. Many homes of this age have old brick in the walls, and many of us designers try to keep them when we can, so we just gave it a brick wall. The original wall was lap board, and had been painted gloss white. It was broken up by two ceiling to floor windows so it was ok to use dark red bricks as a pattern because there was plenty of natural light.
Executing the finish
Once we decided what we wanted, we had to actually pull the trigger.
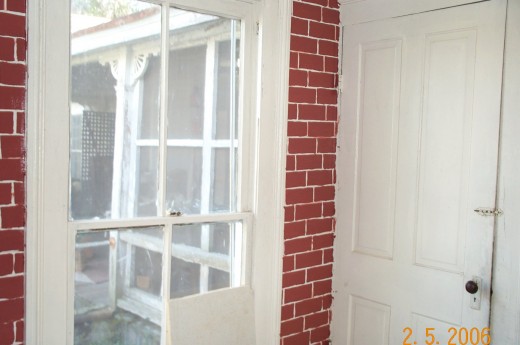
First, using a yard stick, we penciled a rough sketch of the grout lines around bricks to the exact size and shape we wanted.
Then, we made a template with a sponge mop head, that was just the length of a brick, and dipped it into a paint pan of brick red paint, and sponged it into the pencil sketched bricks on the wall.
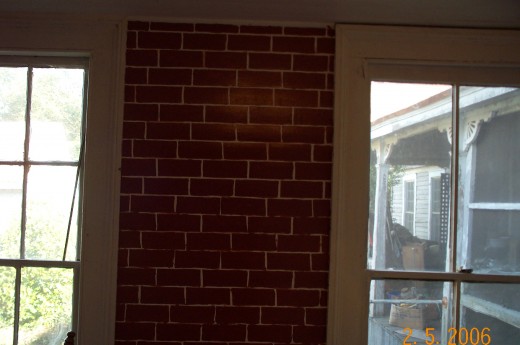
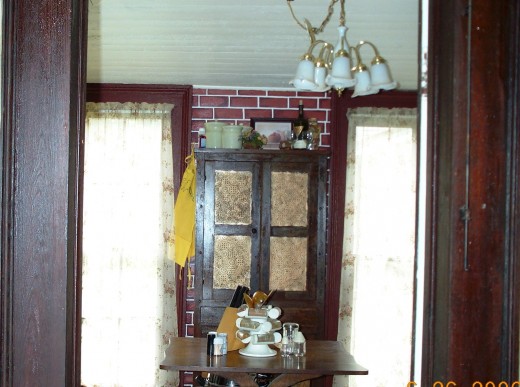
What emerges, is a simple, one-dimensional brick as shown in the photos.
Details
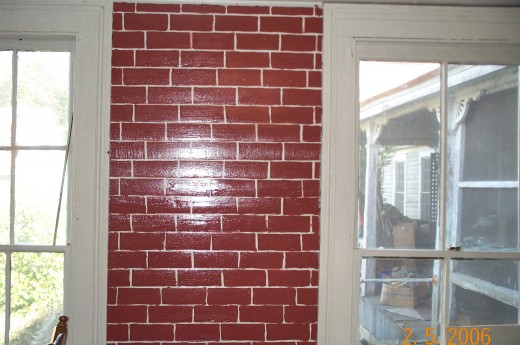
It's my conjecture that if you're creating a faux finish, it's always a good idea to have a point of reference. With a few bricks on hand, I then took some art paints and brushes and trimmed the bricks with Espresso-colored paint, and with a reddish brown color, making sure to keep the darker colors to the outer edge and lighting as I came inward to give it more definition. As usual, I kept a damp terrycloth on hand to sponge away or pat in some color for a more natural look. Once that was finished, I took a very thin brush and a ruler, and put a fine raw umber line on the outer edge of the brick. Once that was finished we started on the rest of the kitchen
Since the trim and molding in the rest of the house was rich, dark mahogany, we decided to "faux finish" the kitchen woodwork to match. Espresso colored paint, with streaks of reddish brown, applied with a skinny paint brush gave us the look we wanted, and to obtain the "mottled" look, we sponged on a lacquer finish.
This was a warm, cozy kitchen true to the era and easy to do.

Faux finishes can save time and money
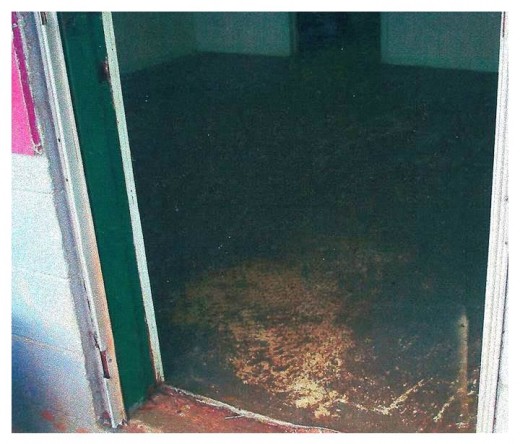
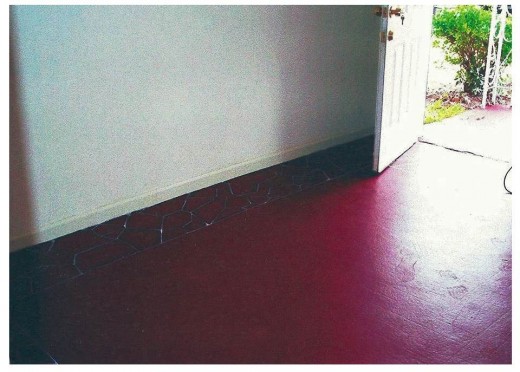
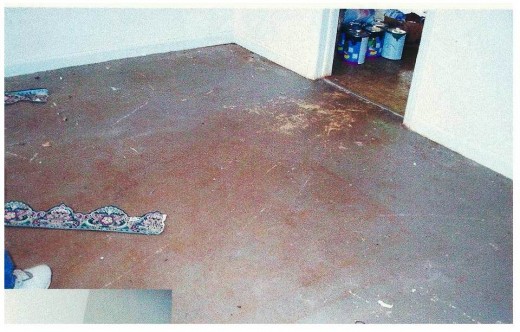
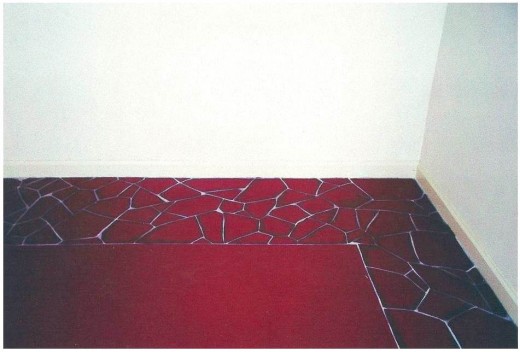
While on a remodel in Americus, Georgia, we ran into some plumbing and electrical problems that had not been expected and were not configured into the budget. The investor was distraught because she had purchased this house to flip it. The living room floor was made of cement and had been painted with battleship gray flooring paint, that had worn badly over the years. The solution? We painted it. We not only painted it, we painted it, and then did a faux finish of red tiles as a border.
In the photos below, you'll see some before and after photos. We first sketched the border using a ruler, and then with a set of art brushes and a 2" Purdy brush, we painted the sketched tiles and afterward, brushed in a reddish brown color around the edges to give it a little definition. Then with some raw umber paint, just like with the bricks, added a fine line to one edge to give it a 3-d look. After we finished the border, we just painted in the center portion in the brick red color. Once completed, we coated it with 3-coats of polyurethane to protect it. The house sold quickly, because of this unusual floor.
Faux Finishes that survive a lot of use
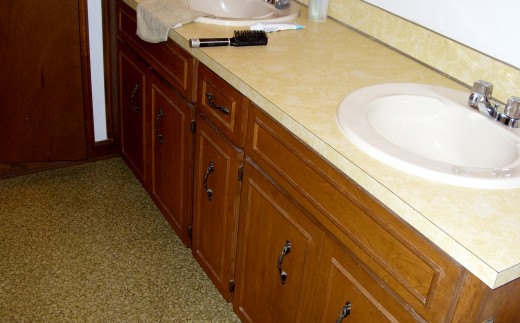
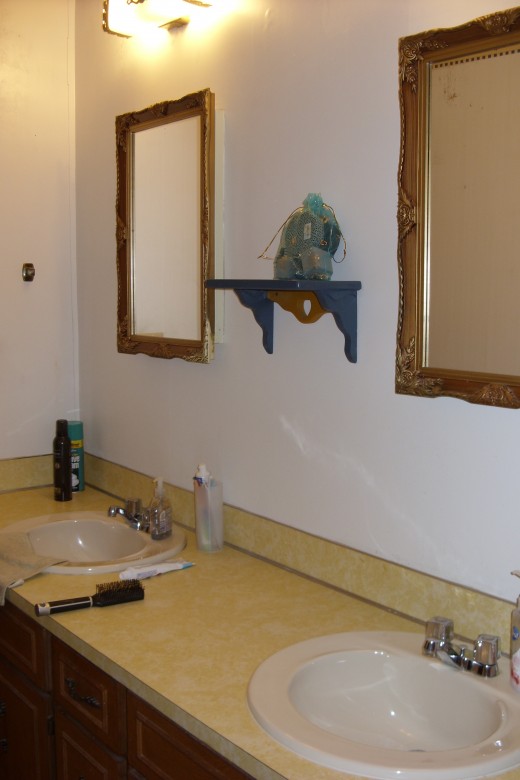
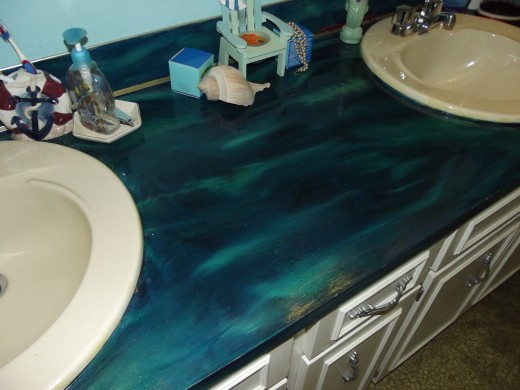
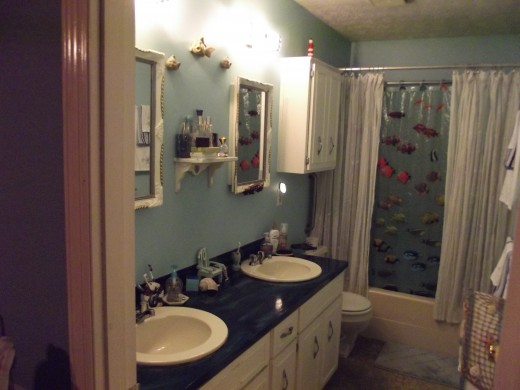
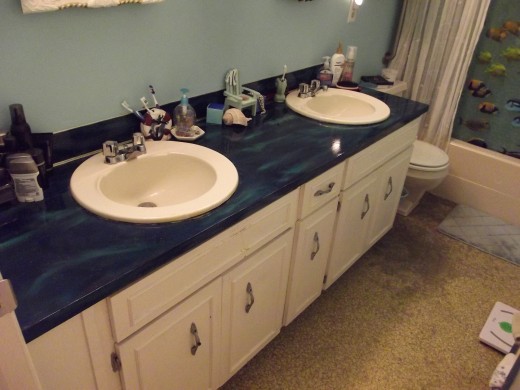
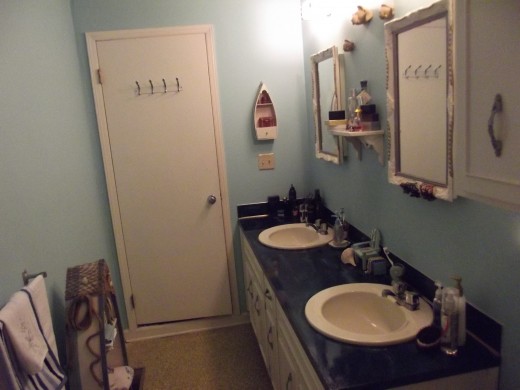
When we bought this small cottage near the park district, (Circa 1942) we were faced with a lot of dated surfaces, not the least of which was the counter in the master bath. The sinks were fine, but the counter top was that old Brady-bunch, 1970's yellow. Since we were on a budget with the remodel we really couldn't afford to replace all the counters. Since the cabinets were all wood and the mirrors were dated, we decided to go with paint. It's always less expensive and the results are often astounding. We stripped and painted all the cabinets white, Put a beachy blue color (robin's egg) on the wall, and then decided to give our counter a "watery finish".
Understanding the Color Pallet
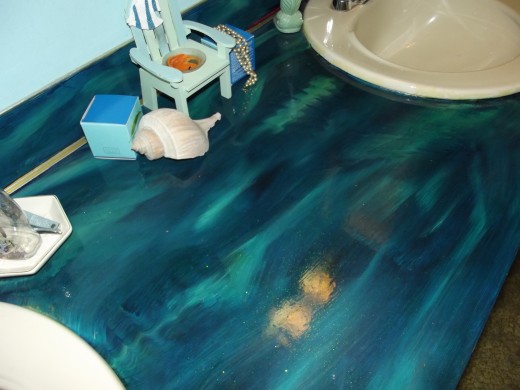
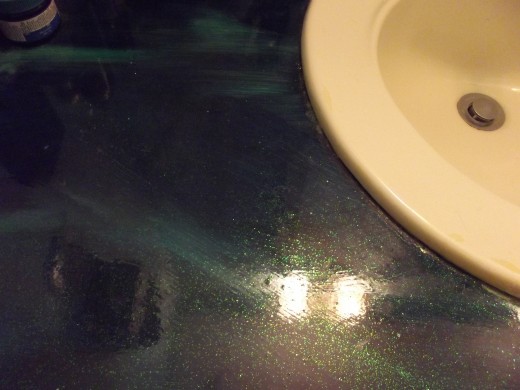
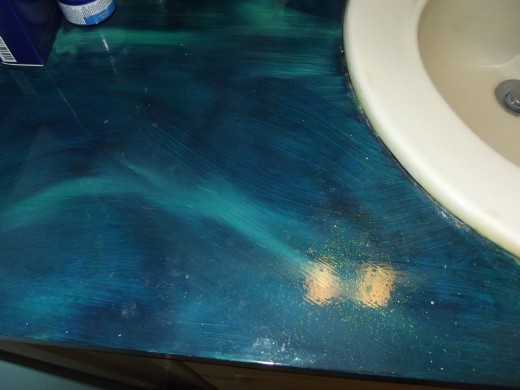
I wanted the counter to look like.. resemble... water. In fact, since the cottage was small but cozy, we had decided to try to give it a beach cottage appeal. Naturally I wanted people to feel like they were in a beach cottage when they first entered, and for that natural, comfortable feeling to remain throughout. So, with that in mind, I pulled colors from the beach, and decided to go with a watery look. I started by sanding the countertop. I started sanding with 60 grit to make sure the shine was gone, then graduated to 100 grit sand paper, and finished with 240 grit. (All of the sand paper came from the same package I bought at the Dollar Tree) Then, with some Rustoleum navy blue gloss paint, I completely coated the entire counter top with it. With it still damp, I streaked the robin's egg wall color through the paint in places to look like ripples. Once I had applied a streak, I used a damp sea sponge to gently tap the streaks into the underlying main coat. I then just barely dampened the tip of a 2" brush, and very lightly dragged it through the added paint back and forth to give it a "ripple" effect. I then took a very pale blue craft paint and with the dampened, feathery tip of the 2" brush, "spackled" a lighter color in the places I wanted to spike a shine. After that dried, I took a glitter poster paint I got at Hobby Lobby and coated the entire surface two or three times until I had a very glittery look. This glitter has a sea blue base to it, so it brought all the other colors together. The effect was stellar. It is important when faux finishing anything, to remember to protect your finish. As this was a bathroom counter that would get use every day, we had to apply three coats of polyurethane to ensure that the finish would remain for many years.
If you're thinking about creating a faux finish, consider your surroundings. What goes with your décor? If the finish you settle on is something you admire, have the thing you're copying on hand for a focal point while you're working, but most importantly... have fun!

")


