Replace Your Electric Water Heater
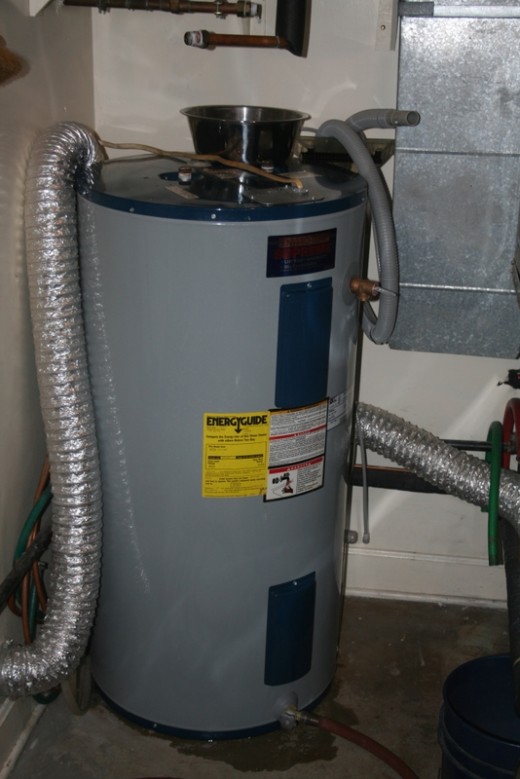
The water heater is an essential household appliance in the developed world, but we do not often think about it. It works in the background. When we turn on the hot water, we expect to get hot water out of the faucet, and usually we do. Now and then, however, something happens to make us pay attention to where it comes from. The "where" is the water heater, hidden away in a laundry room, a closet, a basement, or somewhere else out of sight and mind. When it stops working, we are jerked back to reality very quickly.
In my case, a fifty gallon heater is located in a utilities room, on a concrete floor off the kitchen. It was working, but when I went in there one day to wash some clothes I noticed water on the floor. Day by day there was more of it, and it was coming from beneath the water heater. I checked all the valves and pipe fittings but could find no leaks, so that left only one conclusion. The heater's tank was leaking. That meant it was time for a new one.
I went to the store and reviewed the available models. My old one happened to have a lifetime warranty, so I had my pick of them without regard to the price. That was a good feeling. After this experience I always will try to get that full warranty. I found one, a major brand backed by the factory that had made my old one. Where the old, leaking model was either on or off and each of its two elements controlled by its own thermostat, the new one has a circuit board in a housing with a single thermostat, much more convenient. It also has several programs from which to choose for performance or economy, whichever is most important to you. I liked that. I got the store to put it in the back of my minivan and hauled it home.
The fun part then came. Here is how I got through it, and how you can, too.
Remove the old heater
Once you have your shiny new heater on hand, read the installation instructions that came with it. I know that's a last resort for us DIYers, but it won't take long, and they may have some useful, model-specific tips you'll want to know.
You have to remove the old one before you can install it. It has plumbing going in, plumbing going out, and an electrical connection for the heating elements.
Turn off the electrical power going to it. That's usually done simply by throwing that circuit's breaker switch in the electrical box, or in old houses by removing the fuse. The switch should be labeled. If it isn't, it should be one of the double switches, and once you've found out which one put a label on it for next time. Be absolutely certain the circuit is cold before you touch the wiring. That's high voltage running through there, and failure to cut it off will not just shock you, it may be the last mistake you ever make. Double check. I always use a test light or voltmeter to make sure, and I do it twice before proceeding.
Once the power is off, disconnect the wires from their terminals on the heater and move them out of the way. It's never a bad idea to put on a screw connector to cover each wire end just in case some idiot turns your breaker switch on again before you've finished your work. Drain the old heater. It's full of water, and at eight pounds a gallon that's far too much to handle. Cut off the infeed valve on the cold water pipe, attach a hose to the drain valve at the bottom of the heater, run the hose outdoors or to a drain, open that valve, and open a couple of hot water faucets in the house to let air into the piping so a vacuum won't form to prevent full drainage. Go do something else for little while. It'll take a few minutes.
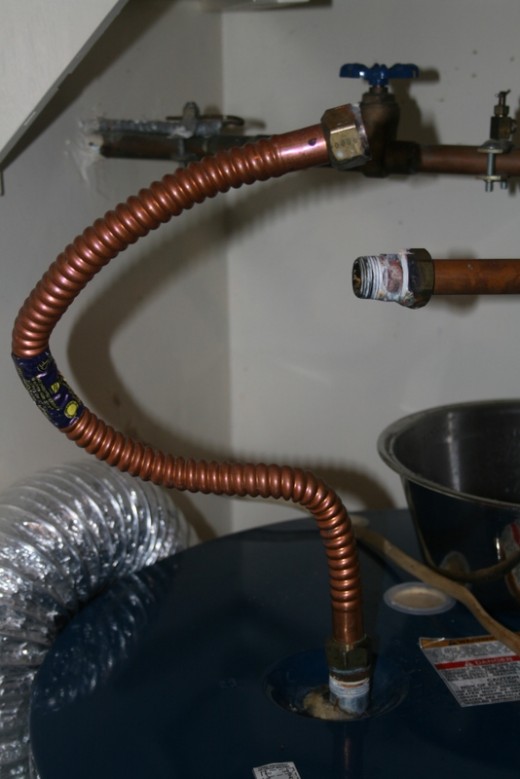
When no more of it is coming out, close the drain valve and remove the hose. Disconnect the pipes. There is probably a short, flexible tube on both the cold and hot water pipes, a foot or two long, between the hard piping and the heater's fittings. That makes this a lot easier to do. Throw the old tubes away. Even if they appear to be in good condition, it's not worth having to go back again to replace them when they do fail. New ones are cheap. Get the best ones you can find.
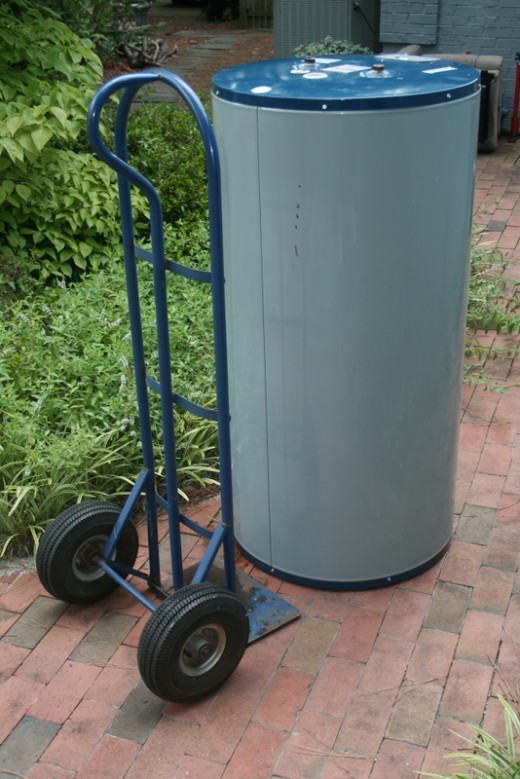
When the old heater is drained and all its connections severed, haul it out of there. Unless you're built like Hercules you'll want a hand truck for that. Set it aside somewhere for trash pickup day. It's garbage.
Clean Up
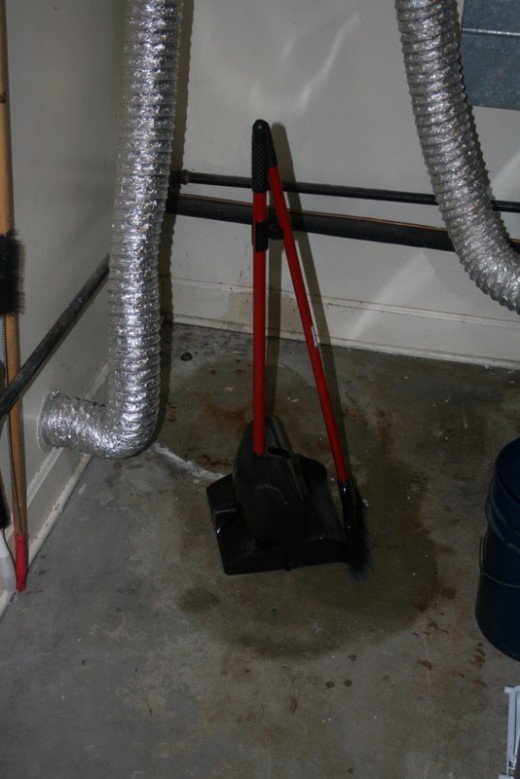
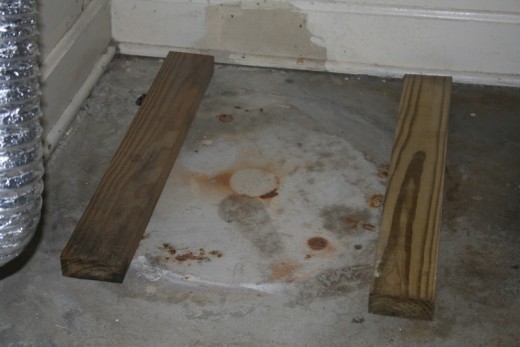
Yes, that's right. Take care of housekeeping. While there is no water heater sitting there, clean the area. It's probably the first time in ten years that's been done, but you want a nice, clean spot in which to set your new, clean heater.
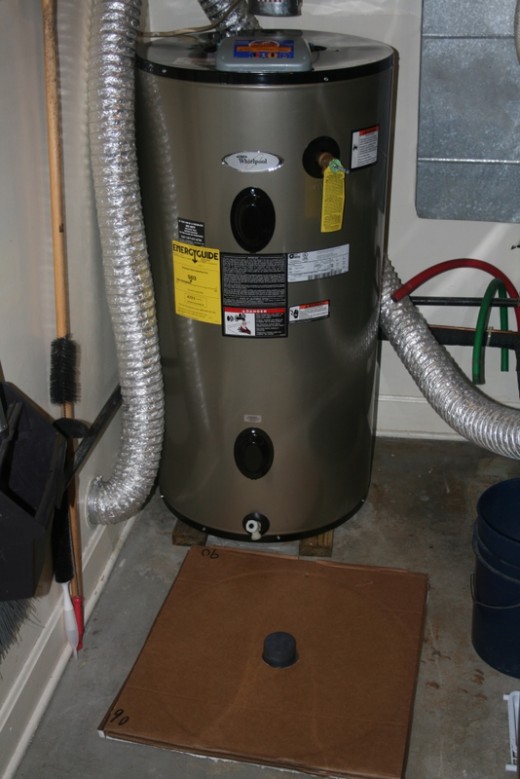
Most folks will just place the new heater right onto the floor, or if the floor isn't waterproof with a handy drain as mine is into a new pan. I'd rather have it raised a little so I can clean dust from beneath it, so I put two short, treated 2x4s on the floor to hold it up.
Install the New Heater
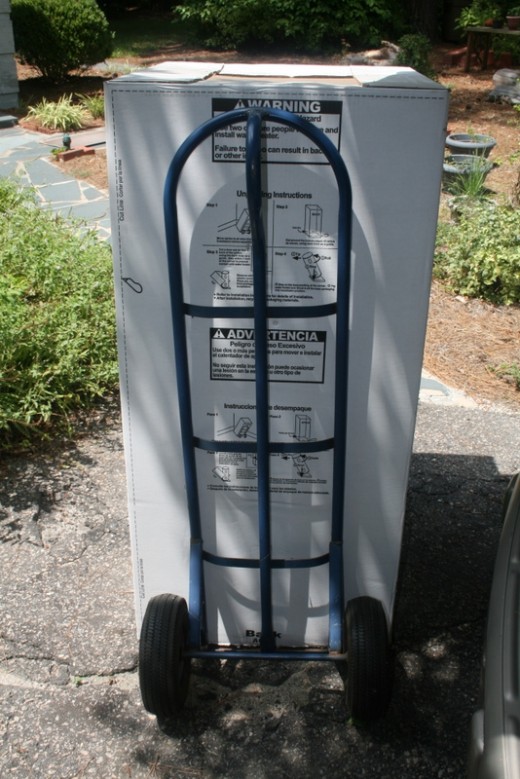
Now comes the exciting part. With your trusty hand truck, trundle in your new water heater. Handle it from the back of the box it came in. That way you can swivel it right into place without having to lift it.
Cut away the sides of the box. There will probably be cutting lines marked on it. A utility knife works fine, just put a fresh, sharp blade in it. Nothing will cut you faster than a dull knife. Lift the upper box off its base to expose your new heater.
Grasp the heater in a strong embrace. Just don't let your neighbors see you doing it, they might wonder if you're up to something deviant in there. Turn it off its box's base and right into the spot you want it to be, twisting it so it faces the way you want it, which means so all its valves and controls are easy to reach.
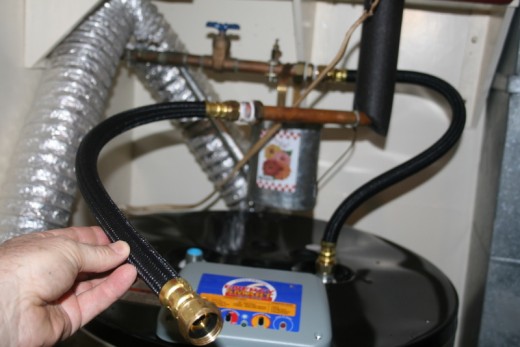
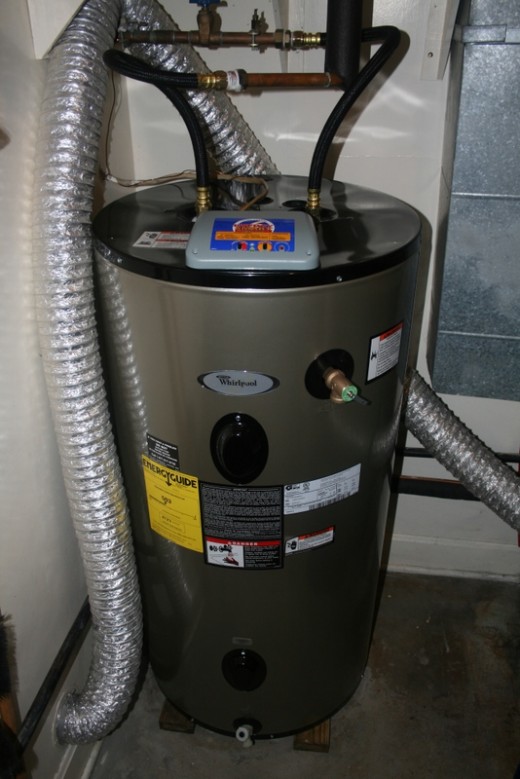
Now it's time to reconnect everything. Start with the plumbing. Put your new flexible water tubes onto the screw fittings at the terminals of the pipes. New ones likely have rubber seals, so you probably won't need to use Teflon thread tape or pipe dope. Screw the other ends onto the water heater's pipe fittings. A new heater should come with heat traps already installed, so unless for some reason they're missing you don't have to bother with them. Just put on the tubes. Tighten them firmly but, assuming they have those rubber gaskets inside the fittings, not so hard you break the seals.
Reconnect the electrical wiring. Check it again first to be sure the power is still off. Don't take any shortcuts with that. The instructions for doing it will be in the installation manual. You see, all that time spent on reading it isn't wasted after all! Put the cover back onto the heater's terminal box.
Flush and Test Your New Heater
Once all the connections are made, and before turning the power back on, run some water through the new heater to test it and your pipe connections, and to clean out any dust or manufacturing debris that may be inside the tank. Put your hose onto the new heater's drain valve, once again running it to a drain to discharge. Open that valve. Turn on the infeed pipe's valve. Water should start running out the hose, and after a couple of minutes out of the open faucets around the house. Let it run for a bit. Chances are some rust, dirt or sediment will flush out along with it. Getting rid of that is a good thing to do. Once the water runs clear, close the drain valve, leaving the faucets open until a steady stream of water without bursts of air is flowing from them. Close them, too. Check the new pipe connections you made earlier and stop any leaks you find. Your new heater and your hot water pipes should now be filled with fresh, clean water, though you can expect some air and maybe some dirt to come from the other faucets when you first turn them on later. That's no big deal, just let them clear when it happens.
Now it's time to turn on the electric current. When you do, if your new heater has an indicator light on it as mine does, it will come on. Choose the settings you want for yours. My first interest, most of the time, is in keeping my electric bill reasonable. Well, as close to reasonable as possible, an impossibility as electric rates go now but an objective I can't give up. At any rate, I chose an economy program setting. That's good enough for me. YMMV.
Go Take a Shower
Your heater is in place, reconnected, and working just as it should. Give it an hour to heat up the water. You can use the time to put away your tools.
It's time to clean up yourself. After this job, you need to. Go take a nice, warm shower with hot water from the spanking new heater you just installed, and as you luxuriate in it congratulate yourself on having saved a couple of hundred dollars. Good work!

