Do it Yourself Elizabethan Corset
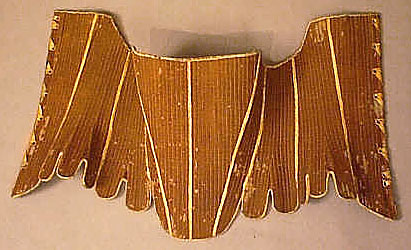
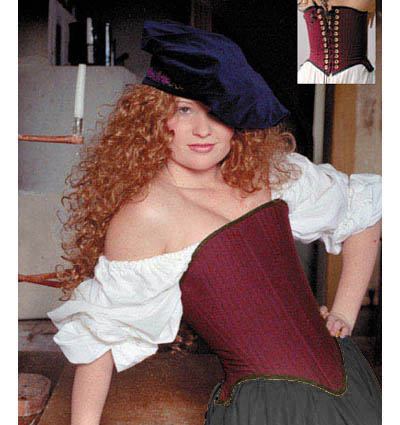
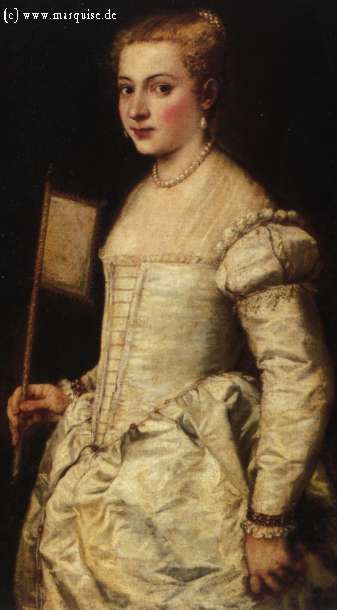
Do it yourself Elizabethan corset!
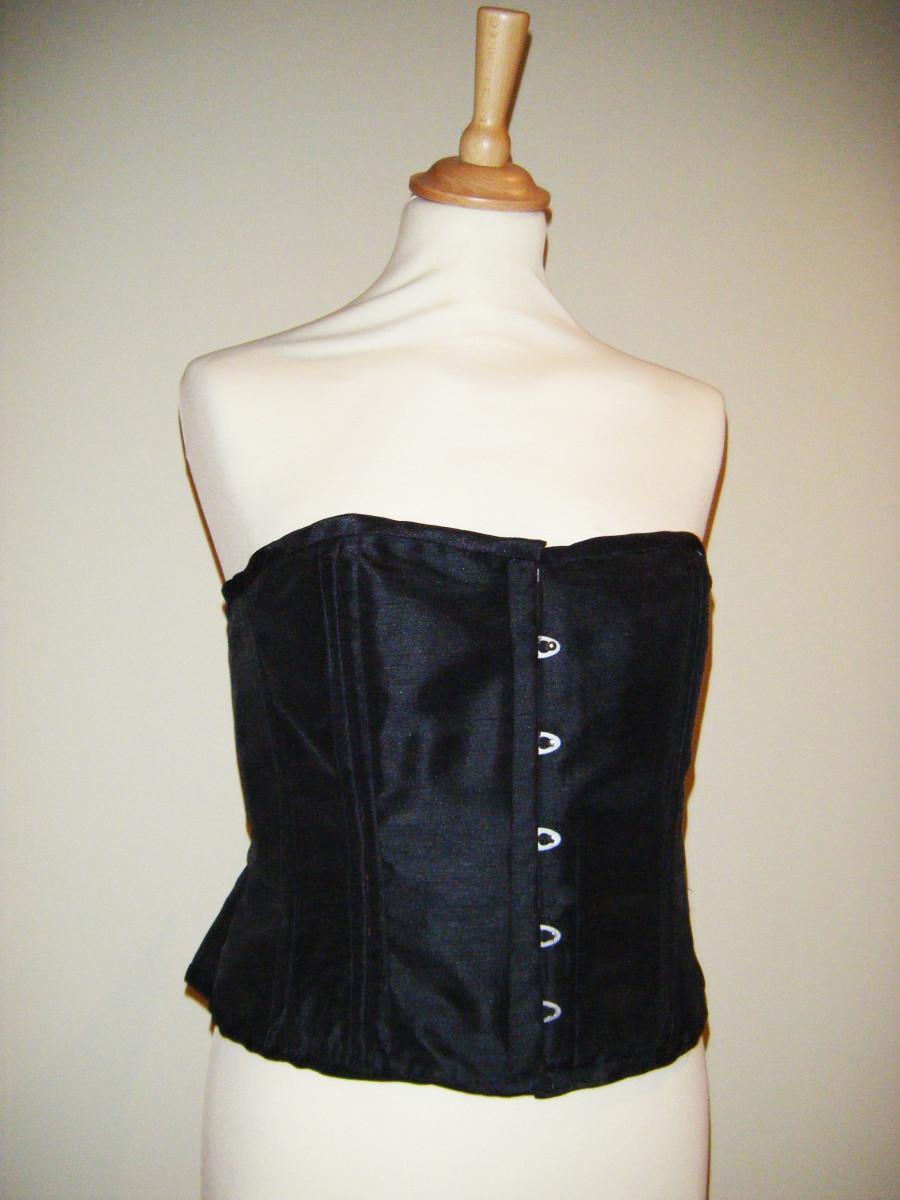
Have you ever looked at all those beautiful images of lovely ladies wearing wonderful corsets, thought to yourself "WOW I want one!" only to see the price tag and faint? Well faint no more dear reader! I will teach you how to make your very own Elizabethan corset, you can make it with very simple fabrics and wear it as they did historically, as underwear, or you can make it super fancy with all the bells and whistles and wear it with your wedding gown! Trust me when I say I've done this many times and I can tell you you will save a ton of money making one of these beautiful and fashionable items yourself! This is a project you can do if you can follow instructions well. It's better if you know how to use a sewing machine or how to hand stitch like a pro (that's how I make all of my corsets). Either way, some sewing knowledge is helpful, but I think anyone can make this simple corset if they follow the step by step instructions!
Getting Started:
I will be posting pictures ASAP of the steps that need illustration. However I will try, until then, to be as articulate as possible so that you can understand how to do this without picture reference.
Firstly you will need to take your measurements.Use a measuring tape found at craft stores, fabric stores or online. Make sure you write them down on a piece of paper and tack them to the wall. You don't want to loose this vital information!
As always please be sure to read all of the instructions BEFORE getting started. There are a lot of items you'll need to gather and a lot of steps involved, but Trust me when I say it's worth it!
To take the measurements needed to make this style of corset you will need to measure:
Your BUST: Make sure you take this measurement at the widest part of your bust with a full breath.Round this number to the nearest half inch. The tape should be fitted, but not tight. You want to look breathtaking, not breathless!
Your WAIST: You want to take this measurement at your natural waist. It will be right around your navel area. Be relaxed, don't "suck it in", you want to fit into this pretty thing right? Round to the nearest half inch.
Center Front Length: This will be the center front of your corset.Stand in an upright position, no slouching or sticking out the "girls". measure from between your breasts, at about your armpit level.To where you want your corset to end. This measurement is usually between 12 and 16 inches, depending if you are long or short wasted.You want the end point to cover your torso, but not go down over your hips.There will be a slight rounded point in the front to compensate for the hips on a woman being set higher than the "bump" in our lower tummy area.Round to the nearest half inch.
Waist to underarm measurement: On your side, measure from your natural waist to a few inches beneath your armpit. You want to be able to swing your arms fully in this thing. Stop the tape at the edge of your bra. Round to the nearest half inch.Don't make it too long or it can be really uncomfortable. Think of metal boning poking you in the armpit and hip the whole time you're wearing it!
Now that you've got your measurements you can draft your pattern!
You'll need a large piece of paper, I use a grocery bag cut open. You can use, butcher paper, newsprint, an opened grocery bag or whatever other paper you'd like.
Now take a ruler and a pencil and mark the following on your paper:
step 1 draw a vertical line down the right side of the paper the length of the center front measurement. this is your center front line.
step 2 draw a horizontal line from the top of center front line the same length, but add 1 and a half inches. This is your bust line.
step 3 measure halfway along this line and 1 inch down make a dot (or an x or a star) and mark this spot "1"
step 4 measure 1 inch down from the left end of the horizontal line. Make your mark. Mark this spot "2"
step 5 Along the horizontal line, starting from the right side measure to halfway to spot "1" and on the horizontal line mark "3".
Step 6 Now draw a slightly "s" curved line connect "1" "2" and "3". This will be the top of you corset.
Step 7 Starting at mark "1" draw a line down the length of your waist to underarm measurement.
Step 8 Use this point to draw a line straight across from the vertical "center front line" the same distance as the waist to underarm measurement.Measure down and to the left 1 inch from the end of this line (waistline!) and mark it "4".
Step 9 Draw a line from points "4" and "2" to form the "Back center" line for your corset.
Step 10 Add 1 and a half inches to your measurement for "3". Now from the right side of the waist line measure that distance to the left and up one inch. Mark this "E"
Step 11 From here you'll want to use "E as a middle point. This will be the top of your hip. To each side of "E" you'll want to make 2 marks evenly spaced from each other. "E" being the middle point and the front and back being the ending points. You'll want to make the first 2 points out slightly lower than "E" and the next 2 (closest to the end lines) just slight lower than the last you just drew.
Step 12 All that point business is so that you can now, draw a gently sloping curved line (think rainbow) connecting the front center line, to the back center line, using the "E" mark as your highest point in the curve. This finishes the body of the pattern for your CUSTOM corset!
I realize you have "half" a pattern, not to worry! All will be revealed in time.
Now that you've got your pattern you can start gathering your...
Materials:
First a word about what you'll be using.
Fabric: Before getting your fabrics you need to decide if this will be a historically accurate corset or a fashion/modern corset. For a period corset you can use Linen, silk, taffeta, or velvet. For an affordable period corset, use cotton canvas, "twill" or "drill" works wonderfully,and can be found at most online and "street" fabric shops. You'll want to use undyed canvas as it will be used as underwear and needs to be washed and possibly bleached at some time. You want a sturdy garment that will give you the proper shape and stand up to the abuses of time and laundering. Now you can "fancy up" your period corset if you want a more "noble" look, or if you're going to be wearing outside your clothing. That's where the silks, velvets, satins, brocades and pretty upholstery fabric come in. If you're having trouble deciding what fabric to use for your period corset there are a number of resources available online for fabric selections. Just "Google" "Elizabethan corset fabrics".
Boning: Because whalebones are no longer being used for corsetry, we must use something either more modern (like steel) or something less ridged yet more period (like straw) Some options include dried reeds, rope, straw, or glue stiffened fabric (the first known corset was made with this as boning!) For our modern needs and this instructional we'll use steel, it's easy to get and easy to handle. Make sure you get the kind that won't rust! Please don't use the cheap plastic stuff you can find everywhere these days, it doesn't hold up, it bends (and stays all wonky) it can snap if bent to sharply and can poke and damage you and your corset fabric! It is cheap for a reason, as they say, you get what you pay for!
Grommets: Elizabethan corsets didn't use grommets, as they didn't have grommets at the time. they would simply poke holes in the fabric and sew around the hole fixing it in place. If you are willing to do this I salute you! I have done it on many corsets and though it is definitely the best way, it also requires a lot of hand stitching and patience. For this instructional we'll be using grommets, feel free to substitute hand stitched eyelets or stitch over the grommets for a more period look at your discretion.
So all in all you'll need (depending on your size)
Sewing machine or Needle and thread: either way be sure that the thread matches your outer fabric, and also have thread that matches your ribbon!
Heavy duty bolt cutters: these are for cutting your boning to custom lengths, and you can impress your boyfriend/girlfriend/wife/husband/love partner with your knowledge and use of big heavy tools! However if you have to cut your own boning remember to have caps for the ends!
Fabric: 1-4 yards (small, medium,large, extra large) of outer fabric. Use the same amount of fabric per layer. You will need Outer Fabric, Inner lining and a middle layer. The inner lining fabric should be a breathable and non-staining fabric even if this is a modern corset, you'll want something soft and breathable next to your skin (or chemise).
Boning: This is a "half boned" corset.You'll wan to use 1 quarter inch thick boning even though there are a LOT of bones involved, it's not fully boned so we'll be using 36 bones in this corset when all is said and done. If you have a very slight frame, aka you're a tiny little thing, you can get away with using half that, but I (size 4 at 5'8) use the full 36 bones, it just looks so lovely that way! You'll want to buy your boning online as there are a lot of places to chose from and you can get a good price. Most fabric stores these days don't have the good steel boning required for hard working corsetry. Get the kind that you can cut to size unless you want to do the math and figure out exactly how long each piece (they vary) needs to be before you order it.
Grommets: You can get these at a hardware store, fabric shop, craft store, or online. You'll want small grommets as they look nicer and they won't pull in weird way and make your corset look funny.
Satin Ribbon: You'll want to pick a color that will look nice with your outer fabric as it will be visible. Then again if you're wearing this as underwear, maybe only you and your cat will see it. Pick something your cat likes in that case! Make sure you have enough! Get about 4 yards if you're small, 5 if you're med, 6 if you're large, and so on. Every corset ends up different and everybody is shaped different. The worst feeling is when you're finishing up your custom corset and you run out of the ribbon you need to hold it together!
Pencil/chalk: you'll need this for marking on the fabric at various points. make sure you use something that is washable and won't stain you're lovely fabric!
Cord/Thin (1 quarter inch) ribbon: You'll be using this to lace up your corset. You'll need a lot more than you think! 3-6 yards depending on small-med-large, and more if you want a more "romantic" flowing look. Always better to err on the side of caution and get more than you need. Having too little means you won't be able to wear your corset! Make sure that you use a little glue or wax to finish the tips of the ribbon (after you've cut it if you're going to do that later) so that you can get it through your eyelets (grommets) without spending hours and hours and learning new ways to swear in the process!
Optional: Bias tape, for the binding. Have as much of this as you have of the ribbon you've chosen to use!
To Make Your Corset!
Okay so now comes the most important stretch of our journey, the production of the corset itself! I hope you're excited, it's going to be a lot of fun and you're going to do great!
Step 1: Lay your fabrics together neatly and as lined up as possible, on a flat surface free of clutter and debris (and cats). Fold them together in the order you wan them in (outer, middle inner). Make sure they are all folded on the strait, meaning that all of the threads are running up and down rather than sideways or some other wonky way. Place the pattern you made on the fabric with the center front line on the fold. Pin it in place.
Step 2: Using a pencil or chalk, trace the outline of the pattern onto the fabric. Trace it exactly! You don't need to leave a seem allowance. If you wan to make you corset with straps (recommended for the ladies with a large helping of blessings up top) leave a half inch of extra fabric at the ends of the area you wish to put the straps.
Step 3: Now with your fabric right sides out, ( the sides that will be seen) run a basting stitch (a stitch that is loose and quick, just to hold the fabric together) along each side (center front,center, back, waist, etc) about 1 quarter inch in from the edges.
Step 4: Now take your boning and lay it out on the fabric so that it's symmetrical on either side. Place the boning about an inch apart starting at the back center edge and working toward the front center edge. Never let them overlap. When there is a curve in the fabric edge use a "V" shape to the placement. You can also do a "Google" search looking for pictures of boning placement in "untabbed" corsets.
Step 5: Once you have decided upon the placement of the boning, use a pencil or chalk to trace around each bone so that you know where to sew the channels for the boning. You will wan to do this on the inside of the corset (on the lining,) so that the pencil lines aren't visible on the outer fabric.You will need to leave a slight amount of extra space (about an 8th of an inch) around each bone so that the channel is large enough to slip the bones in later, but not so large that they'll slip around when you wear it.
Step 6: Sew along your pencil marks, with a thread that has a color that blends well with the outer fabric you've chosen.Once you sew your first channel, Test it by slipping the first bone into the channel, to make sure that you've made it large enough (but not too large) for the boning. You can use straight pins to hold your fabric together while you work so that you don't have your fabric running willy-nilly and creating havoc while you're doing this step. Or you can live on the edge and just go for it. I use straight pins (most of the time).
Step 7: Now you can add the boning to the channels. You can also add them as you go if you are sewing by hand. Carefully (without forcing) slip the boning into the channels that were formed by sewing along your pencil/chalk lines. They should be snug but not so snug you have to force the boning in.
Step 8: Now you want to take your pretty satin ribbon and sew it along the edges of the corset. This holds your corset together. You can use bias tape and then the satin ribbon over it if you'd like, for a more sturdy corset. I use bias tape under my ribbon now. The first corset I made didn't have bias tape, just the ribbon, and the metal bones eventually got pretty pokey! Make Sue you sew it so that it is flat against the front and wraps around the edges to the back. Leave space for your straps if you decided to add them. You can double stitch the ribbon if you want even more sturdiness. Make sure to use the thread that matches your ribbon that this point!
Step 9: If you decided to add straps this is when you'll want to connect them. Using a mirror and holding the corset in front of you decide your placement. You can simply cut out straps from the scraps of fabrics left over from your corset materials. You can sew them to the corset in the area you've left for them, or you can finish them and add grommets to that they are removable. Make sure to finish them with ribbon either way!
Step 10: Now is the time for grommets! Using your pencil or chalk, start about an inch from the top edge. Mark your grommet spaces so that they are parallel on either side of your corset. You wan them to be about 1 inch apart. To apply the grommets simply follow the instructions that come with the grommet set your purchased. If you purchased grommets without instructions you can do a "Google" search to find a site that has tutorials for grommet application. You can also make your own eyelets by poking small holes through all the layer of your fabric (with the afore mentioned spacing) and sew around the holes. You can also make your corset more period (even if you use grommets) by sewing around the grommets.
Step 11: Now you'll want to take a deep breath, put the corset on, stand in front of the mirror and do that cute giggly "OMG!OMG!" thing you do, jumping up and down is also appropriate. You can then show off to everyone in the house (even if it's just your cat) and receive all the compliments they have for you graciously! (Purrs are acceptable compliments!) While you stand/sit around looking fabulous you can also think about the next one you want to make or if you'd like to have a "corset making party" I've been to these and they're fabulous!
Have fun making!
Yours truly,
Lady Make

