- HubPages»
- Technology»
- Computers & Software»
- Operating Systems»
- Windows
How to Create and Manage User Accounts (Windows 7)

Creating and Managing User Accounts in Windows 7
Do you want to add a user account to Windows 7? Creating an account is very easy. After the account is created there are a couple simple modifications that can be made to the account.

Creating the Account
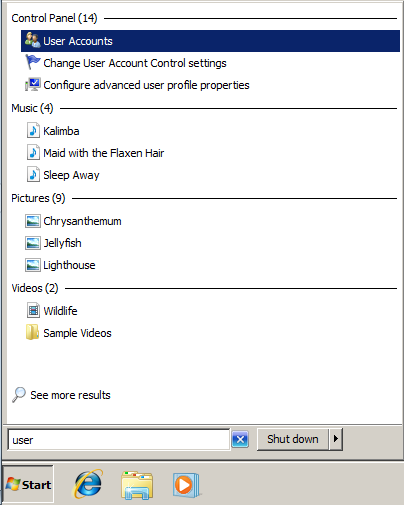
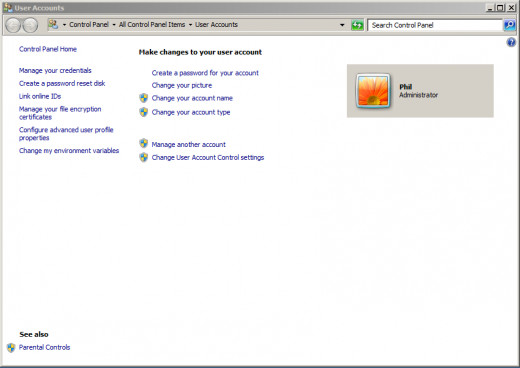
1. Open the Start menu and type "User Accounts" and select the first option. (Alternatively, this can be access through the control panel).
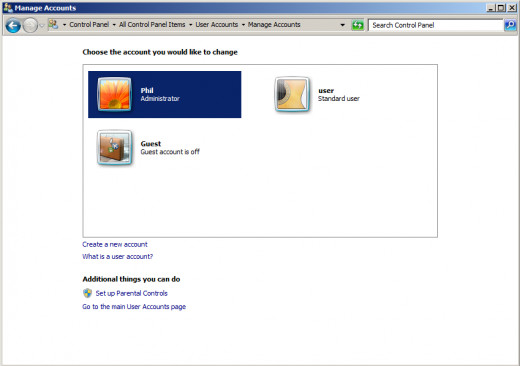
2. Click "Manage another account".
3. Click "Create a new account".
4. Type a name for the account and chose the desired rights for the account. The main difference is that an Administrator account can change settings and download/install software.
5. Click "Create Account".


Managing the Account
1. Select the account you want to manage by double-clicking it. I just created "user2" so I will double-click "user2".
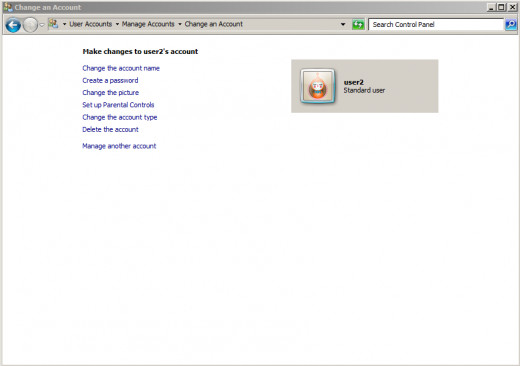
2. Here, you have the option to change the account name, create a password, change the picture, set up parental controls, change the account type, or delete the account. Click "Create a password" because when accounts are created, they are created without passwords.
3. Enter your password, confirm it, then type a password hint. Click "Create password".
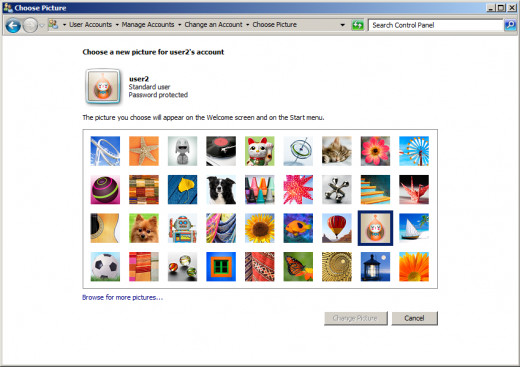
4. Back in the manage accounts dialogue, if you wish to change the account picture, click "Change the picture". Select the picture you want to be associated with the account and click "Change Picture".
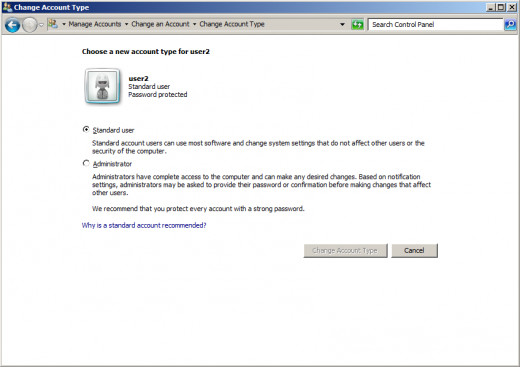
5. If you wish to rename the account, or change the permissions, you can do that from here as well.

Prepare the Account for First Use
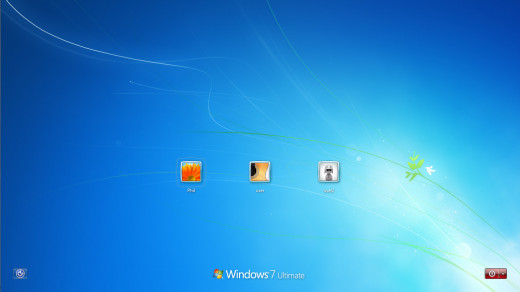
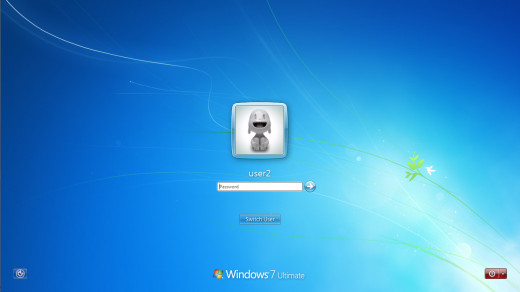
1. To initialize the account, sign out of the current account.
2. Sign in to the new account using the password that you just created.
3. Wait for the desktop to prepare (This may take some time).
4. Now the account is completely set up!


 in Windows 7")