- HubPages»
- Arts and Design»
- Crafts & Handiwork»
- Textiles
Natural Dye - How is it extracted?

Types of dye sources
In the world of natural fabric dyeing, there are three sources where the artist may get their pigment bases from:
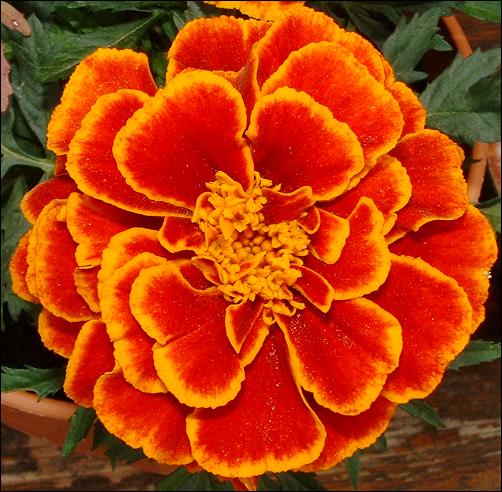
1. Plants – such as Marigold which produces a rich yellow.
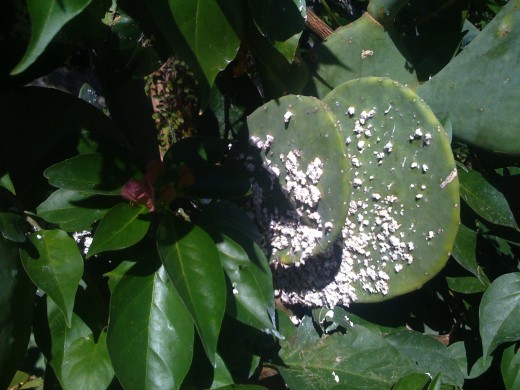
2. Animal/Insect – such as Cochineal, an insect that lives on cacti that produces a deep blood red due to the carminic acid found in them.
3. Minerals, coloured clay or earth oxide – such as ochre.
How are dyebaths made?
As a rule, no more than 2/3 of the plant should be harvested. Enough should be left to let the plant grow back.
The desired dyestuff (usually flowers, leaves, bark) is boiled with lots of water in a pot; enough to cover at least a few inches above the dyestuff. Each material requires a different boiling method and unless the dyestuff is edible, the pan used for dyeing should never be used for cooking. The ingredients can be boiled a few more times until it no longer yields colour.
1. For flowers, they are boiled for 20 minutes and the water is strained to make the dyebath. However, some flowers are heat sensitive; which means that their entire molecular structure can be destroyed by heat. This makes them impossible to produce any dye. Therefore they just need to be soaked in water for 24 or 48 hours for the dye to come out. The timing is dependent on the temperature of the environment.
2. Barks, roots and woodchips require overnight soaking. Then they are boiled for half an hour to an hour and the liquid is saved. This is the extract.
3. For bugs such as cochineal, they are dried and ground into a fine powder. Then, boil them for twenty minutes. If used whole, they follow the same method for barks, roots and woodchips.
How are Cochineals harvested?
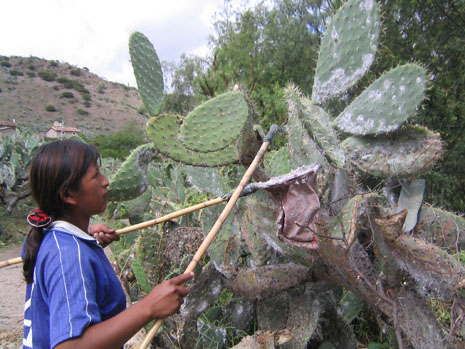
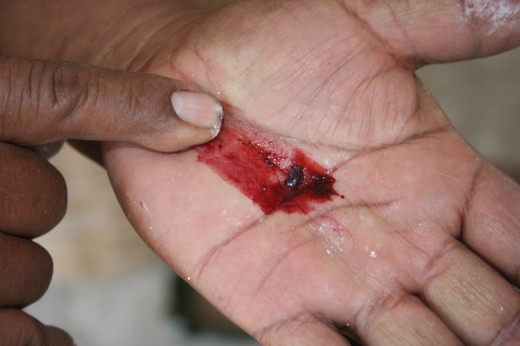
Cochineals are parasites that live on the sap of cacti. They are renowned for their intense hue of vibrant red when made into a dye and that dye can be found in nearly anything; from yoghurt to cosmetics that are coloured red. The colour is extracted from only female bugs as they are full of carminic acid (the main reason for the red hue) and they are harvested after the rainy season. Once collected, they are sun dried for up to a week, depending on the weather. Then, they are ready to be ground to powder or used as is as a dye pigment.

How is indigo made?
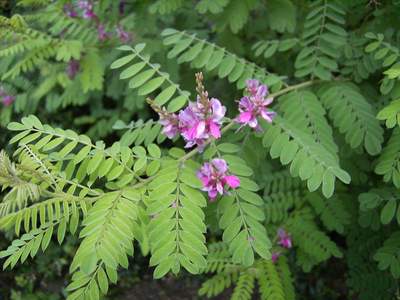
Extracting indigo is a rather complex process as the dye by itself does not exist in a natural state. The origin of indigo is found in plants such as Indigofera Tinctoria which contains indican in the leaves. Indican needs to be broken down and oxidized to form indigo.
Below are the steps to form dry indigo:
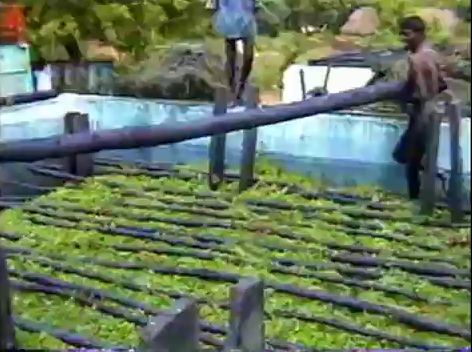
1. First, the plants are packed in a tank and weighed down with heavy objects such as logs because the fermentation process can be quite vicious.
2. Fermentation begins. Indimulsin, an enzyme, is added to break down the indican into indoxyl and glucose; and during this process, carbon dioxide is given off. The liquid in the tank will turn a murky yellow.
3. After about 24 hours, the liquid is drained to another tank. The liquid is dark blue and sweet. It contains indoxyl that will need to be oxidized.
4. To oxidize the indoxyl, frequent stirring is needed. To do this, people will go into the vat and kick the mixture to mix the air with indoxyl or machines will do it.
5. The liquid will then turn yellow-brown with floating dark blue patches. Now, it is allowed to rest. Once the indoxyl has become indigotin, it will settle to the bottom of the tank as a bluish sludge.
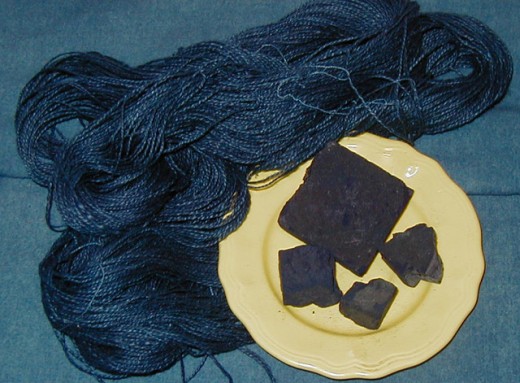
6. After resting, the top layer is drained away and the rest of the contents transferred to another tank to be heated to stop the enzyme reaction that makes the indigo. The mixture is filtered to remove impurities and the sludge is dried. Once they are cut to blocks or cubes, they are known as indigo cake.
Categories of natural dyes
Substantive dyes
Whereby no mordants (dye fixes) are required to set the colours.
Vat dyes
Whereby fixing the colours involve the oxidization process.
Mordant dyes
Whereby the dyes require the use of an additive, usually some form of mineral, to set the colours.
Substantive dyeing
For substantive dyeing, the general process is as follows.
1. Pre-clean the material.
2. Extract the dye wanted from plant parts or bugs.
3. In a big pot, combine the dye extract with some water. Meanwhile, soak the material in some warm water. It is important that the pot be big enough so that the material can swim freely in it. It helps in getting an even colour.
4. Slowly, simmer the dye. (Take note that when dyeing silk, it should not be heated past 85°C (180°F) as it can lose its sheen) Put the material to be dyed in. Boil until the desired colour is obtained, while stirring once in a while, or it can be left overnight without heat to obtain a darker colour. The longer it is soaked, the darker the colour will be. A good thing to keep in mind is that the colour will be much lighter upon rinsing, so the material should be a few shades darker than desired when lifted from the pot.
5. Once it is done, the fabric should be rinsed with plenty of cold water. Change the water as often as needed. If wool is the dyed material, it should be handled gently as it can shrink. Hang to dry.
Vat Dyeing
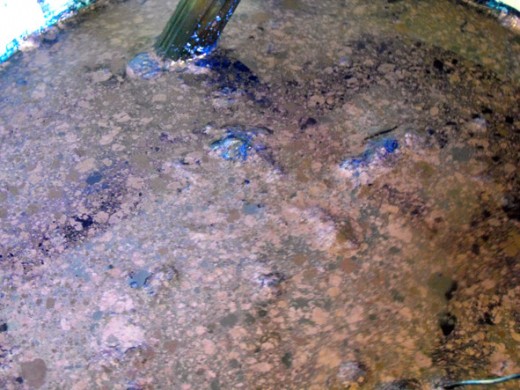
Any garment, cloth or threads that have been naturally dyed indigo uses this method of dyeing. The indigo dyeing process is extremely unique as the dye by itself, does not naturally exist. It requires a process of oxidizing, deoxidizing, fermentation and re-oxidizing to get the colour. Besides that, it does not need a mordant. Indigo is not water soluble as well, requiring an alkali to be dissolved.
An indigo vat can store indefinitely as well. The ingredients just need to be added when the amount of indigo in the dyebath is low. After dyeing, the vat should “rest” for at least 24 hours to let the indigo deoxidize. This is done to regain the colour of the indigo.
Below are the steps to create a fermented indigo dye.
1. Put 9 litres of water, 60g of madder, 22g of indigo, a tablespoon of soda ash and 20g of bran with 550ml of wood ash lye in an enamel, porcelain or stainless steel pot. This will be your vat. An aluminium pot is not recommended as they tend to rob the indigo of the rich colour it is famous for. Traditionally, just urine and indigo is used to create this fermented vat.
2. Keep the vat in a warm place (around 40°C) and let it ferment. Make sure the vat is covered and the liquid reaches no less than 5cm from the pot cover. Stir it daily to allow the ingredients to combine together. The stirring must be done in a way that does not incorporate air to the vat.
3. The dye should be ready in a week. If it is renewed (i.e. more ingredients are added in proportion to the vat when the dye begins to dye only light colours), it would take about 4-5 days.
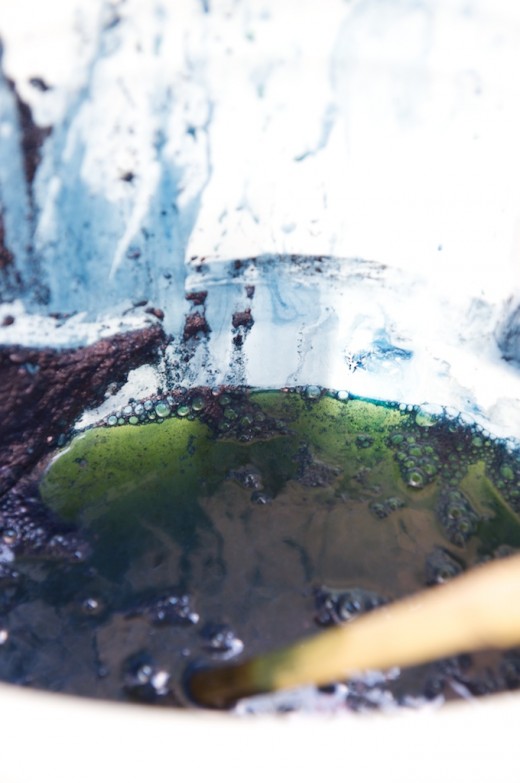
4. The dye is ready when a coppery film forms on top of the dye. When lifted in a glass jar, the liquid should appear green. (it is known as indigo white at this stage) Do not worry, as once the dyed material comes in contact with air, the dye oxidizes and becomes the rich indigo we know.
*Recipe adapted from GrowingColour
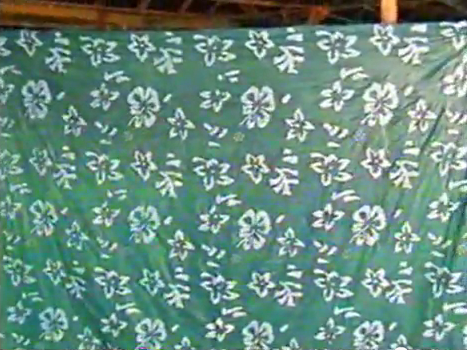
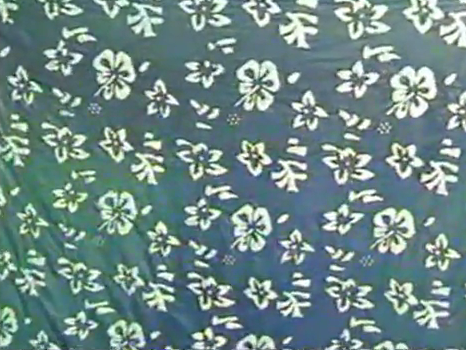
How do you dye with indigo?
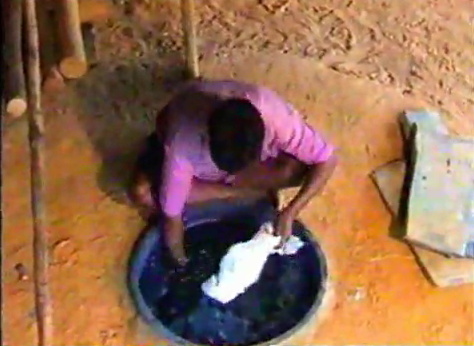
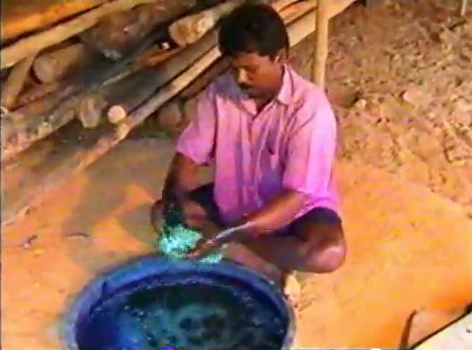
1. Make sure the cloth is clean. Even if it looks clean, wash it still! Any oil or residue that is invisible to the naked eye will not make the dye adhere to the cloth.
2. Air is BAD for the dye. So, the material to be dyed must be soaked in warm water (about the same temperature as the pot, 40°C) before being dyed. Another method is to wring the material while it is dry, dunk it slowly in the pot and let go of it.
3. While lowering the material into the dye, it needs to be done as slowly as possible to ensure as little air as possible gets into the dye.
4. Once the material is in the dyebath, squeeze the material. This is to ensure that the dye penetrates the material. Make sure you do not break the surface of the dye as air might get in. After a few minutes, wring the cloth close to the surface of the indigo to prevent minimal air entering the dyebath.
5. Once wrung, dry the cloth. To produce a deep shade of indigo, the process has to be repeated; sometimes up to 50 times!
6. The shade should be a few times darker than the ideal shade. This is because the subsequent rinsing will rinse out extra dye and will turn the cloth about 2-3 shades lighter.
7. Rinse well and let the material dry.
Mordant Dyes
Mordants are dye fixtures. It means that they act as a substance that “opens up” the material, allowing the absorption of the dye. The process of mordanting is usually done before putting the cloth in the dyebath. Some have reported success with utilizing this process during and after but the results vary. pH is a very important factor in mixing a mordant. Cellulose fibre such as linen needs an alkaline pH for the mordant to work and to improve colour fastness. (Resistance of the fabric to fading) However, a combination of tannin-alum-tannin works best for cellulose fibres. On the other hand, animal based fabric such as wool needs an acidic pH to work well.
The cores of mordanting are usually metals like tin and chrome. Hence, in powder form, mordants are highly toxic. Mordant pots must NEVER be used for cooking. Gloves and masks should be used when handling them. In addition, if dyeing at home, this process should always be done outdoors. However, there are mordants that are non-toxic such as salt and vinegar.
Below is a list of some mordants and their effects.
Alum (Aluminium Potassium Sulfate)
Doesn’t give colour but helps colour bond to the material.
Copper (Copper Sulfate)
It gives a slight green to aqua tint.
Iron (Ferrous Sulfate)
Makes colours darker or gives a grey hue.
Chrome (Potassium Dichromate) – toxic!
Gives a yellowish tint.
Tin (Stannous Chloride)
Brightens colours.
Tannin
Doesn’t give colour but helps colour bond to the material; especially cellulose fibres.
How is a mordant mixed?
Alum - Use about 10-25% of alum per weight of dyeing material with ¼ of the alum’s weight in cream of tartar. Dissolve in some hot water and then mix it with lots of cool water.
Tannin – 10% of tannic acid per weight of dyeing material is dissolved with a small amount of hot water and then mixed with lots of cool water.
For others – Mix the mordant in some hot water and then mix it with lots of cool water.
What is the timing for mordanting materials?
Material and Method
Yarns
It should be simmered in the mordant for at least ¾ of an hour.
Cotton
It should be soaked several hours to 24 hours in the mordant and then simmered for ¾ of an hour. A recipe of alum-tannin-alum is used, where it is first soaked in alum, dyed with the colour and tannin and put in alum again before the few final dips of colour.
Silk
Soak it for 24 hours in the mordant and then simmer for ¾ of an hour. Never go above 85°C (180°F) as it will lose its natural sheen. It needs an acid bath for the dyes to attach therefore; a rinse of weak vinegar will do the trick. Let it cool and soak in water for a day.
Wool
Simmer it for an hour in the mordant, let it cool and rinse with lots of water.
Coarse fibres (such as linen and ramie)
Fibre is soaked for a few to 24 hours in the mordant and simmered for at least an hour. Leave it to cool for a day in the mordant.
An example of mordant dyeing
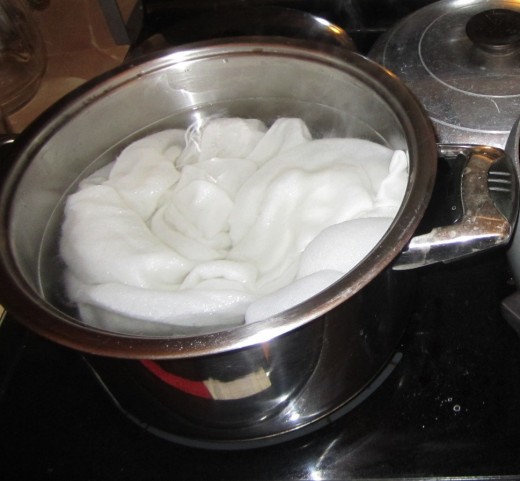
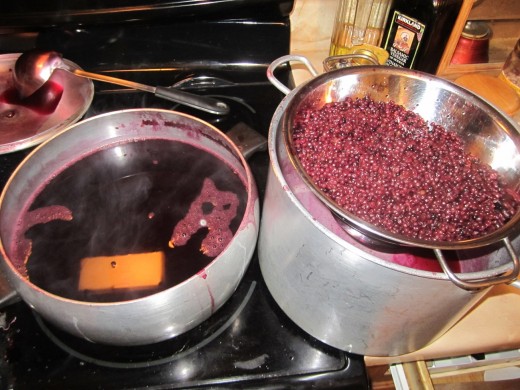
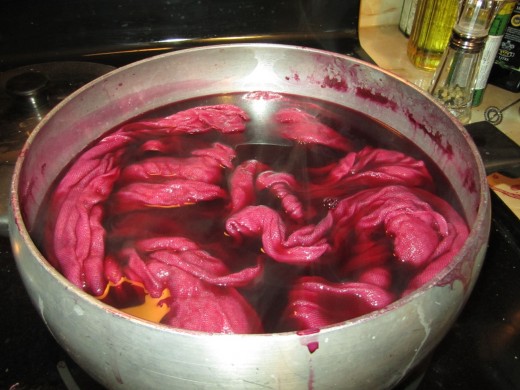
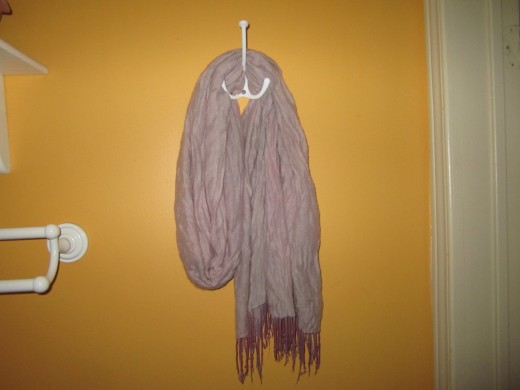
What is the mordant dye process?
1. Pre-clean the material and dry it.
2. Mix the mordant. Soak the cloth for as long as needed.
3. In a big pot, combine the dye extract with some water. Meanwhile, soak the material in some warm water. It is important that the pot be big enough so that the material can swim freely in it. It helps in getting an even colour. Slowly, simmer it. (Take note that when dyeing silk, it should not be heated past 85°C (180°F) as it can lose its natural sheen)
Put the material to be dyed in. Boil until the desired colour is obtained, while stirring once in a while, or it can be left overnight (without heating) to obtain a darker colour. The longer it is soaked, the darker the colour will be. A good thing to keep in mind is that the colour will be much lighter upon rinsing, so the material should be a few shades darker than desired when lifted from the pot. Sometimes, a mordant is added to the dyebath or added to the dyebath during the last few dips.
4. Once it is done, rinse it in a mordant. After that, the fabric should be rinsed with plenty of cold water. Change the water as often as needed. If wool is the dyed material, it should be handled gently as it can shrink. Hang to dry.
Why go for natural dye?
Ever looked at a vast landscape and go, "Wow, I could just look at this forever?" Sure, we are all captivated by the richness of the colours of Mother Nature. A leaf will never have the same shade of green throughout its life. Yet, the colours are all equally eye pleasing.
So why should you buy naturally dyed products? 3 reasons:
- Even if they fade, the colours are still eye pleasing and are not garish like their synthetic counterparts.
- They have therapeutic properties because they are made from products in nature.
- Less chance to develop skin conditions such as rashes and eczema especially for babies.
So what are you waiting for? Start going for natural-dyed products today!
Visit AsianSecrets.My for natural dyed products!
- AsianSecrets.my - Batik Art, Herbal Remedies, Eco-friendly Clothing
We sell a large selection of Batik Painting, Batik Wood Carving, Natural Herbal Remedies, Eco-friendly clothing from Malaysia and ASEAN countries

