- HubPages»
- Arts and Design»
- Graphic Art & Design»
- Design Software
Easily Changing Eye Color in Photoshop or GIMP

About GIMP
GIMP is the top free alternative to Adobe Photoshop, but just because it is free doesn't mean it is a weak program. GIMP's abilities can often rival Adobe's Juggernaut software and in the case of this tutorial, I found that GIMP provided a more satisfying end result. The GIMP tutorial begins about midway though the page.
About Adobe Photoshop
Adobe Photoshop has been the premier in image manipulation for years, and with good reason. Adobe's software provides a massive variety of features and functions unmatched by any other program on the market
STEP 1: Choosing an Image
Before we can begin with the edit we must first find a suitable image to manipulate. Ideally the image you choose will be high quality and have easily visible eyes to work with. In this tutorial I'll use a free stock image from Pexels, but you can use any image you'd like.
Here are a few free stock sites to find an image from


Step 2: Open the Image in Photoshop
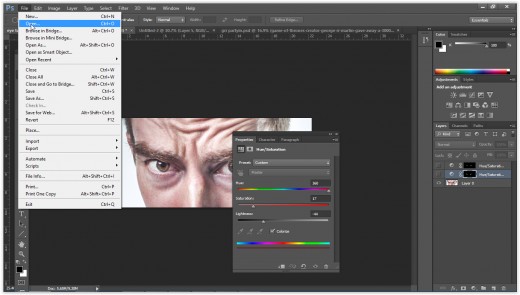
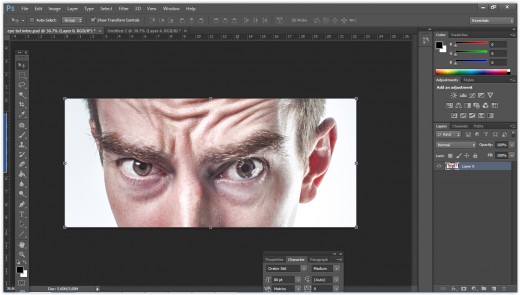
This can be done by either dragging the file into the Photoshop window or by using Photoshop's file menu to open it.
STEP 3: Select the Eyes
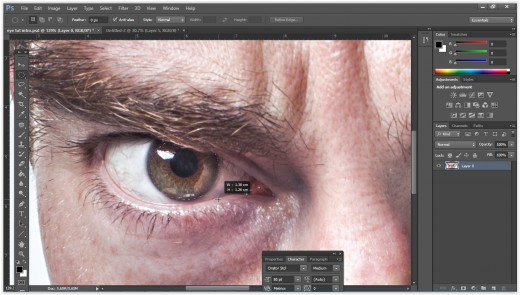
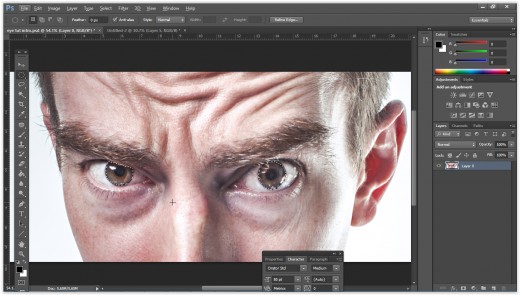
Now that your image is open in Photoshop it is time to select the area you wish to edit, in this case it is the eyes. Use any of the various selection tools to select the colored portion of the eye. I prefer using the ellipse tool to click and drag over the area I would like to select and then adding or subtracting with the lasso tool as needed but this is by no means the only way, do what works best for you.
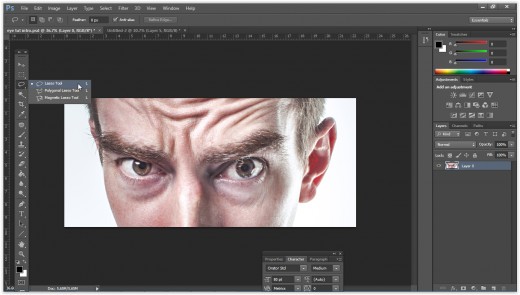
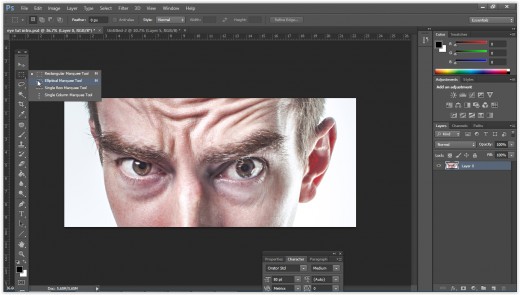
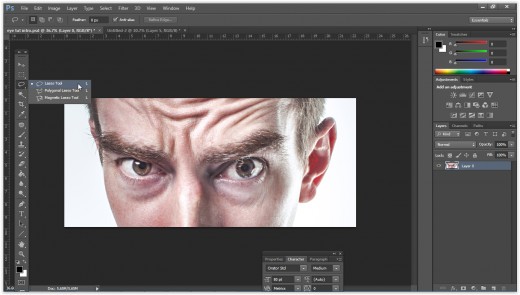
To the right you'll see the selection tools available to you and where to find them.
Like all Photoshop tools they are each labeled with symbols that represent their function.
Right Clicking on a tool will open up a menu that allows you to select similar tools.
STEP 4: Refining the selection
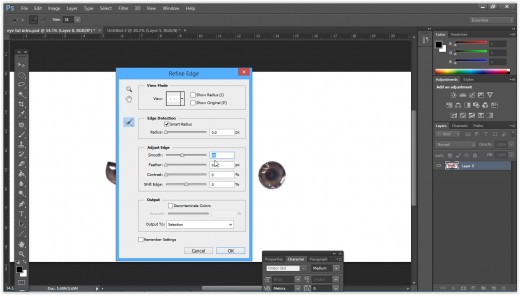
Now that you have selected the eyes it is time to soften the edges of our selection to give it a more natural look. Open the "Refine Edge" menu and check the "Smart Radius" box, then slide the "Smooth" slider to 40 and hit "Ok".
STEP 5: Add a Hue/Saturation adjustment
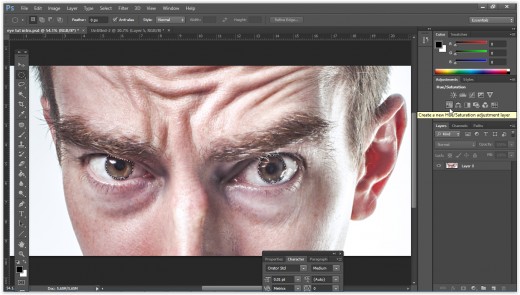
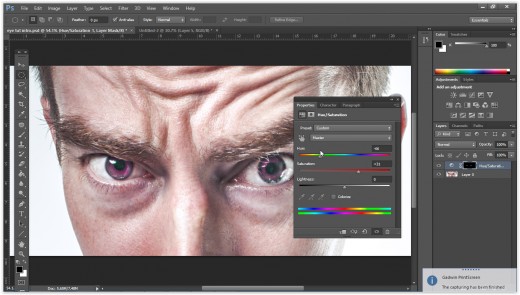
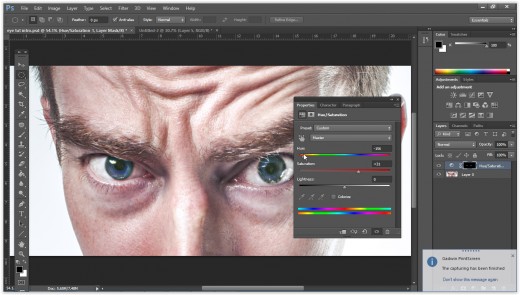
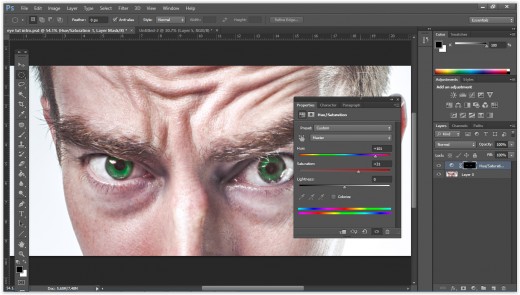
Now, be sure that your selection is still active and add a Hue/Saturation Adjustment Layer above your image, a "properties" window should pop up with three sliders, you can adjust these sliders as you please until you've achieved your desired eye color.
The "Hue" slider will allow you to change the color of your selected area.
The "Saturation" slider changes the intensity of your chosen color.
The "Lightness" slider will shade or tint your chosen color.
Differences in GIMP
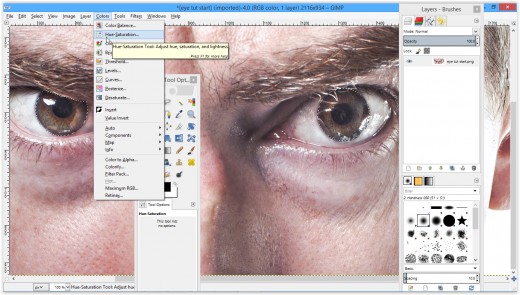
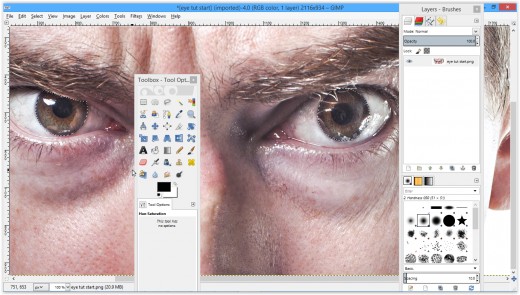
The first few steps are relatively the same as in Photoshop, the main difference here is how we will go about changing the Hue/Saturation.
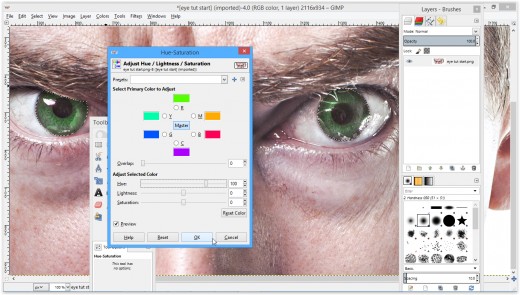
Once we have selected the eyes we can then go into the "colors" menu at the top of the GIMP screen, under "colors" you should click on the "Hue-Saturation" option, you will be presented with a menu similar to the one in Photoshop, adjust your sliders until you are happy with the result and then hit "ok".

