How to Make Purses from Mens Neckties Part 1

Finished Purse Samples

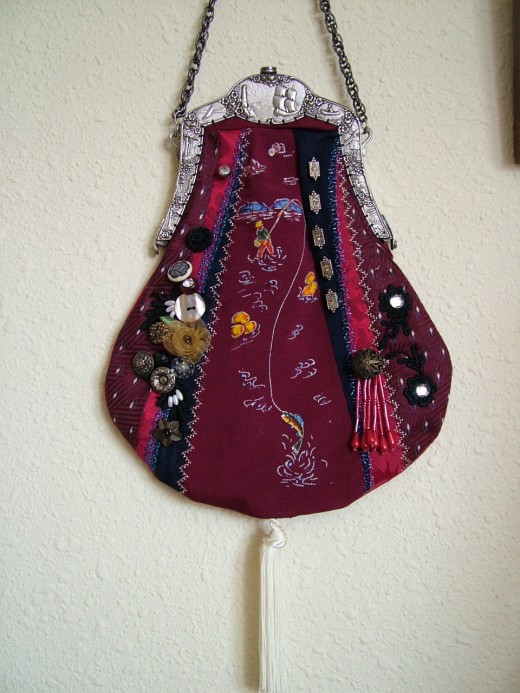


Making Purses from mens neck ties - Part I
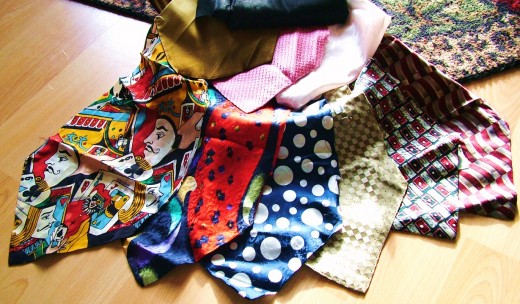
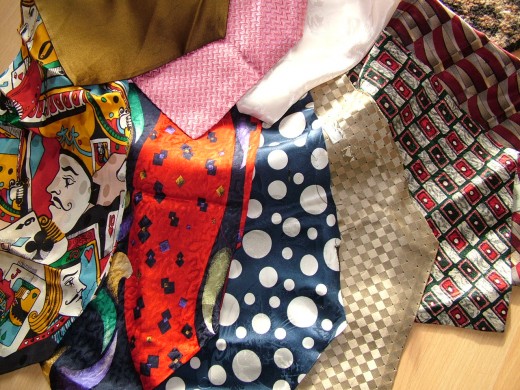
Imagine my delight when I happened upon a pile of old silk neck ties stashed in a cardboard box at a garage sale. A whole host of ideas flashed in my head as I pulled each one out and marveled over the soft texture of the old fine quality silk. Everyone a work of art and still in marvelous condition. None of them were stained or torn considering their age. Much to my amazement they weren't rotting or shredded as you sometimes find in the silk pieces used in vintage crazy quilts. This discovery opened the door to a current passion of mine, reproducing vintage purses from 1800 and 1900s era purse frames using vintage and antique neck ties and fabric and then embellishing them to make one of a kind purses.
The following Hub is a journey/ abridged instructional piece on the process of making these purses. *I will break this into 2 or 3 part Hubs so that this one doesn't get too long. There will also be a sister Hub for strictly silk ribbon embroidery embellishment for purses, sans the "purse construction" portion.
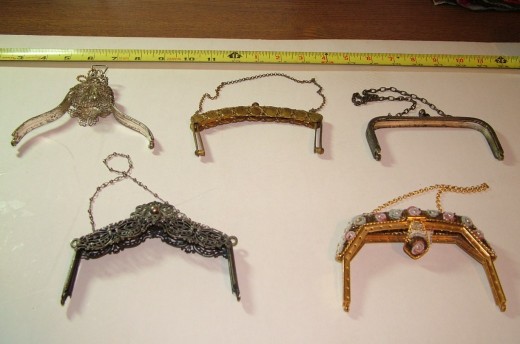
First things first. Let's talk about these antique purse frames, where I get them as a general rule and what I look for. The photos in this hub include several examples of purse frames I have purchased for the purpose of making reproduction purses out of old frames. My first choice where to buy frames is Ebay. If you type in Vintage or Antique purses or purse frames it will bring you quite a lengthy gallery of purses and or frames that are up for bid. Most importantly are three things, the frame must be in good overall condition, ie the clasp or closure must work properly and close tight. The hinges must not be sprung. It MUST have "sew holes" along the frame in order to be able to stitch the body of the purse back onto the frame. Prices for these frames runs the gambit. Anywhere from a few dollars to over a thousand. It is not necessary to pay top dollar for a jewel encrusted frame to end up with a beautiful finished product. The second place to look is antique stores and if you get really lucky thrift stores, but don't hold your breath on that one. Or you can purchase new frames from the sites listed below.
Sometimes these frames are found with the body of the purse still in tact. Depending on the age and how well the owners have cared for these purses will determine what kind of condition the fabric will be in. Many times the body of the purse is long gone and only the frame is left. Ebay is also a very good place to do some research while you are on that category of purses.
Look at many of the purses for sale from that same era. Notice the shapes and styles of those purses. This will give you a feel for how to draw your purse pattern if you buy a frame that no longer has the original purse body attached. I have also bought purses where the body was torn or aged beyond repair but the frame was still in good condition. I carefully removed the body of the purse from the frame and kept the body. This gave me a "pattern" for that frame in case i wanted to make that purse shape very similar to the original one that went with that frame. * Here is a web sites where one can purchase "new" purse frames, some that have that vintage look >>>
Supplies needed to make a purse:
the purse frame of your choice
men's Silk neck ties prepared for sewing/ satin fabric or the damask for the lining and the backing* see below
scissors/ pencil/ pins
light weight iron on interfacing
embellishments such as antique buttons, beads, laces, etc
light weigh paper such as "doctors paper or foundation paper"
needle and thread
sewing machine
iron and ironing board
**Note I ONLY use Silk fabric neck ties which is a personal preference.
1. Preparing the tie fabric: With a seam ripper or scissor, carefully open up the back of the tie from one end to the other and take out the loose interfacing piece. Then steam press the tie flat. With a light weight fusible interfacing iron the interfacing to the back side of the ties to give it more stability. I also do this with the fabric i intend to use for the lining of the purse. **Note I usually use a medium weight satin for the lining or a coordinating damask which wouldn't need to have the interfacing ironed on.
2. On the paper sketch or draw out your purse body shape adding 1/2inch to the outside for seam allowance, then cut out this pattern on the outer line and set aside. You will NOT be sewing onto this pattern piece.
3. Take another sheet of paper which is larger than the pattern piece but cut similar in shape to the purse pattern. Usually beginning in the center of the paper, I lay my first piece of tie fabric FACE UP and pin with one or two pins just to hold in place to the paper. I do not mark this paper with lines or anything. It just gives you a foundation to sew on. It will later be torn away. The second piece is laid right sides facing to the center piece. Beginning at one end stitch a seam line to the other end to hold the new piece down sewing with a 1/4inch seam allowance, then flip open. Then press with an iron. This is known as the "flip and sew" method. Continue adding strips on either side of the center piece until you have worked your way to the outer edges of the piece of paper you are sewing on. Cut out a whole piece of fabric for the back of the purse in your fabric of choice. If you choose to embellish your bag front now is the time to do that. I use my fancy embroidery machine stitches to run down the seam lines in various thread colors. I sew on buttons and beads keeping in mind not to have them too close to the outer seam lines.
Ok!! On to Part 2 http://writinginalaska.hubpages.com/hub/Creative-Uses-for-Mens-Neck-Ties-Part-2 for how to do the lining and sewing the lining to the purse body. Then sewing the purse body to the frame. *I am also posting another Hub using the same technique for constructing one piece purse bodies with hand done silk ribbon embroidery instead of using neck ties. So Hop on over to that hub too to see these beauties that I have made.
neck ties ready to use
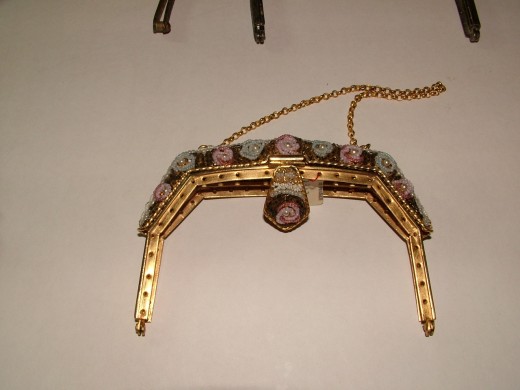
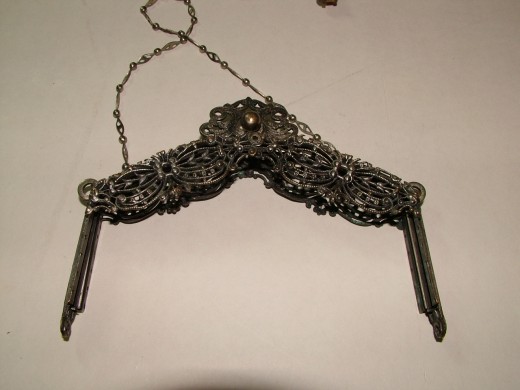
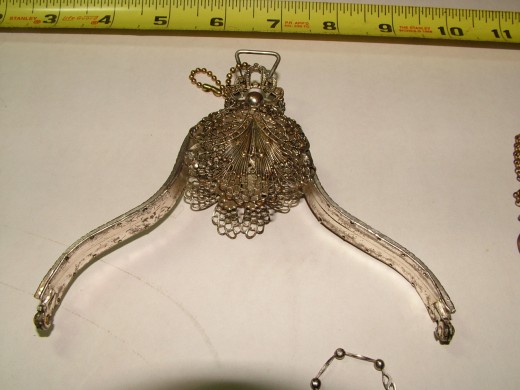
Antique Frames