How To Draw A Rose Step By Step
How To Draw Flowers Book With Easy To Follow Steps For All Types Of Flowers
Drawing Roses
The drawing of roses and flowers comes down to good observations and a solid confidence in drawing, but there are simpler ways to draw roses, as they aren't that complicated to get right.
Go out and find some roses and take a picture or two of them, or look online to find a few reference photos of roses, it doesn't matter what colour they are as they all look the same rose flower shape.
The pictures of roses are the ideal reference to learn how to draw them as life drawing is a key element in any artists learning, so the best thing to do is to go out and about and see lots of things that exist in city gardens like trees and flowers and other plants and just sketch them to get an idea of different ways of drawing certain landscape features.
I like to sketch stuff like this as a break from my comic book style drawing and it really does help to refresh your artistic creativity too by drawing things you wouldn't ordinarily draw.
Here is a little step by step guide to draw a rose and it is easier than you think if you take the time to practice drawing all floral stuff.
Don't forget, if you need more Art equipment then check out these - drawing supplies
Drawing A Rose

Basic Rose Outline
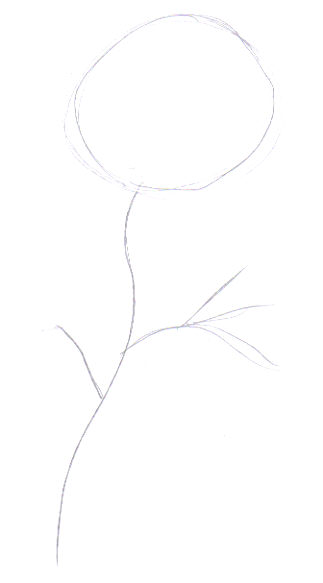
Rough Outline Of The Rose
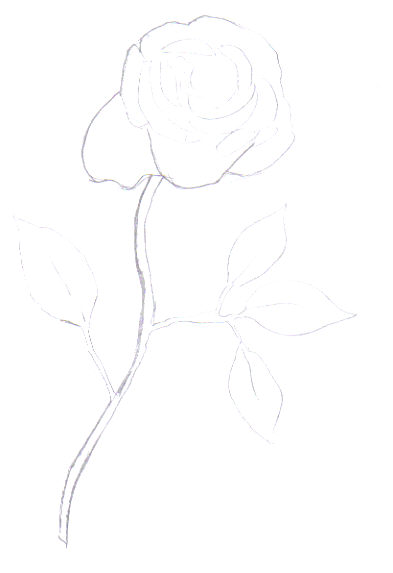
Here is a rough outline of our intended rose drawing, we start off with a simple line for the stem and a couple of tiny branches and just a rough circle shape for the flower petals later on.
We could draw the leaves in later on, as these are the details as the tricky part is drawing the petal arrangement, but for now our basic outline is the best way to start a rose drawing from scratch.
Rough Pencil Lines For The Petals
Forming The Petals And The Leaves
This is the important step of sketching in the petal formation, as you want it to look right, I suggest an unsymmetrical approach, as this makes the petals look real..
I left the lower leaves quite light as the edges need to have a jagged edge to them, tiny details like this are added later on
I tend to think of the petal arrangement as a tornado with the spiral shape being all of the petals opening out like in the next drawing here.
Adding Details And Strengthening The Pencil Lines
Rose Details And Shading
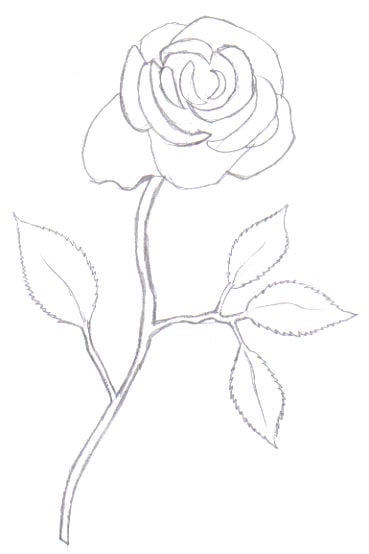
The darkening of the pencil lines now makes the rose drawing more defined and we can start adding the shading to the flower.
You can make up the shading quite easily by deciding on what dark areas to shade to separate them from the light areas.
I also add the thorns in here and the jagged edges of the leaves too as small details that are part of the rose flower design.
Final Shaded Rose Drawing
Finishing Off The Roses Shading
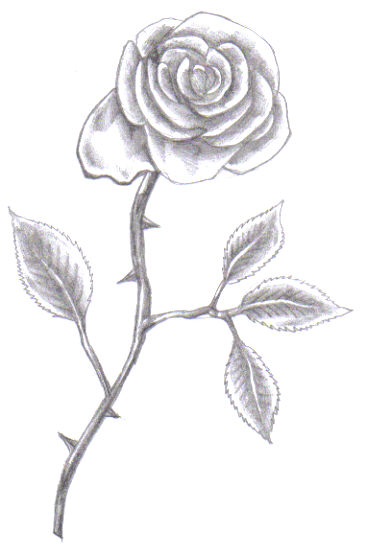
Here we have the final rose drawing, all shaded and with the pencil lines cleaned up slightly, When I've finished a simple drawing like this I like to leave well alone, before I add too much detail and other things that detract from the subject at hand.
Just remember that with anything you draw, it is far easier to break down the steps into easier to manage byte sized steps.
Now go and draw some roses, maybe a bunch of roses!
--->> If you liked this drawing tutorial then you may be interested in How To Draw A Tree
Color A Rose With Crayola Supertips And Black Sharpie Marker
Purchase A Rose Photo Magnet
Buy A Rose Photo Magnet
This Rose Photo Magnet can be bought off Zazzle, so if you want to buy it, then you can....Rose Photo Magnet
Other Rose Drawing Help
- Drawing Roses Lesson
How to draw roses with another example.


