How to Make Abstract Art in Photoshop CS4


What is Abstract Art?
Abstract art is an expression in a painting or sculpture which does not depict concrete shapes, or identifiable objects. In painting, abstract art is created with colors and strokes. Russian artist Wassily Kandinsky is believed to have created the first abstract art in 1911.
You don’t need to be a painter or sculpture to create abstract art. If you know some Photoshop skills, you can create your own abstract art. Here are few methods to create abstract art in any versions of Photoshop including CS4.
How to Do Abstract Art in Photoshop: Step One
1. Create a new document in Photoshop. Make sure your document has square shape.
2. Choose black as the background color and white as foreground color.
3. Fill your canvas with black color by pressing Alt Delete.
4. Click on brush tool, and choose soft brush tool.
5. Set the brush in large size. Stamp the brush in the centre.
6. Go to Filter→Distort→Wave.
7. Set Numbers of Generators, Wavelength, Amplitude, Scale etc. Preview box allows you to see the result. You can also keep the default settings. Click OK.
8. Click Ctrl F couple of times to repeat the process.
9. Duplicate the layer by pressing Ctrl J.
10. Click Ctrl T and rotate to 90 degree.
11. Now merge the layers. (Ctrl E)
12. Duplicate the layer one more time, rotate the canvas to 90 degree.
12. On you Layer Panel, click the box just below the layer tab. Select lighten. And press Ctrl Shift E.
13. Go to Layer→Layerstyle→Gradient Overlay.
14. Set Color burn as blending option, Select Gradient of your choice. Click OK.
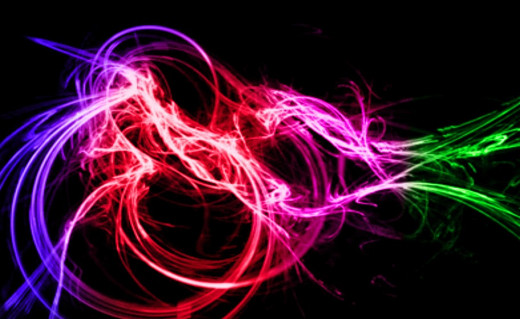
15. Your abstract Art is ready. After merging the layers, if see your new layer locked, unlock by double clicking the layer and the Layer Panel.
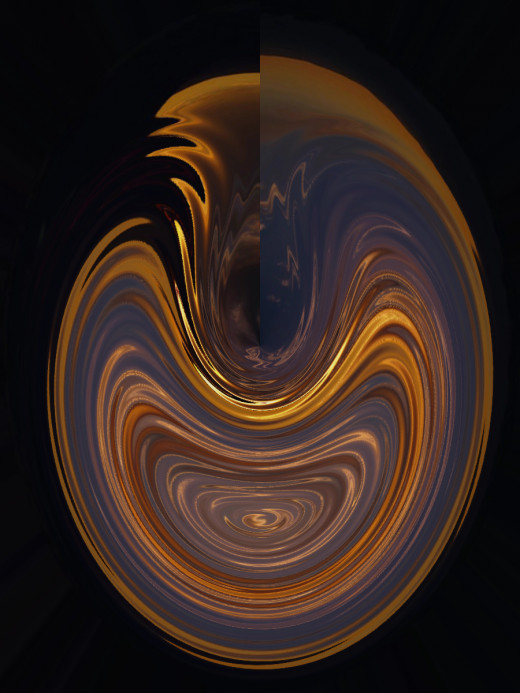
Step by setp suide to create amazing abstract art from an ordinary photo
Click thumbnail to view full-size


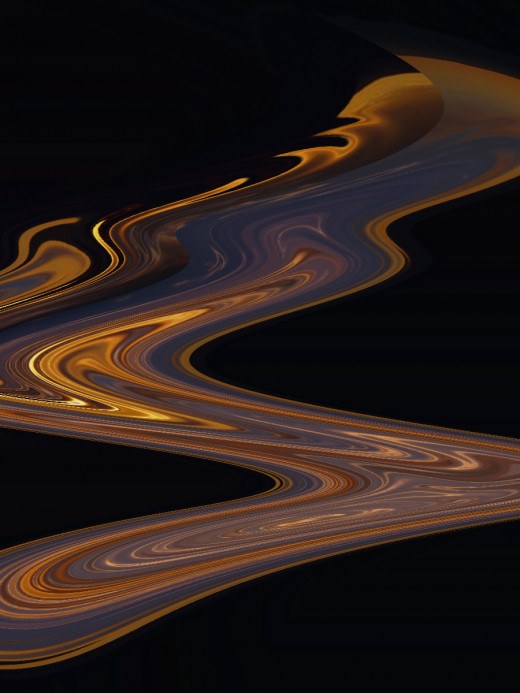
Abstract Art in Photoshop: Step Two
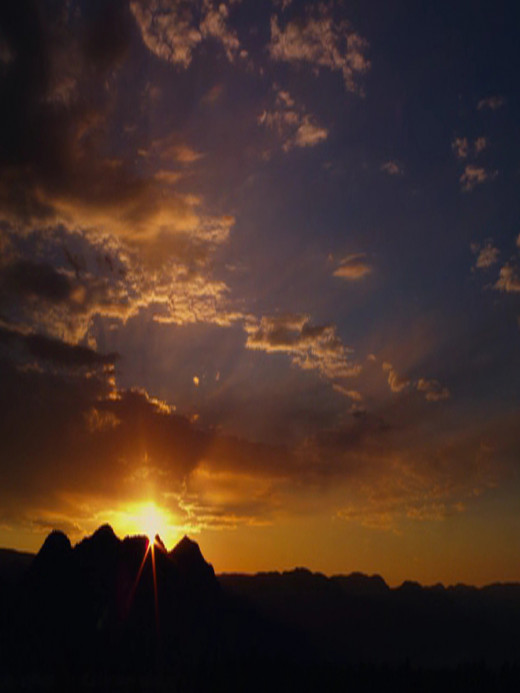
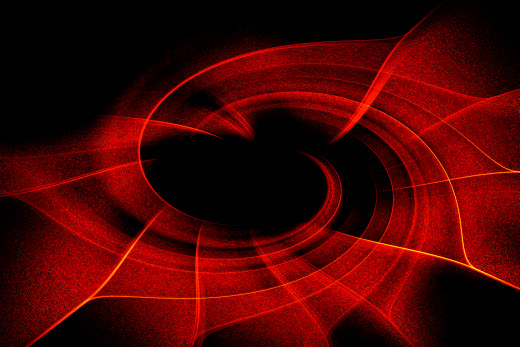
There are many ways to create abstract art in Photoshop. One of the easiest ways is to work with Photoshop Presets on a photo and transform ordinary image into an amazing abstract art. Here is a step-by-step guide to make abstract art in Photoshop from a photo.
1. Open a photo in Photoshop.
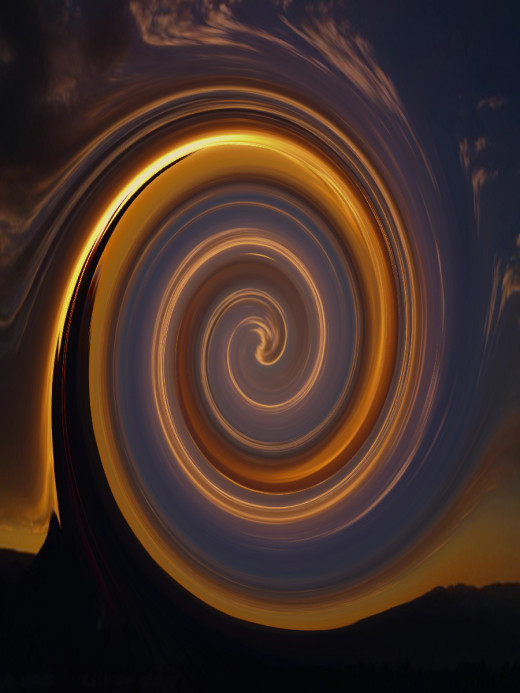
2. Click Filter. From dropdown menu select Distort and then Twirl.
3. Set the Angle. I prefer between 800 and 950. Click OK.
4. Go to Filter→Distort→ZigZag
5. Set Amount, Ridges, Style and Click OK.
6. Go to Filter→Distort→Polar Coordinates
7. Set Percentage, check either Polar to Rectangular or Rectangular to Polar. Click OK.
8. Go to Filter→Distort→Shear
9. Click on the line and drag to set the curve of Shear. Click OK.
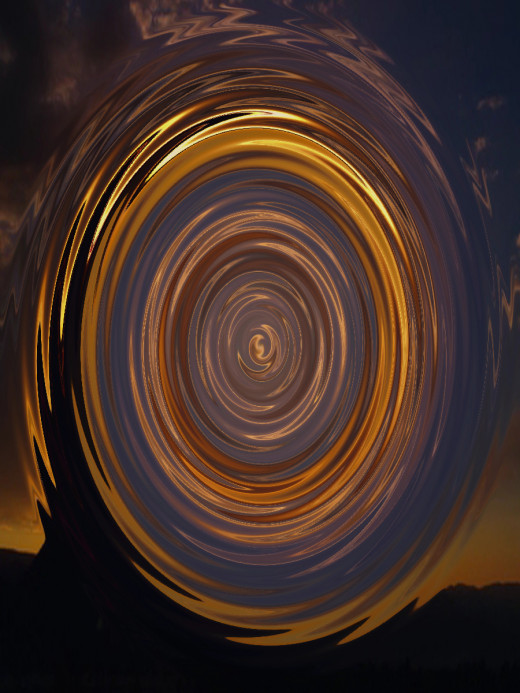
10. Click Image→Adjustments→Brightness/Contrast.
11. Set the level of Brightness and Contrast and click OK.
12. Set Hue/Saturation (Ctrl U) and Color Balance (Ctrl B)
There are no hard and fast rules to create abstract art from photo in Photoshop. You can experiment with many other presets in the Filter menu. You can even transform your art into pencil color painting, watercolor painting or a poster.
![Adobe Photoshop Elements 2018 [Old Version]](https://m.media-amazon.com/images/I/51AQ4wl7eOL._SL160_.jpg)
Abstract Art in Photoshop: Step Three
1. Create a new document, and choose black as background color and white as foreground color.
2. Click brush tool and select abstract brush. If you don’t have abstract brush you can download for free.
3. Stamp the brush in the canvas.
4. Choose another abstract brush and stamp again.
5. Duplicate the layer (Ctrl J)
6. Go to Filter→Blur→Gaussian Blur; Set Radius between 5 and 7.
7. Create a new layer. You can find icon for creating new layer on the bottom of Layer Panel.
8. Choose Ordinary soft brush and color your canvas with the color of your choice. Make sure you fill the canvas with more than two colors.
9. Go to Blending Options, and choose Color as Blending Mode. You can find Blending Options on the bottom of Layer Panel, or simply click the box just below the layer tab in Layer Panel.
10. Create a new layer, choose white as foreground color.
11. Go to Filter→Render→Clouds.
12. Go to Blending Options and select Color Dodge as Blending Mode.
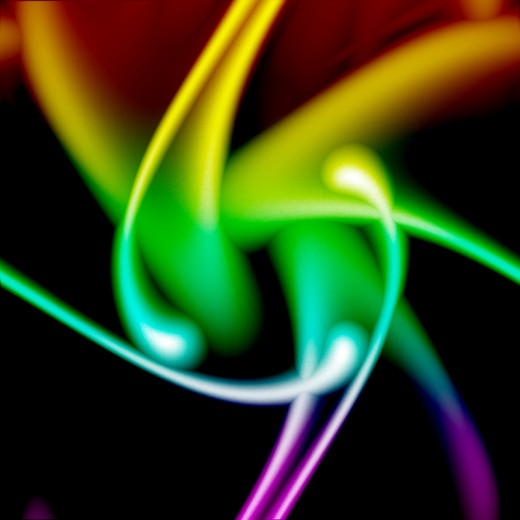
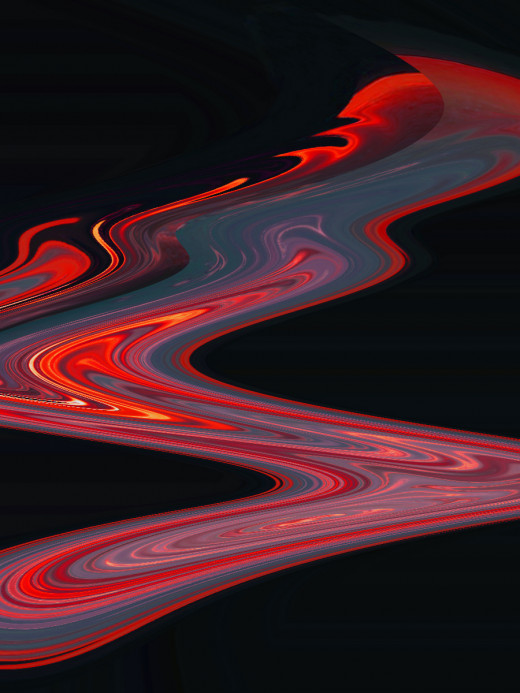
Creating Abstract Art with Photoshop: Step Four
1. Create a new document and fill it with black color.
2. Go to Lasso tool and draw an object with sharp edges.
3. Fill the object with white color. And deselect by pressing Ctrl D.
4. Go to Filter→Radial Blur.
5. Choose Zoom as Blur Method, and check Best Quality. Set Amount to 100.
6. Repeat the process by pressing Ctrl F
7. Go to Filter→Stylize→Find Edges.
8. Press Ctrl I
9. Go to Filter→Distort→Twirl; set the Angle between 30 and 50, and click OK.
10. Duplicate the layer by pressing Ctrl J
11. Go to Filter→Distort→Twirl; choose negative value between 300 and 400. Click OK
12. Go to Blending Options and select Screen as Blending Mode.
13. Merge the layer.
14. Duplicate the layer and go to Blending Options and select Lighten as Blending Mode.
15 Merge the layers.
16. Create a new layer, choose any color and fill your entire canvas.
17. Go to Blending Options and choose Color as Blending Mode.
18. Create a new layer, choose another color and fill your entire canvas.
19. Go to Blending Options and choose Overlay as Blending Mode.
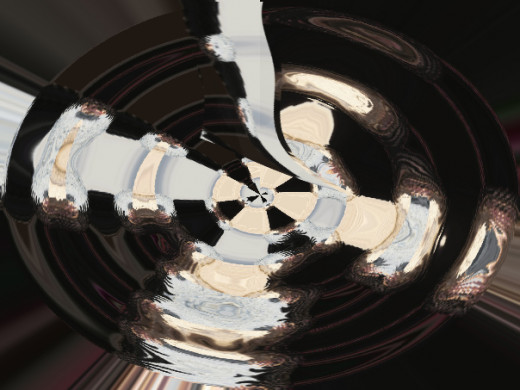
20. Your Abstract art is ready.
Related

The Nature Of Abstract Art Criticism and Dismissals

Create an Abstract Background With Curves in GIMP

Create an Invitation Using Photoshop and Learn the Secrets of Inexpensive Printing

Twig Wood Text Effect in Adobe Photoshop
")
Profitable Abstract Painting Ideas: How to Make Abstract Paintings to Sell... (and Where to Sell Them)


