How to Make Your Own Home Sewn "Designer" Tie Purse

The Fancy Tie Purse

The Fancy Tie Purse
Got an old tie of yours or your man's? Don't know what to do with it 'cause it's so hideous for the current fashion trend that you know you can't wear it? Turn it into a purse strap! We had Tacky Tie day at work, so I ran to goodwill just before my shift, and I found a nice flowery little gem. It grew on me as the day went by, so today, it's going on a purse!
And here's how....
Supplies
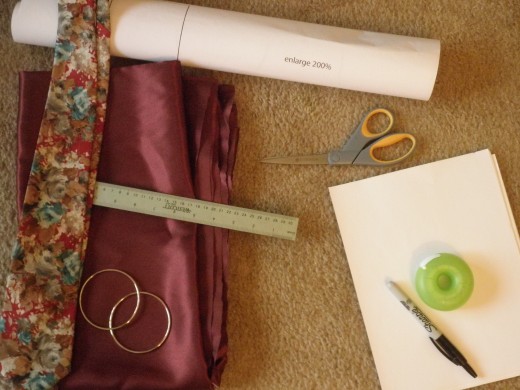
What You Will Need
- An old tie
- 1-2 yards of fabric (depending on how big you want your purse)
- Brass rings (I use huge ones, but size doesn't matter, heh)
- Sharp fabric scissors
- Plain printer paper
- Sharpie
- Tape
- Ruler
- Sewing machine
- Sewing pins
- Patience
Bag Pattern Tracing
Click thumbnail to view full-size


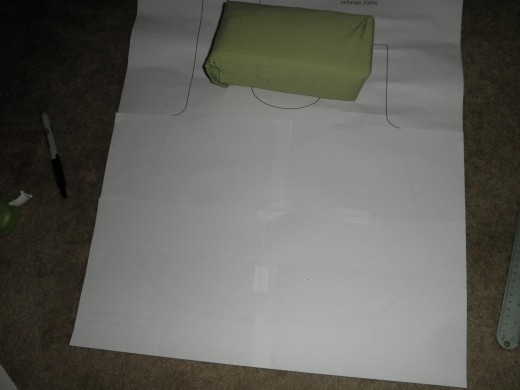

Step One: Figure Out Your Bag Size
Figuring out your bag size can be fun, or... as I see it, difficult as all get-out. I borrowed this pattern from MarthaStewart.com, and blew it up about 250x the size it prints out on an 8x10" piece of paper. From there I took four 8x10" pages (Okay, eight-and-a-half) and taped them together over the pattern.
Then I took my sharpie, and, making sure everything was WELL TAPED so nothing moved, I traced the pattern onto my 8x10"'s. Untaped it from the pattern but kept the four pieces together, and I had a pattern.
Note: I only used the bag. I ignored the handles, in fact I ignored most of the top of the bag and just made it straight across. It being your bag, of course, do as you like.
Sew ALL the pieces!
Click thumbnail to view full-size


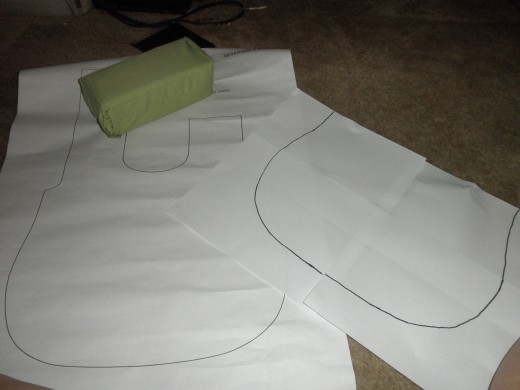
Step Two and Three: Cutting and Pinning Your Fabric
Cutting: Using the same pattern you just chose, cut out FOUR pieces total of the same shape - two for the inside lining of the bag, and two for the outside. Then, taking a strip of what's left, cut at least three pieces of fabric that are at least four inches wide and seven or eight inches long. Yes, three is an odd number, but it's for support. This will be the part that holds your metal rings in place. (Obviously, if you chose smaller rings, you'll need to make the handle strips thinner.
Pinning: Determine which two bag pieces will be your outside and which two will be your inside lining. With the two inside pieces, pin them together, both right-side in. With the two outside pieces, you'll have to do a little maneuvering - Put them right-side in as well, but you're going to have to work your tie in on one side. So first, decide how much of the bag you want your tie to take up, and, next, pin it in place with the back of the tie facing outwards. Yes, it will look absolutely insane and you'll have to work with the tip of the tie to get it to work right.
With the three handle pieces, just make sure they're relatively in order and the same length, and sandwich them together with wrong-sides facing out on the front and back, just like the bag parts.
When You're Done With That....
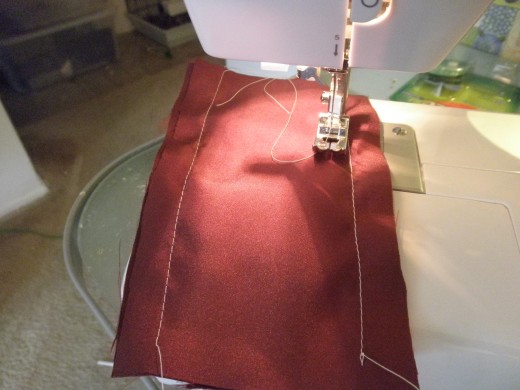
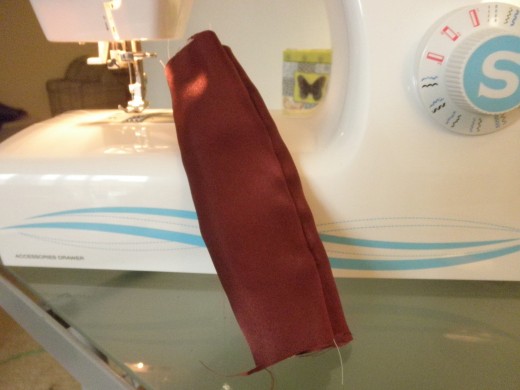
Sew ALL the pieces! Okay, well... almost. With the strap, the only thing you should be sewing are the long-side edges, like in the photo. Do NOT sew it completely shut on all four sides.
and then... you should really iron everything while you can. Like now. Seriously.
Step Four: The Tricky Part
No lie. I totally had to look it up because it's been so long since I used this style of purse, so I went through my old things, couldn't find it, and ended up checking Martha Stewart's website.
Listen carefully. Keep the OUTSIDE of the bag right-side-in (wrong sides showing). Take the INSIDE of the bag, and flip it right-side-out. Stuff the INSIDE of the bag into the OUTSIDE of the bag, just like they are, so the right sides are together in there.
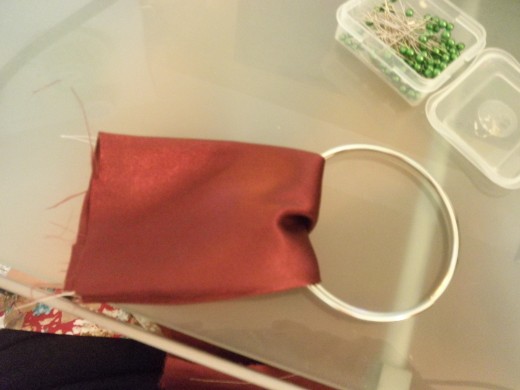
Now... take that handle/strap/thingy you sewed separately. Turn it right-side out. Thread it through BOTH of your metal hoops, and pin it so that they don't fall out, because trust me, if they can, they will.
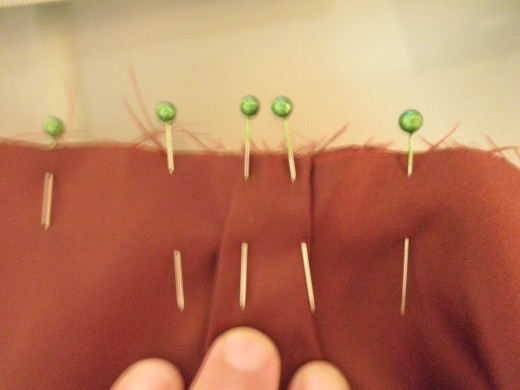
Putting it UPSIDE DOWN into the bag so that the rough ends are showing, pin it in place between the inside and outside of the bag (that way, when you pull everything out the way it's supposed to be, those will be outside the bag, and not sewn inside them, like I tried to do earlier). Line up your seams on both sides of the bag, and pin it halfway around on each side. Here's where it gets worse.
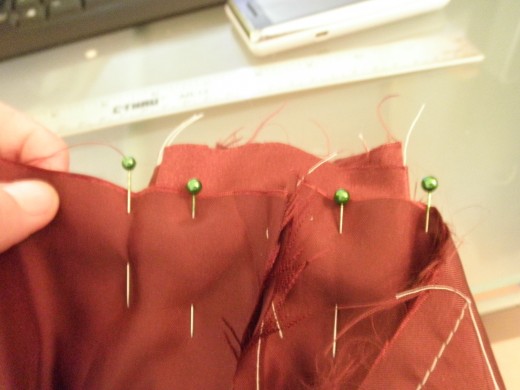
You notice how I didn't say to cut out some of the excess fabric you'll have on the outside part of your bag? Well, that means, with your tie in that and NOT in the inside lining, your two halves are going to be of different sizes. The best way to go about this is to pin from each side until you get all the loose fabric in the middle. Fold it in two places (see photo on right), and pin it, to create little tucks. This'll add a little accent to the middle-outside of your bag too when you flip everything around.
DO NOT sew all of the tie. Start with one or two stitches in the tie on one side, and sew all the way around completely to the other side, and only do one or two stitches into the tie there. Why? Because otherwise your bag will be inside-out permanently with the raw edges showing.
A Briefly fun part.
Reach in through that space you left where you didn't sew completely through the tie... Grab those metal hoops, and pull the bag right-side-out all over. :) I find it amusing, at least. "Hey look, it's a mess. *Pull* Now it's a purse!" Obviously you'll have to stuff the inside of the bag back down into the outside, but you should have something that vaguely resembles a lady's handbag now.
Final Act
Click thumbnail to view full-size
")


")


The Last And Most Annoying Part
The tie. Well, we had to leave some of it unsewn so that we could flip the bag right side out like it should be, so... now we have to close that. With your bag right-sides out, fold down about a quarter of an inch of the inside of the bag, and pin it TO the tie. Now you could either hand sew this, which would be less noticeable, or you chould choose the lazy way like I did (I can't sew by hand to save my life, honestly, unless it's a button. That's all I can do, buttons.).
The lazy way is to get the edge as close to the needle as you can stand it, and SLOWLY sew across the top of the fold, attaching the inside to the tie permanently. Then, you just barely pull them apart and knot it up inside in between the two, and snip it as short as you can so no ends are showing. That's what I did. A little sloppy? Perhaps, but after all the times I'd had to take out stitches and resew things, I was done. And with the tie being so multi-colored, you can't tell at first glance that there's white thread poking out - if I'd had the same color thread as fabric, you wouldn't be able to tell at all.
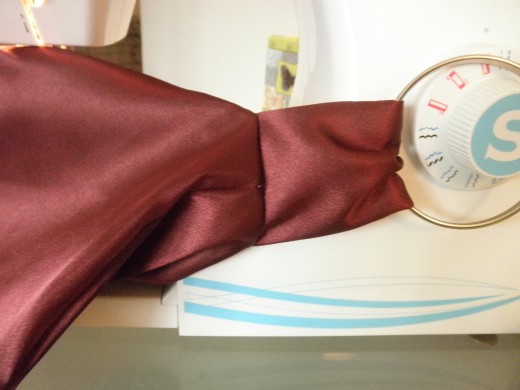
Final Bow
Here's the absolute hardest part you will encounter. How to tie the tie and complete the strap by using the end of the tie and looping it through the hoops. I swear it took me half an hour to get it right, but I finally got it how I wanted it. Here's the good thing about this pattern - the purse strap is entirely adjustable. So tie it wherever you want it to hang.


