How To Make Two Pictures Side By Side Using Free Gimp 2.6

Side By Side Picture Using Free Gimp
Want to learn how easy it is to take two pictures and make one picture side by side using free Gimp. Free Gimp 2.6 is a open source image manipulation program that is very simple and easy to use. With just a few hours of practice the novice user can manipulate photos just like the pros.
What I have created here is a video tutorial showing the steps in real time just how simple it is to take 2 photos and align them side by side to make one photo ans save it it your PC. This process really is a simple one. Using Gimp 2.6 I will show you in less than 5 minutes the steps to do this. Following the video I have written out the steps to read that complement the video caption.
Download Gimp 2.6
The first thing is to download the Gimp open source program at www.gimp.org/downloads if you already haven't done so. (gimp.org/macintosh or gimp.org/windows)
Then open the program so that we can begin to follow step by step. If possible watch the video then read the steps to follow the video.
Step 1
Click on the file tab in the upper left hand corner and create a new background and set the size desired. The size will be the total width of the 2 photos. In this example the photos are 225 x 225 so the width is 450 and the height is the same 225.
Step 2
Click file and scroll to "Open as Layers" and find the first image in your computer files to add.
Step 3
Click on the alignment tool in the Toolbox window. Make sure you click on the image and then go back to the toolbox and select the align left and center buttons.

Step 4
Click file and then scroll to "Open as Layers" and find the second image photo to add from the files on your PC.
Step 5
Click on the image go to the Toolbox window click the alignment tool and click the align right button and center button.
Step 6
Next click file and "Save as" and name the final photo with a file name and specify file type *important (.jpg .png .bmp) you must save the file type because the default file type is for opening the photo in the gimp program itself.
Last Step
Once you click save a new window will pop up so click export and then save in the next window and thats it the new photo is saved in the folder you specified.
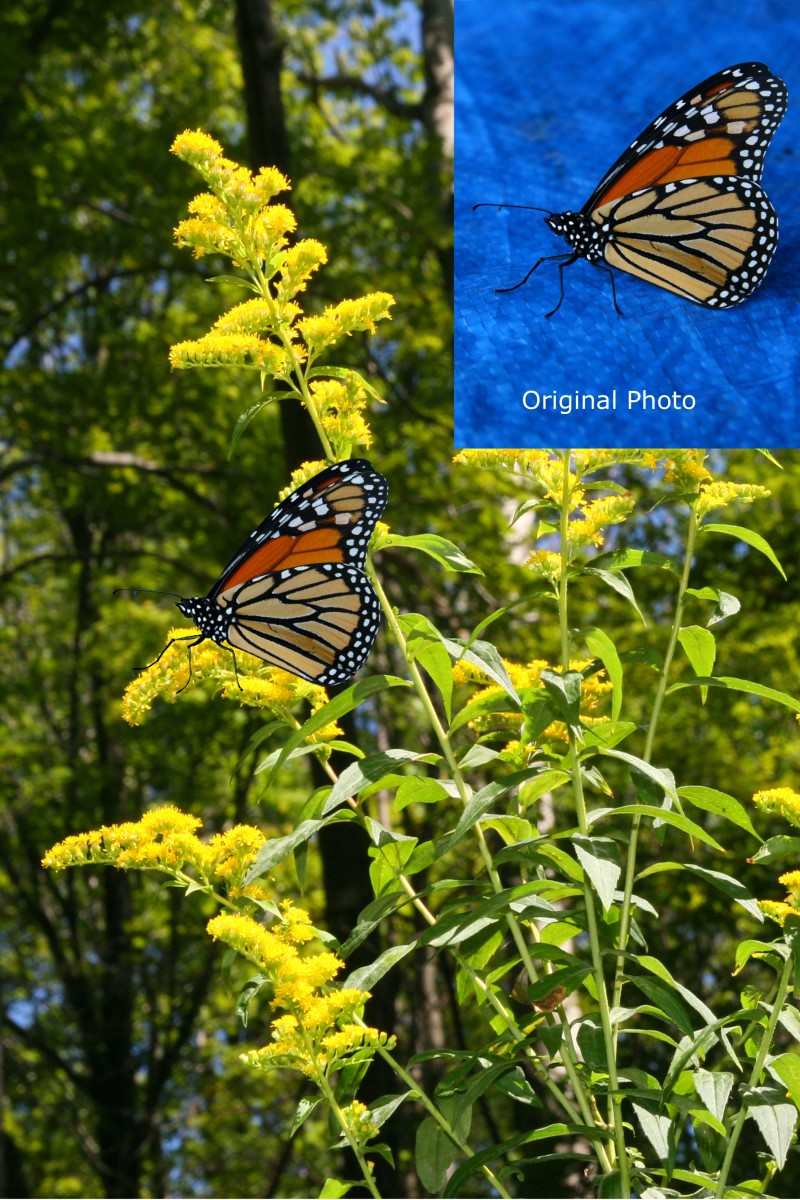
Final Side By Side
Below is what the final photo or picture will look like side by side using free Gimp 2.6 to create a new image. Within a matter of a couple minutes you can create side by side photos for uplaoding to HubPages or personal blogs and websites.
- If You Would Like To Start Earning With Hubpages Click On This Link Hub_Writers_SignUp


![Adobe Photoshop Elements 2018 [Old Version]](https://m.media-amazon.com/images/I/51AQ4wl7eOL._SL160_.jpg)
