Photoshop Tutorial 2 More Illustration effects

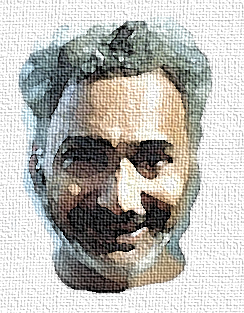
The first effect was done in three steps. No, not the self-portrait. After you are through with this tutorial, figure out how to do that! If you still can't, ask me nicely.
I recently shot a pic of a white tiger who adds beauty to our local zoo. Isn't she a pretty lady? Then did the below clicks.
1. Filter-->Artistic-->Poster Edges
2. Increased the saturation: Image-->Adjustments-->Hue/saturation
3. Applied a canvas texture: Filter-->Texture-->Texturizer
Please fiddle with various parameters to suit your taste.


Palette Knife
The third tiger was subjected to the treatment in my previous tutorial, except for one thing. I used the Palette Knife filter instead of the Watercolour. Go ahead, try it!


Wild Ass in Watercolor
A bit complex, this one, but simple when you break it down. Please click on the images to the right to view full size.
1. Open picture.
I want to do a watercolory effect, and don't want the edges so straight. So ...
2. Increase Paper Size
This I do by going to: Image-->Canvas Size
Now I have lots of space, so I'll do my worst. My worst is to...
3. Smudge the Edges
I smudge with that tool which has a 'pointed finger' icon. If it was turned the other way, it would be an obscene tool!
I smudge the edges real bad. I also increase the brightness and saturation a notch since I want my watercolor to look brighter and more colorful.
That is, Image-->Adjustments-->Brightness/Contrast and
Image-->Adjustments-->Hue/Saturation
Now I look forward to the...
4. Watercolor Effect
That you know where to go to do:
Filter-->Artistic-->Watercolor
Oops, it's too dark in there! So I solve that ...
5. Duplicate Layer and Use Screen
Don't know how to do that? Go to the earlier tutorial, you jumpstart, you!
Now to fool all laypersons, who are equal in my eyes, I do this:
6. Apply Texture
I again use the canvas texture. You know how to do this, don't you? No?
Sigh. Go to the top of the page, please.
Have fun!


