Tie-dying

Tie-dying is such a fun project and while you have some idea of the pattern you are trying to create, the end result is always fascinating when you see how the dyes blend with each other. I am going to talk about two different patterns..the spiral and the star burst patterns. There are many more options in tie-dying but I feel these are two of the easiest for children to master when tie-dying for the first time. Before beginning, it is important to follow these necessary steps to assure that your shirt will retain its color wash after wash...
1. Fill a bucket with water and add 1 cup of soda ash to the water. Soda ash can be purchased at professional art stores or ordered online at places such as Dharma Trading Co. or Dick Blick. You will need to soak your shirt before adding the colors.
2. Fill your squirt bottles with 1 tsp of urea crystals and 1 TB of your choice of color. Use fiber reactive procion dyes for the most vivid colors and longest lasting. These dyes can be purchased (as well as the urea) at the above websites. Add water to the squirt bottles and shake well to dissolve the urea. Urea helps the color set better. It slows down the process of absorption a bit so the color grabs on to the shirt better.
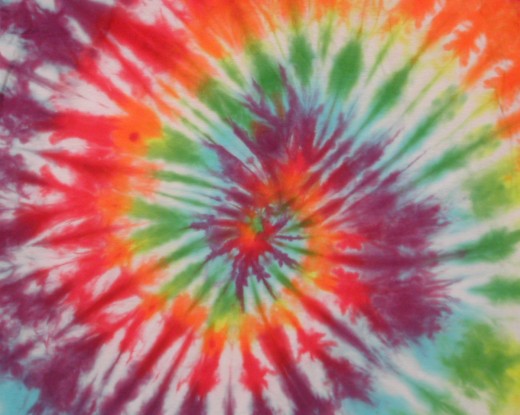
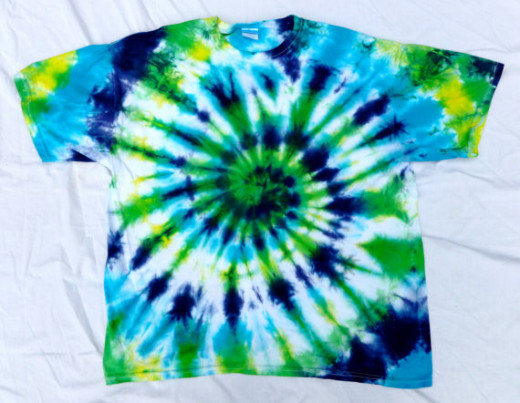
The first two photos (I found on google web image search) are spirals. Place your white shirt flat on a table in front of you. Take a ruler and hold it vertically, placing it in the middle of the shirt. Turn clockwise, keeping the ruler planted firmly in the center and don't lift it up while you are turning the material. Begin folding the material clockwise around the ruler until it is in a circle shape. Hold it together and have someone put rubber bands around the material so that it hold the shape you just formed. Soak the banded shirt in the soda ash water for 20 minutes. Gently squeeze out excess water. Place your shirt, still banded on the grass and squirt the colors you would like to use on the shirt. Flip the shirt over and do the same, trying to keep with the same color scheme on the back. Place the banded shirt in a gallon size baggie and seal. Put in a warm place, preferably in the sun and let it set for 24 hours. Rinse the banded shirt under cold water until most color stops coming out. Remove bands and continue rinsing until no color is present. You can then see your gorgeous pattern! Wash in warm water and dry as normal. You now have a beautiful tie-dye shirt!

I love making spirals! I mentioned above that you can create the same color pattern by flipping the shirt and repeating the color sequencing, however if you want different color patterns on the front and the back, use different colors. No matter what color choices you make, the shirt will look awesome!
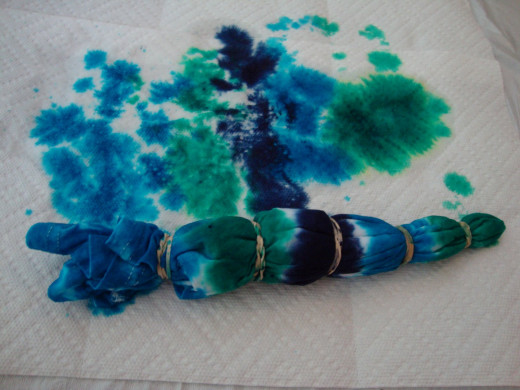
I've used cool colors on the front and warm colors on the back and created a very unique shirt. Just remember, to really soak the shirt with color. The fact that it is tied up in a spiral, there will be plenty of "white space" when you unwrap your shirt.


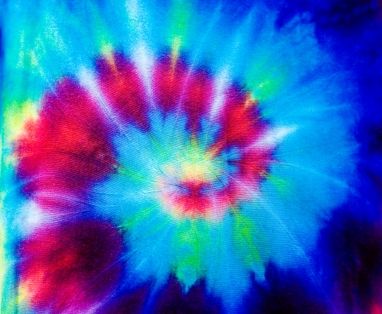
Another pattern you can make on a shirt is a sun burst pattern. Put your shirt flat in front of you. Grab the center of the shirt and hold it in your hand, letting the rest of the shirt fall below your hand (see picture below). Form shirt into a long pipe like form, putting bands around the "pipe" all the way to the bottom. Soak shirt in soda ash water, follow the steps above and you will have sun bursts shooting out of your shirt.
Once again, use various colors for a very colorful shirt or stick to a couple for a keyed-down but stunning shirt. With tie-dye, you CANNOT go wrong!
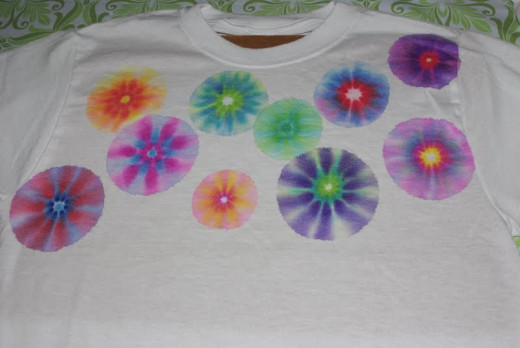
Using rubbing alcohol to "tie-dye"
This method is more time consuming and needs to be done outdoors in lots of fresh air. Rubbing alcohol is very toxic in a closed in area.
With this method, you won't need to band up your shirt. You simply take permanent markers of various colors and make little dot patterns close together. For example, on the top shoulder of the shirt, create a spiral with little dots of varying colors of the markers. Or, simply make a small circle of little dots using the markers. Take an eyedropper or syringe, filling it with rubbing alcohol and slowly drip the liquid on the dots. You will see the alcohol break up the pigments that created the marker color and spread those pigments out across a small area on the shirt. Keep dripping the alcohol onto the dots until the colors stop spreading.
The results are beautiful.
No matter which method you choose, your tie-dye shirt will be a cherished project. Be creative and band your shirt other than mentioned above and create incredible designs as well. There is no right or wrong way to tie-dye. Have fun!

© 2009 Laura Cole
")


