Salt Jar Luminaries

Lovely Luminaries
Some time ago, I found a craft on Pinterest that caught my attention - DIY Salt Jar Votives. This is the site that inspired my Christmas Light Luminaries lens.
Growing up on a farm about two sticks ahead of the Stone Ages, one of the habits I'd developed was to never throw out anything that might possibly be useful at some point. Though our many moves prevented me from becoming an all out hoarder, it's a habit that has come in very handy over the years. One of the things that has accumulated in my cupboards has been a collection of jars of various sizes. When my daughters and I set up to make our Christmas Light Luminaries, my older daughter selected some of these jars to make her own Salt Jar Votives. Here is a step-by-step of what she had done. I hope you enjoy it, and are inspired to try it out yourself!
Materials Needed
Mod Podge
Epsom Salts
Craft Brushes
Tray, spoons and paper to protect your surface
Jars in your choice of sizes
Food Colouring (optional)
Glitter (optional)
Clear Glaze Spray (optional)
Mod Podge
Mod Podge is available in a variety of finishes, but with this craft, that doesn't matter, as it won't be seen in the finished luminary. Mod Podge is fire retardant, non-toxic and water soluble, making it a safe choice that's easy to clean up when you're done!

Epsom Salts
These salts have a lot of uses! They are particularly excellent in the bath and mixed with essential oils, so extra is always nice to have!
Craft Brushes
The luminaries will need a thick coating of Modge Podge, and inexpensive craft brushes are the tool to use.

Food Colouring (optional)
My daughter chose to do things rather differently with the food colouring compared to how we did the Christmas Lights Luminaries, and I think it turned out rather well!
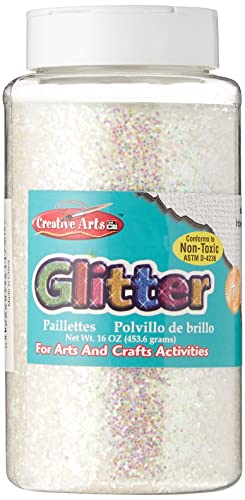
Glitter (optional)
We used iridescent glitter, but go ahead and try other colours. Just don't use fine glitter - you'll see why, below!
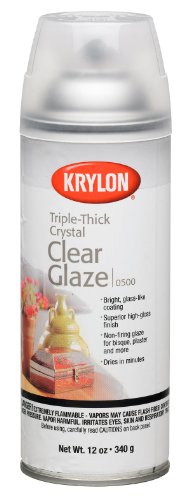
Clear Glaze Spray (optional)
We started out using this, but in the end, my daughter opted not to finish with it.
First Things First - Gather Your Materials
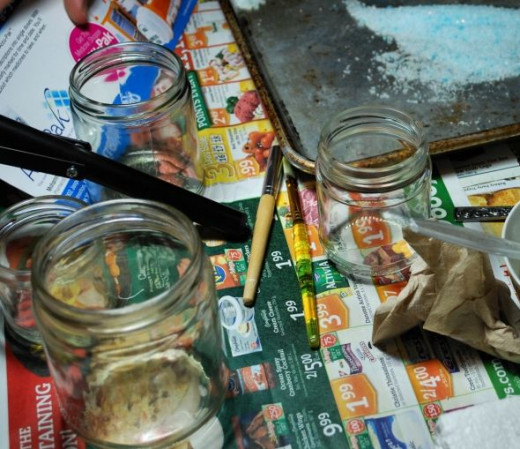
Since we already had materials ready for our Christmas Light Luminaries, all we needed to add were the jars. I have a thing for little jars, so I'd accumulated a fair number of them. My daughter chose 4 different sizes and styles. The important thing is to make sure the openings are wide enough to place a votive candle or tea light when they are done.
Adding More Glitter - Oops. Don't do this.

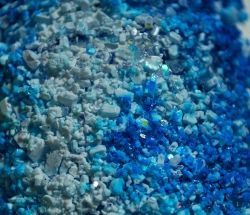
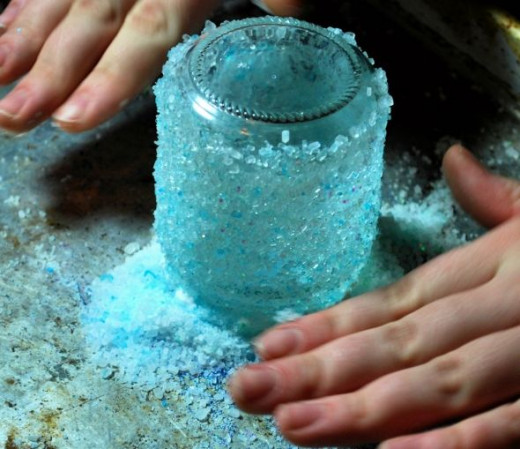
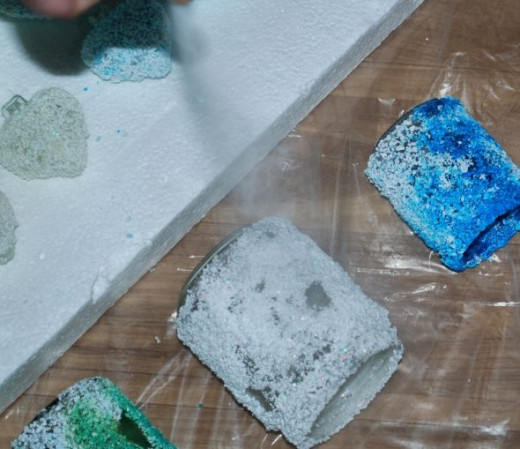
We had a variety of coloured salts ready, and my daughter decided to start with some blue. I already had a selection of fine glitter in various colours I'd used for other crafts, so she added some blue to the salt for extra sparkle. Then she tried to stir it together.
Nope. Didn't work. The Epsoms Salts are just too coarse, and the fine glitter all ended up on the bottom. Perhaps if the salts were finer in texture, like table salt, it would have worked. Instead, my daughter decided to try something different and went on to use only plain white salt with the larger, iridescent glitter for the rest of the jars.
Adding the Mod Podge
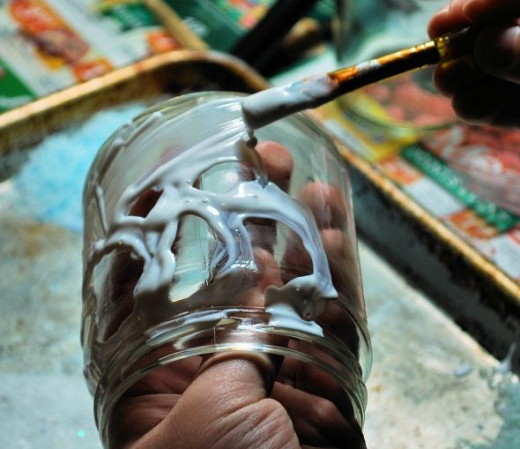
The jars were coated with Mod Podge, then covered with salt, one at a time. With this jar, my daughter decided to leave clear glass "windows" in the coating.
Applying the Salt - First, the sides
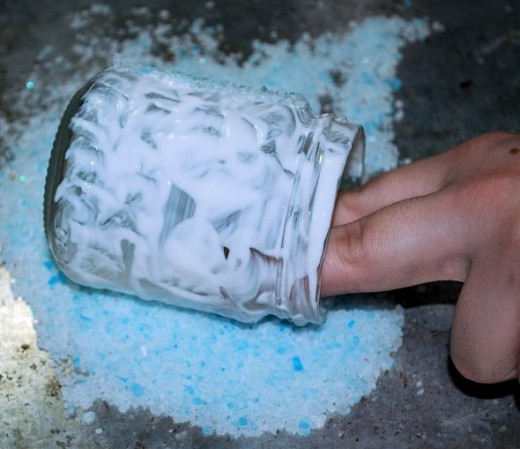
This was the first jar done, with the blue salt. As you can see, the fine glitter is pretty much invisible in the salt, and with the size of the salt grains, almost none of it stuck to the Mod Podge.
Use a spoon to scoop up salts and fill in any spaces in the Mod Podge that got missed.
Opening the Windows - A bit of customization
For the jars that had uncoated areas for windows, my daughter used a clean brush to make sure none of the salt and Mod Podge had squished over and closed things up.
Don't Forget the Top!
Once the sides were coated, more Mod Podge was added to the rim of the jar, which was then dipped into a pile of salt and thoroughly coated.
Here, you can see how the fine glitter had all fallen down to the bottom of the pile.
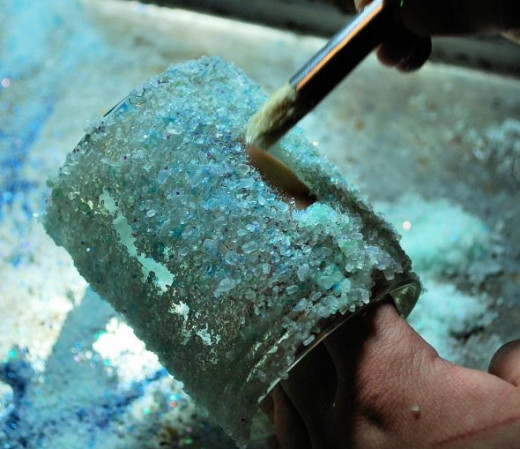
Adding Colour - Some experimentation
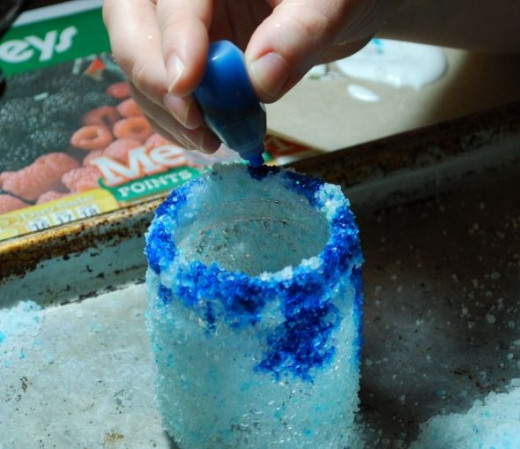
Once the jars were coated, my daughter decided to try something different with adding colour. She very carefully added drops of colour around the rim. Make sure it's just a drop at a time, and spread them out!
As soon as the colour hit the salt, it immediately began to spread through the crystals as gravity drew it downwards.
Some time later...
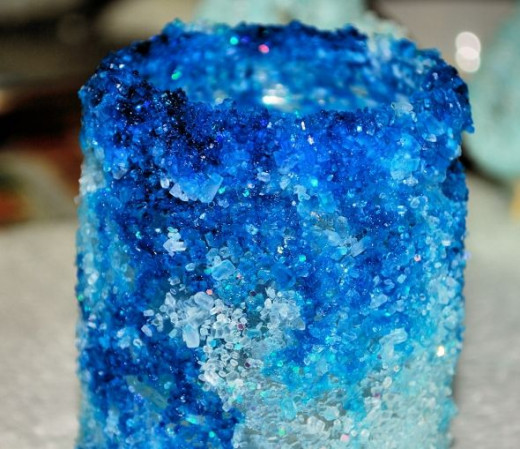
After a few minutes, those tiny amounts of colour had spread quite a bit! The colour continued to spread for quite a long time, leaving an interesting effect of darker and lighter patches in the process.
Mix and Match the Colours
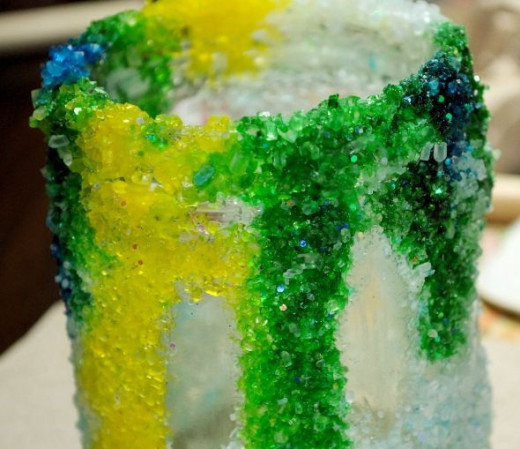
For another jar, my daughter opted to use all three of the colours we had. As this jar had some of the open windows of clear glass, the colours spread differently, with brighter effects.
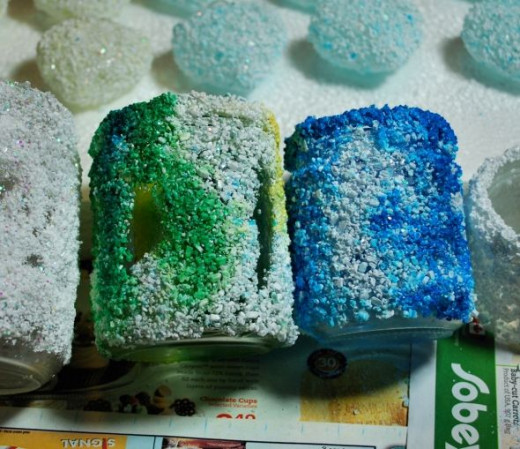
Time to Dry - And time to be patient!
Once the jars were coated, covered and coloured, it was time to leave them to dry overnight. This is how one of them looked the next day. The colours were still nice and intense!
Spray Coating
We used the spray coating on these jars at the same time we coated the light covers we were making.
Make sure there is plenty of air circulation and follow the safety precautions on the can when doing this!
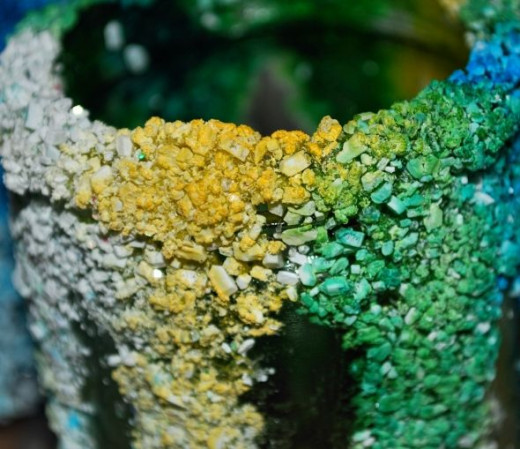
Letting the Spray Set
This is how the jars looked after spraying one side and leaving them to sit for at least 15 minutes. You can see a detailed image at the top of this page.
It was at this point that my daughter decided not to continue coating with the clear glaze. She noticed the flammable warnings and, while this likely applied to while the glaze was wet and being sprayed, there was nothing saying that it would no longer be flammable once dry. Since this is what was recommended in the original instructions, we can assume it would be safe, but my daughter changed her mind about using it.
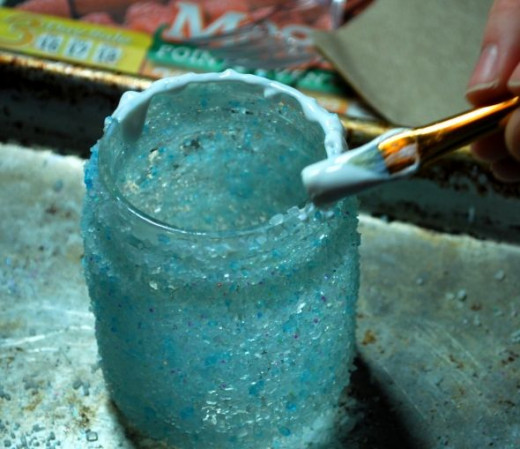
A Final Coating - Back to Mod Podge
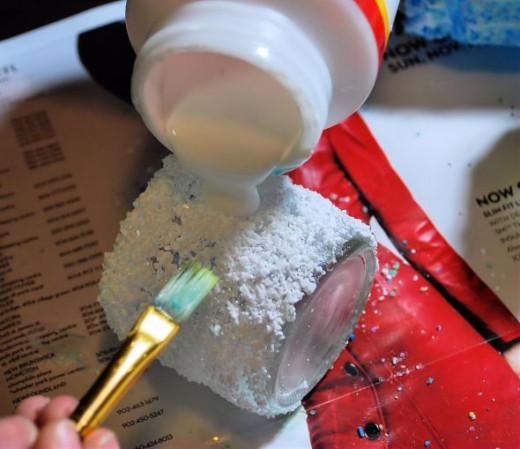
Instead of finishing with the clear glaze, my daughter went back to using Mod Podge. It's really important that these be completely dry and any loose salt crystals have been shaken off for this to work well. She carefully coated all sides and the rims, being sure to leave the windows clean and clear in the process.
Using this method also meant an extra overnight drying time.
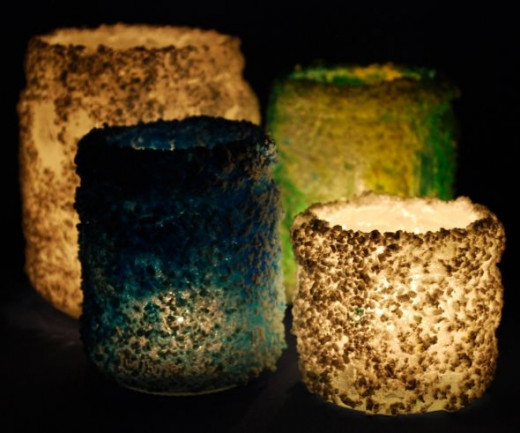
The Completed Luminaries
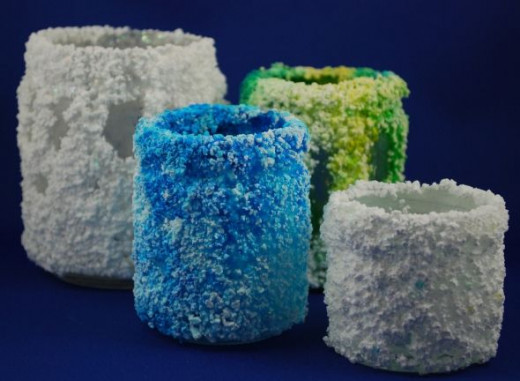
Here they are, after completely drying. I think they turned out rather well!
Dramatic Lighting
Of course, we had to turn out the lights and get a shot of them all lit up!
We didn't have any votive candles on hand, so these all have tea lights in them. I think these will make a lovely table display!
Crafty Poll
Do you enjoy trying new crafts like this?
Feel free to let me know what you think of these luminaries.


