How to Make MFPs: Made for Pinterest Images


What is an MFP?
Simply stated an MFP is an image that is Made for Pinterest. How is an MFP different from regular photos you might ask? The difference is that an MFP is especially prepared for use on Pinterest. An MFP will have an attractive frame or border around it as well as text describing the photo content.
Pinterest and You
What do you like to pin on Pinterest?
How MFPs Drive Traffic to Your Website
Made for Pinterest images stand out from ordinary photos that are usually posted on Pinterest. It only takes a few minutes to edit your photo to create an image that explains what you have to offer within the image itself.
Because your MFP is linked to your blog or webpage, when people click on the image they are lead right back to your site. Your image will get more click just because it is more attractive and provides the reader with information.

How to Make an MFP
The easiest way that I have found to make MFPs is to use a free online photo editor. These photo editing programs make it really simple and quick to change your ordinary photo into an MFP. To make this demonstration easy to follow, I am going to guide you through my use of fotoflexer.com, a free online photo editor.
I have selected a photo of my son and I for editing today. We will make quick work of turning it into an MFP.
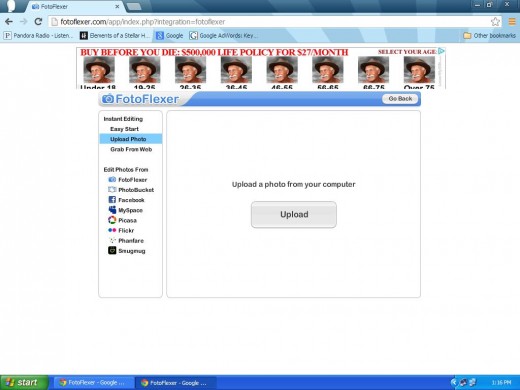
Step 1: Upload Your Photo
Choose the photo that you would like make into an MFP and upload it to your online photo editor. Once uploaded the photo will be ready for editing.
The "upload" screen on fotoflexer is pretty self explanatory. Because it is free there are some funny ads that show up on the top of this screen shot. Amusing!
My Photo Is Ready for Editing

Step 2: Add a Border or Frame to Your Photo
Choose an attractive frame or border for your photos. A border can consist of rounded corners with no frame. You can even have an antique looking vignette border that darkens the outer edges of the photo. Or, you can choose a traditional frame. Fotoflexer.com is a simple photo editing program and allows you to change the color and width of the frame very easily.
Choose an Attractive Border or Frame and Adjust Color if Needed

A Word of Caution
Get creative but remember that less is more. Choose between 5 and 8 words total for your MFP. Otherwise your photo will not be clearly seen and identified.
Step 3: Add Text to Your Photo
What is your photo about? What do you want readers to know when they see your photo? If the photo is for a recipe, add the title. If the photo is for a "how to" article, add a few words describing the depicted action. Family photos? Add the date and names of who is in the photo.
Adding Text Makes Your MFP Stand Out in the Crowd

Save Your MFP to Your Computer
In fotoflexer.com you have the option of saving the file directly to your fotoflexer account. While this is ok, be sure to also save a copy of the MFP directly to your computer for safekeeping.
Save Your MFP to Your Computer

Step 5: Use Your MFP in an Online Article
Now that you have your beautiful and creative MFP, put it to work! I make all of my MFP's related to articles that I am writing. When I publish my article online, I then share it on Pinterest. Readers on Pinterest know what my photo is about and can click to save or share it. In turn, readers then visit my article to learn more about what they saw on the MFP.
That's it! You are now an expert on how to make and use made for Pinterest images!
Related

Pixlr-o-Matic for Vintage & Retro Photo Effects - Free Online Photo Editor Review

How to Drive Traffic to Your Blog Using Pinterest.com - Create Pinterest Events to Interact with Your Readers

How to Repair a Gilded Plaster Picture Frame

How to Make a Mobile With Your Favorite Photos

How to Use Pinterest to Raise Your Vibe Instantly


