Build A Wall
How to Build a Wall
In order to build a wall you'll need a couple of things: first thing you'll need is some 2 X 4's and nails, then you'll need a hammer to put it all together.
Every now and again you may find yourself needing to build a wall of some nature or another. The most common type of wall you may need to build is an interior wall of wood. However, you may also on occasion need to build a standard wall in a house, or an interior dividing wall. No matter what the reason you have for building a wall, it is unnecessary to call or hire a professional for such a minor job. That is providing that you are remotely handy and can be patient. Remember when doing home improvement projects yourself to take your time and never rush. A job that would take a professional an hour may take you two days, but at least the end product will look the same when done with care.
Completed Walls
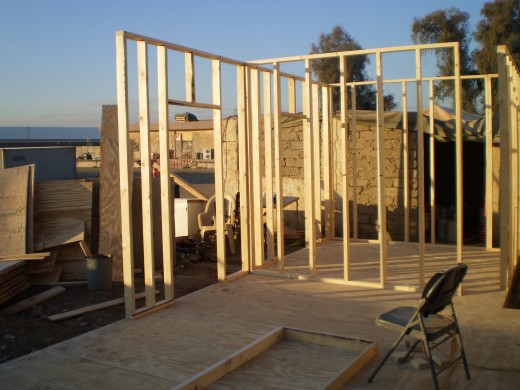
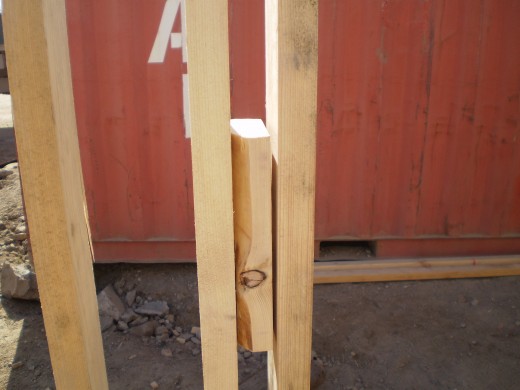
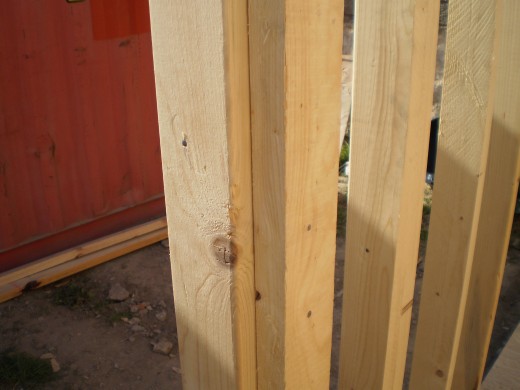
Standard Wall, exterior
The standard wall is one that is built to surround a structure. These types of walls are known as frame walls or exterior walls, but they can also be interior walls. A standard wall is built when the house is being constructed and its purpose is to separate rooms. In order to build one of these walls you will need the following tools.
· A hammer
· A saw (powered or hand) recommend a power saw though
· A tape measure
· A square or speed square
· A pencil (construction grade)
· Nails
· A plan
When you start to build a building of any type you must always have a plan. That plan can be as intricate as using a blueprint, as mundane as using a drawing, or as simple as having an idea in your head. Your first step after acquiring the tools is to acquire the materials. All you really need material wise in wall building is studs. Studs are 2 X 4’s eight feet in length or longer. Some building codes require the use of 2X6’s for exterior walls, so before building anything get a permit and read about your local building codes. There is nothing worse than building something then having to tear it down because it doesn’t meet codes.
Once you are ready to start, you first need to use your tape measure to get the height and length of the wall. For the sake of argument we are building an eight foot high by eight foot long wall. Using common sense when building a wall will save you time and money. For instance, if I want to build my 8X8 wall I won’t buy ten foot boards. For one eight foot by eight foot wall I will purchase ten 2X4’s.
1. Lay out the 2X4’s in a square. Remember to set the sides under and on top of the top and bottom boards. If you set them any other way you’ll have to make a thousand cuts. In the end your wall will be 8’ by 8’ 3”.
2. Take your tape measure and mark out every sixteen inches. Your sixteen inch marks are the center lines of your studs so make sure you mark them the same on both boards. I always start the tape measure on the same side of the wall. Even though there is no difference between one end and the other of an eight foot board, I do this anyway to prevent any possible errors.
3. Take six studs and place them centered on the marks. There are numerous variables to this process so having a plan becomes paramount to the successful construction of your building. For instance, if your wall is a corner wall then it becomes necessary to add a stud on the corner plus at least three 1’ pieces in between them. This type of wall needs that extra chunk of wood for your finished interior walls to have something to nail to. It is also important to note that even though you added a stud next to the outer stud, you should maintain your first sixteen inch stud. It is far better to have more studs than not enough.
4. Now you are ready to nail it all together. With 2X4’s I only use two nails per side, per stud. If you are building a 2X6 wall then I recommend using three nails per side, per stud. Again, make absolutely sure that the studs remain centered on the marks and are straight. Nothing is more annoying than getting your wall together, raised, and find out one of the studs is crooked. This is especially annoying on the four foot studs as this is where most of your plywood sheets will end and start.
5. With your finished wall, you can build another one, according to your plan and start raising them and putting them together. If you built the corners as I stated, your walls will come together nicely and you’ll have plenty of wood to nail the inside walls to.
Interior Dividing Wall
When you need to divide a room in half it becomes necessary to build a dividing wall. A dividing wall is most often built in large rooms or rooms that are being converted into something else. The first part of building a dividing wall is to build the wall. Building the wall is the exact same as the above, you just don’t need to add any additional studs than the original walls, no double studs. You are going to need remove some of the exterior wall sheetrock. By this I mean to remove the drywall from the wall to which you are going to be nailing the dividing wall to. When you expose the exterior wall studs you can then build a joint stud. The joint stud is normally a double stud plus 1’ dividers in between. Again this procedure allows for a wall to be nailed to it and have enough space left over for drywall to be nailed (or screwed) to it.
1. Step one as discussed is to build the wall. Take accurate measurements of the exact height and length of the wall you should choose to build. As these measurements change each time you build a wall, I will use the standard eight foot by eight foot wall again. Naturally you will not be able to stand up a complete wall if you build it on the floor.
The top stud of the wall is the one you leave un-nailed. Nail the bottom to the studs centering them on sixteen inches. Now set aside your half finished dividing wall until later.
2. With the assistance of a helper, take a tape measure and make the measurements from outside wall to where you want the outside of the dividing wall to be. Perform this step on both sides of the wall, I.E. one measurement will be made against the exterior wall and the other will be at the end of our supposed eight foot interior dividing wall.
3. Again with the assistance of your helper, make a chalk line down the length of the two marks. On the side with the chalk line you and your helper need to hold the top board of the wall against the ceiling. Making absolutely sure that it is flush with the chalk line; nail the board into the joists of the ceiling. You already should know where the joists are located because you have marked their location with a pencil on the short side of the chalk line. You obviously wouldn’t draw the marks where the board would be.
4. I highly recommend using a nail gun for this section. Stand up your half finished wall and set it into position. Your helper can once more assist you by hammering (with a rubber mallet) the dividing wall until it is tight against the exterior wall. You should also have made the same measurements on the floor as you did on the ceiling, and the chalk line should also be made there on the floor.
5. Ensuring that everything is lined up and square (double and triple check if needed) go ahead and nail the stud to the exterior wall. Make sure that the top is nailed first as this one will move, then nail the bottom to the wall. Next nail the bottom board to the floor exterior wall side first. Then on the outside portion of the dividing wall, nail it to the floor. Go ahead and finish nailing the bottom board to the floor and the stud against the exterior wall.
6. The final portion of building the wall, aside from the obvious putting drywall on and stuff is to nail the studs to the top board. Make sure the sixteen inch centers are identified on the top board. With a nail gun you can set the studs exactly on center and nail them in place. If you use a hammer and nails you will need to offset the studs by half an inch. Doing this will allow the stud to be hammered into the correct position.
Safety is of the utmost importance when you are using pneumatic power tools like the nail gun. Never point it at anyone and keep your own hands out of all possible paths of the nails that get shot out of them.


