How to Insert Music into Manuscripts: Inserting / Incorporating Music As Pictures / Photos

Music teachers and students, professional and amateur musicians all may sometimes wish to include music in printed word-processing documents. A teacher may include music samples in handouts or quizzes; a student might prefer to save compositions or bits of musical ideas on the computer’s hard drive rather than in a notebook that could be lost.
Several good methods are available for incorporating music in texts, and the specific method used will depend to a large extent on the ultimate goal. Two very different methods will be explained in this two-part series, demonstrated in rather detailed, step-by-step processes. Since I have experienced much frustration in my attempts to incorporate music within texts, I may be including more detail than the average person needs. Just skip over what you already know.
Small Music Image
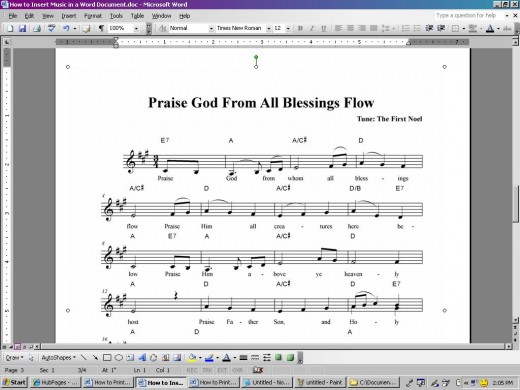
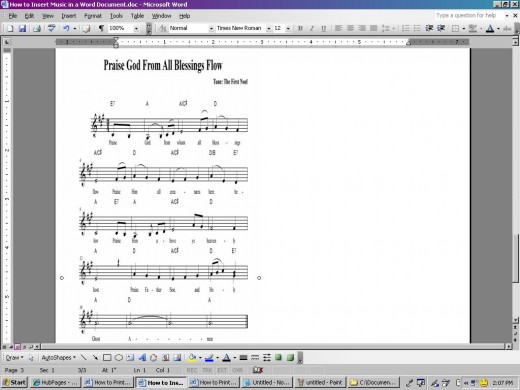
Too Much White Space
I. Incorporating Pages or Large Portions of Music
When you need to include a large sample of music, perhaps in a book manuscript, a handbook, or similar document that mixes text and notated material, you will probably want to import or insert the music in the form of a picture.
Printed music can be transferred to your computer in several different ways. You might scan and save it as an image file (probably a jpeg, bmp, or tif file); you might take an actual digital photo of it and transfer that to a picture folder on your computer; you might download it from a website, probably in the form of a pdf file or Sibelius file. (This requires the Sibelius Scorch plug-in. If you don’t know what that is, then you most likely are not in a position to use it just yet.)
In some cases, you might be able to save an image of music from an internet site by using the right-click, “Save Background As” or “Save Target As” function on your computer. This won’t work when the music is in the form of an Adobe Flash file.
[Note: If you are very new in this process, please be sure to keep track of exactly where you save the images to your computer! It can be highly frustrating to know that you have an image available, and at the same time not to know where it is. Remember that when you save anything to your computer, it is put into a folder of some kind, and you need to know the name of the folder as well as the file name when you are ready to insert it into a text.]
Once the image is saved on your computer, it can be treated like any other picture or clip-art. In your word-processing program (I use MS Word in this explanation), follow the command path Insert>Picture>From File, and select the file you wish to insert, finding it in the folder on your computer that you remembered to write down or otherwise note when you first saved the image.
It is also possible to insert images of any kind directly from a scanner or digital camera that is correctly connected to your computer, by using almost the same basic command path: Insert>Picture>From Scanner or Camera (instead of “From File”). In this case, the memory of the scanner or camera is treated like an additional memory drive of the computer.
You can insert as many pages of music as you wish, with each page being treated as a separate picture. Each page can be resized or moved around as you wish. Resizing and moving images of any kind can create their own sets of frustrations, so be aware of the following tips and bits of advice:
1) If the image is larger than the space available on the page where you wish to insert it, it will jump to the next page and will be temporarily hidden from view; scroll down to find it and move it to where you want it.
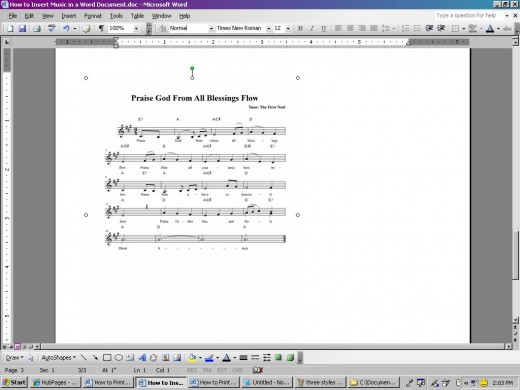
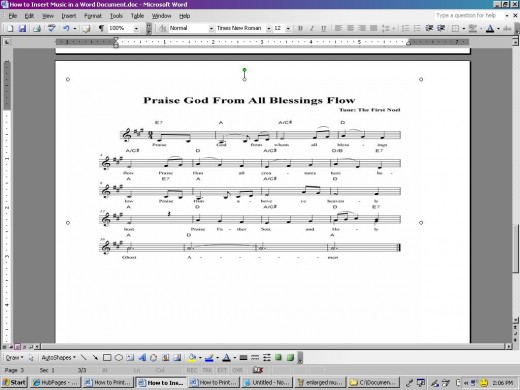
Ready to Crop

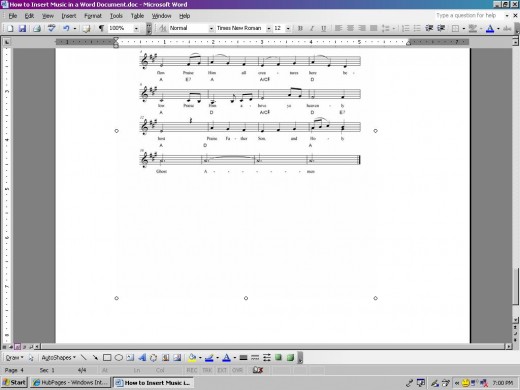
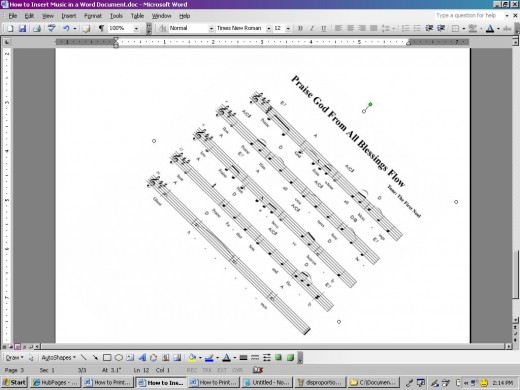
Skewed Image
2) It helps enormously to become familiar with the “Format Picture” Dialog Box, and especially the “Layout” tab on it. (To get to it, right-click on the picture or clip-art, and locate “Format Picture” near the bottom of the pop-up menu.) Some of the options you might need to know about include “Wrapping Style” which will determine how other text is treated around the inserted picture or clip-art. On the Layout Tab, you can also select the “Advanced” button that will offer such options as determining the exact position you want for the picture, in relation to the margins or edges of the page, and the possibility of “locking” the anchor, so that the picture remains (for example) on page three, rather than moving when the text moves – or vice versa.
3) For whatever the reason, it seems simplest to select “Tight” layout, when you want to move and resize the picture. To resize, move the cursor to a corner dot of the picture after you have selected the picture, click and drag in a diagonal motion and the picture will change size proportionately. If you select one of the side or center-top/bottom circles to drag, you will change the proportions of the image. (See the sample images.)
4) To move the image, first “select” it by left-clicking on it so that the dots (or lines, if you chose a different layout style) appear; then left-click and hold to “grab” the image. Now you can move it where you wish. You should know that, depending on some of the other choices you made with layout options, etc., you may alter the position of the text or other inserted images. They too can be adjusted as you wish, but the details of fitting together some text and a picture lie outside the scope of this article. It may be helpful to think of the picture or clip-art as if it were a “character” in word-processing, just as a letter, punctuation mark, or even a space is a character that needs to be accounted for. That might help you to understand what happens if the cursor “gets lost” behind the picture.
5) Notice on the pictures the green circle connected to a white circle. When the green circle is selected (hover the cursor over it until a black circular arrow appears around the green dot), the image can be rotated to a new orientation on the page – upside down, skewed, or however you wish. Your choice is determined by your need for the music in the first place!
Notate Your Music with Professional Results

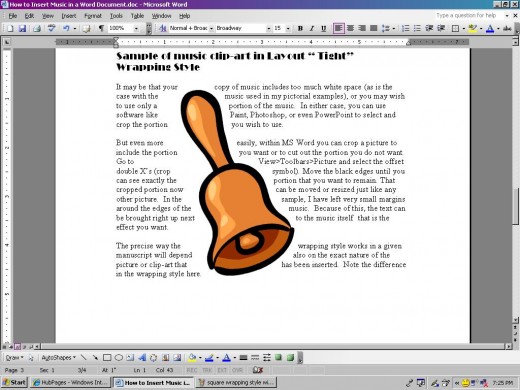
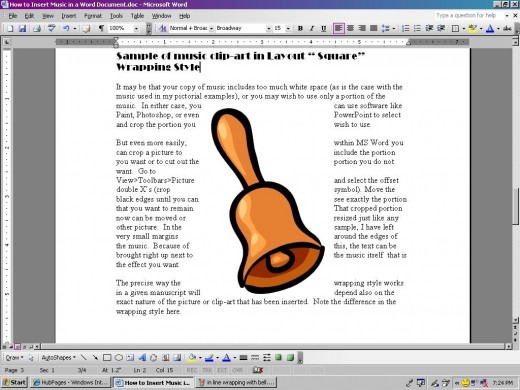
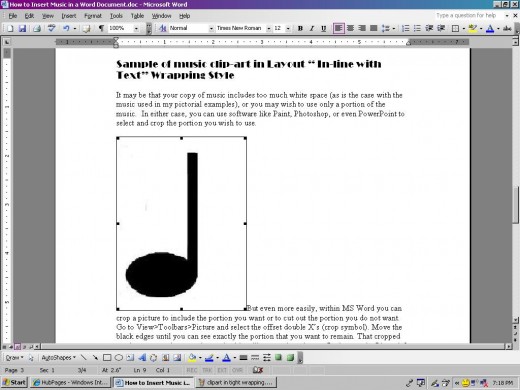
It may be that your copy of music includes too much white space (as is the case with the music used in my pictorial examples), or you may wish to use only a portion of the music. In either case, you can use software like Paint, Photoshop, or even PowerPoint to select and crop the portion you wish to use.
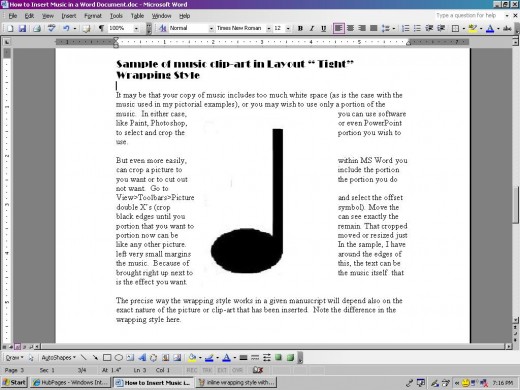
But even more easily, within MS Word you can crop a picture to include the portion you want or to cut out the portion you do not want. Go to View>Toolbars>Picture and select the offset double X’s (crop symbol). Move the black edges until you can see exactly the portion that you want to remain. That cropped portion now can be moved or resized just like any other picture. In the sample, I have left very small margins around the edges of the music. Because of this, the text can be brought right up next to the music itself that is the effect you want.
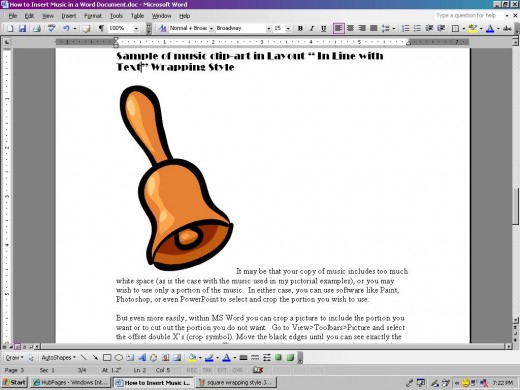
The precise way the wrapping style works in a given manuscript will depend also on the exact nature of the picture or clip-art that has been inserted, as well as the lengths of words within the text (in “tight” wrapping style). Note the difference in the wrapping styles in these examples shown. The bell is a sample of clip-art from MS Word, and the note is one that I made from MS Word clip-art (see How to Create Your Own Musical Symbols); my note is now saved as a picture, rather than as clip-art, and so it is treated differently in the manuscript..
The method described here can be used in many different situations for inserting music into text documents. There are some situations where a different type of music insertion or creation for a text document might be preferred. That process will be described in Part Two of this series.
Square Wrapping Style

Bell, Square
In-Line Wrapping Style
Bell, In-Line
tight wrapping style
Bell, Tight