Dead Space 3 walkthrough, Part Thirty-One: Explore the Disposal Service Facility


Isaac's got enough on his plate to worry about. The Necromorphs are everywhere, Ellie's got scientific demands to fulfil, the Unitologists are every a threat… you'd think he wouldn't have time to explore the Disposal Service facility. Yet that's exactly what he's about to do.
You'll receive the Explore the Disposal Service Facility optional mission when you pick up the Disposal Services Key in the Geology Sector. Handily enough, Disposal Services is just outside the Geology Sector. Backtrack to the lower ice field outside Geology Sector to find the entrance.
Inside the facility is a Skip landing bay with a Bench and a Suit Kiosk. Prep yourself as necessary and go down the elevator at the end of the room. In the next hallway you'll receive a new mission: Recover Anything That Survived The Purge. Okie dokie.
Almost immediately after you enter the next room a Necromorph will crawl out of the wall beside you, and four or five more will rush you from other parts of the room. Stasis is great here as they get clumped up near the door. Check the desk in the lower part of the room for a Text Log, loot the lockers, and go through the large cargo door at the end of the room.
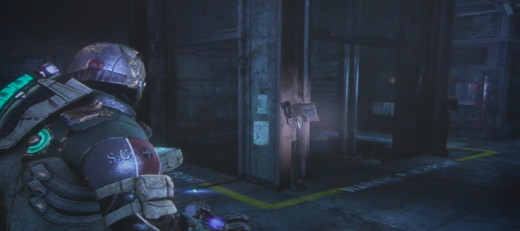
In the next tunnel two exploding Necromorphs will emerge to your right. Blow them away and take the door to the left. Enter the elevator in the next room. In the next large tunnel several slashing Necromorphs and two exploders will emerge from the walls at intervals; they're all relatively slow, and should be easy to handle. Go up the ladder.
You'll have to bypass the lock on the door in the next room. Doing so will bring an exploder out right beside you and several slashers behind you. Back away from the exploder and you can potentially use it to kill other Necromorphs. Otherwise, take it out and aim for the legs on the rest.
Go through the next hallway and you'll be in the Refuse Disposal Hall, an area with a bridge and a ladder. The bridge isn't working, so you'll have to use the ladder. Check around the bottom floor for an Upgrade Circuit in a wall container before you start messing with the puzzle down here, as you'll bring a whole heap of Necromorphs in with you. Most are standard slashing types, though one will explode and two are the jittery, extremely-fast types that are best hit with Stasis before you try to aim. Don't be afraid to try for the ladder if you get overwhelmed. After they're all dead, manipulate the circuit breakers down here until they're all powered to get the bridge working. Go across and into the elevator.
The next three areas are straight combat rooms. You can stand your ground and fight if you want, though it's not very hard to just keep running through doors to the end. Up a ladder and in another room you'll find a bridge that needs cranking; use Kinesis to bring it down. Surprisingly, no Necromorphs. Huh. Try to go through the door on the other side, though, and you bring down mutant wrath. Target the vent to your right and the path back to the bridge to handle the skinny runners and the bulkier slashers. Stasis works wonders in these tight quarters.
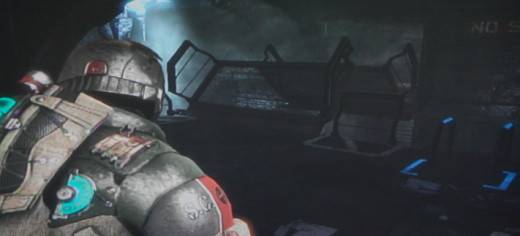
In the next room you'll find a Bench, and beyond that a door ominously labelled 'Central Chamber'. The end of the journey? Perhaps. Go down the lift in the next room and you'll find a tunnel full of slashers; standard rules apply. Go through the small door in the back of this tunnel to find an office area with a Text Log, a Torque Bar door containing two Spare Parts Boxes, an Upgrade Circuit, a Full Zoom Scope and a bunch of other items, a door that leads to a good place for your Scavenger Bots, and an elevator. The elevator's the way forward.
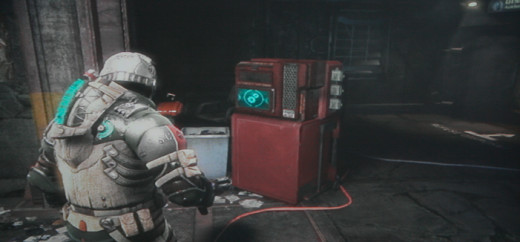
At the top is Security Access. You'll face a few slashing Necromorphs in here, but nothing too serious. Use the Bench if necessary, then go down the hall to the door marked 'Ordnance Room'. Ooo. Inside you'll find a Text Log, a bunch of ammo, and another room marked 'Explosive Storage'. Ooo!
The goods you want are at the top of the lift in the center of this room. Check the opposite door from where you came in for an S.C.A.F. Artifact before setting the lift in motion, as it will bring many Necromorphs down on your head. This wave is fairly large, though they come in relatively small numbers. You'll start off facing skinny, small ones, then the bulkier slashing types will begin to appear, and, in the end, the freakish, jittery Necromorphs with head lamps will begin to trickle in one-by-one. Save your Stasis for this last bunch - they can really ruin your day if they're moving at full speed. Explosive Necromorphs will occasionally appear for crowd control, and there are a few explosive canisters around the room you can use, but for the most part you should stick to your gun and Stasis for killing enemies.
Finish off the wave and you'll be able to partake of the container on the lift. It has a Precision Tip, an Ammo Sweeper, a Compressor, a Conic Dispersal and an S.C.A.F. Parts Box. Not too shabby. Go through the newly-opened door nearby and, along with a Bench, you'll find an elevator that leads back to the Skip landing bay. Be careful when you emerge - there are three slashers waiting, and one of those jittery miners. Kill them and you can head back to the Biology Laboratory to finally get Rosetta assembled.