How to Hang a Heavy Bag
Introduction
Hanging a heavy bag from your ceiling isn't easy. You can't use a hook screw or an eye screw, as the weight of the heavy bag and the extreme motion of it will wiggle the screw free and result in your heavy bag collapsing to the floor after a few hours of use. Instead, you should use a ceiling mounting bracket that uses two heavy-duty screws and is designed to suspend a heavy bag from the ceiling. Different mounting brackets support different weights, so double check the weight of your heavy bag before purchasing a mounting bracket. Installing a heavy bag ceiling mounting bracket takes less than half an hour and only requires a hammer, drill, finishing nail, pencil, stool, ceiling mounting bracket and heavy bag.


How long is your heavy bag workout?
Instructions for Hanging a Heavy Bag
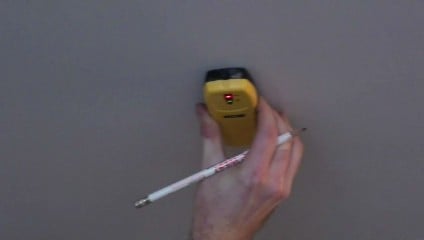
- Use a stud finder to locate a wooden stud in the rafters above your ceiling in the general area where you want to hang your heavy bag. After locating the stud, use the stud finder to determine which way the stud is running. Almost all heavy bag ceiling mounting brackets are supported by two screws that need to line up.
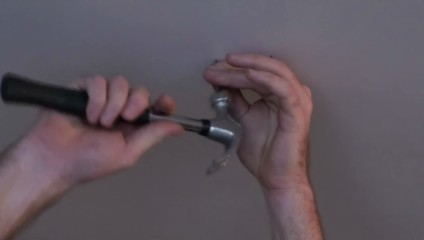
- Use the stud finder to find the edges of the stud around the area where you want to line up one of the screw holes in the mounting bracket. Tap in a finishing nail along each edge of where the stud should be until you find each edge, then mark each edge. This makes it easy to find the center of the stud.
- Make a mark in the center of the stud between where the holes from the finishing nail are. This is where the first screw hole for the mounting bracket will be drilled.
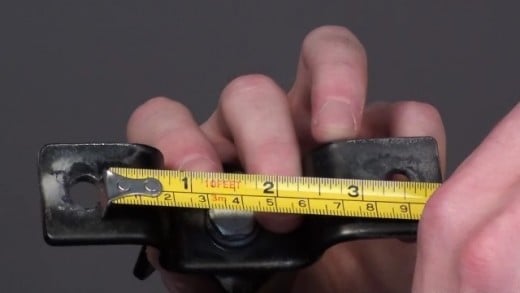
- Measure the distance between the center of the screw holes on the heavy bag's mounting bracket. For example, lets' say the distance between the two points is 3 1/4 inches.
- Measure 3 1/4 inches from the mark representing where the first hole for the heavy bag's mounting bracket will be drilled and make a general mark to mark the distance. Tap in the finishing nails on the edges of the stud in the area of your second hole to find the specific edges. If your mark for the second hole isn't in the center of the stud, reposition it accordingly. Re-measure before making a second mark just to be on the safe side, and to prevent from having to make another mark.
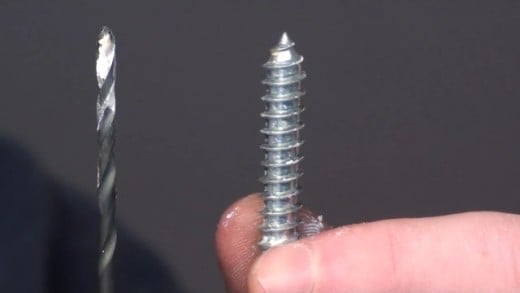
- Drill holes where the two marks are located using a bit that's not more than half the thickness of the screw that will be holding the heavy bag's mounting bracket in place, and don't drill a hole deeper than the length of the screw. This give the screw a guide that helps ensure the screw goes in straight.
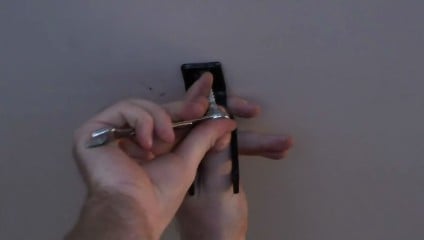
- Hold your heavy bag's ceiling mounting bracket up to the ceiling and screw in one of the screws until it's snug and then screw in the next screw until it's snug.
- Gently tug the ceiling mounting bracket to make sure it's screwed securely in place and won't be pulled out the ceiling by the weight of the heavy bag.
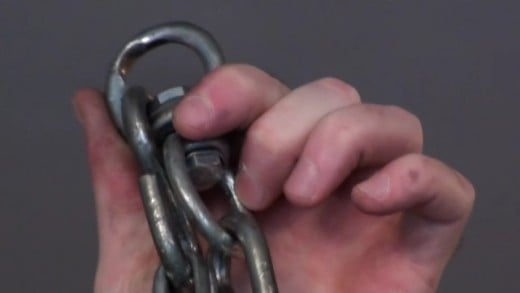
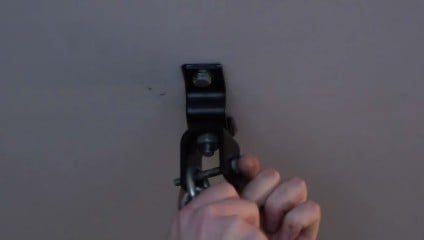
- Hold the eye of the heavy bag chain between the bolt hole on the bottom of the bracket. Slide the bolt into the hole, through the heavy bag chain's eye and then through the bolt hole on the other side. Slide the washer on the bolt and then tighten the nut on the bolt until it's snug.
- Slide a stool, chair, step ladder or something else you can set the heavy bag on to position it near the ceiling mounting bracket while you hook the hooks from the chain extending from the ceiling mount to the connectors on the top of the heavy bag. Alternatively, if you have someone helping you, one of you can hold the heavy bag while the other hooks it up.
- After linking the hooks to the connectors, slowly lower the heavy bag until it's fully supported by the ceiling mounting bracket. Lowering the heavy bag too fast can result in the bracket being ripped from the ceiling, potentially ruining your ceiling, heavy bag, mounting bracket or all three. The heavy bag is now fully supported and ready to take some punishment.
© 2012 Max Dalton

