Installing The Camos Dome Satellite Dish System

Satellites & Content
- Astra 1
- Astra 2
- Hotbird
- Hispasat
The main concern for people in the UK is the Astra satellite network. This is the home of most of the Sky programs and now UK Freesat.
ASTRA 2 (N&S)
Sky as we all no is a subscription satellite network and you have to purchase a SKY card to view the programs. Sky offers very little advantage over the new UK Freesat unless you follow a few of the soaps on Sky One. It also offers some HD content.
ASTRA Freesat
However, Freesat has come into its own and offers all the normal stuff that you would expect to receive on Sky and also HD programs. Channel 4 has now switched over to freesat and Channel 5 will also become available soon.
Hotbird
Please do not rule out Hotbird thinking that it is full of German, Italian and French programs. If you do you will miss out on a lot of content that you would normally have to pay for. Hotbird contains a lot of English programs with subtitles and News in english, such as Euronews, BBC World...
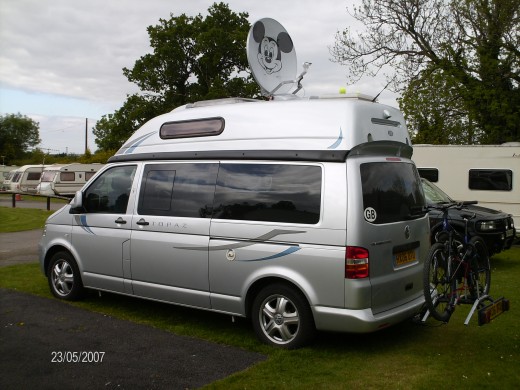
Me Fitting a Dome
How I Fitted the dome.
Fitting the Camos Dome to the roof of the motor home is not exactly rocket science, but it needs a little time to do and a nice dry day.
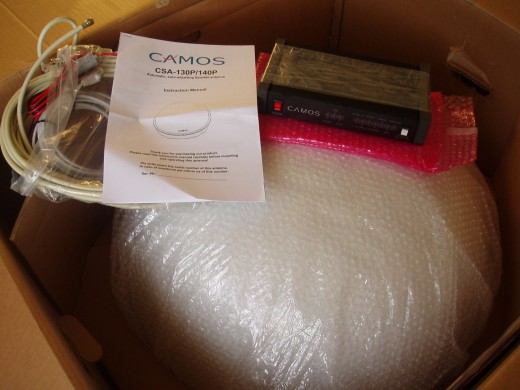
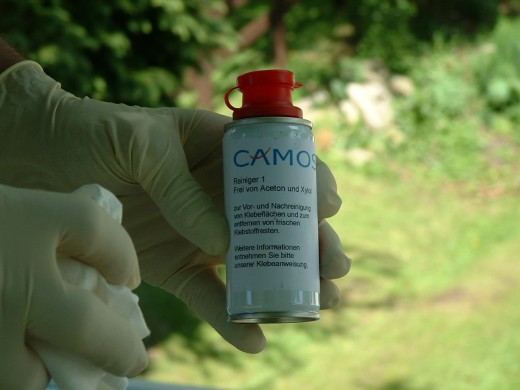
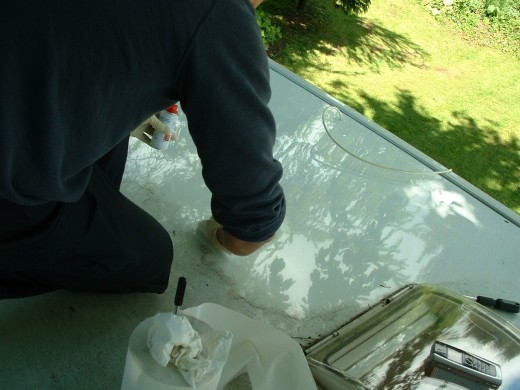
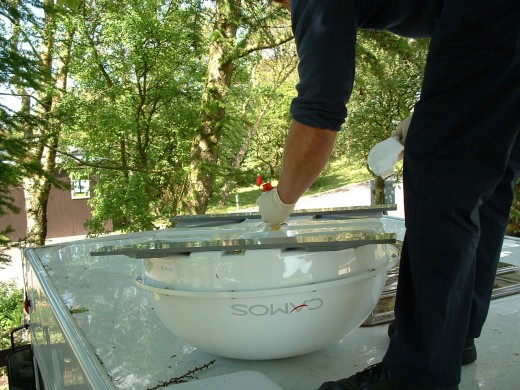
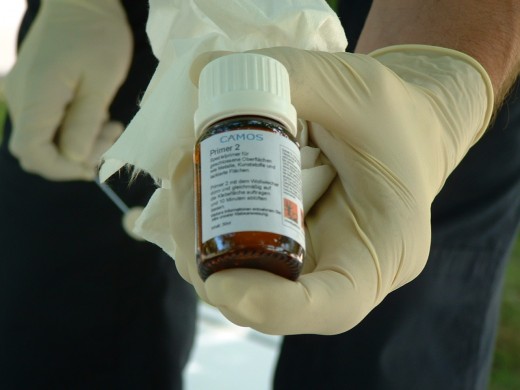
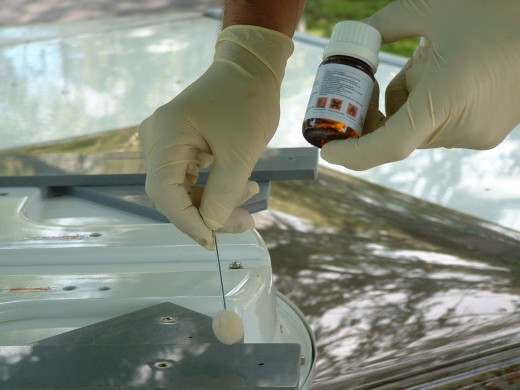
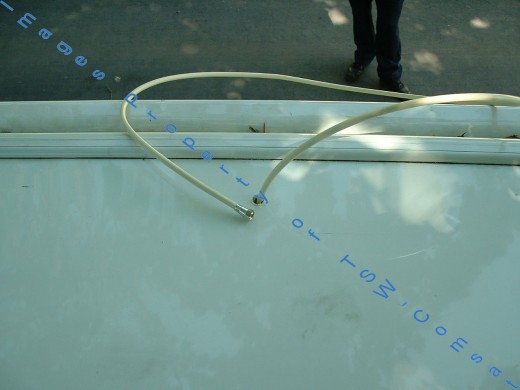
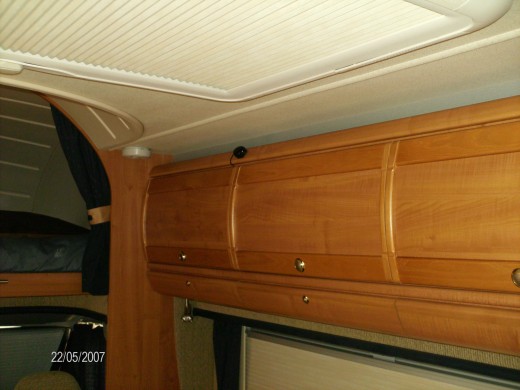
1. I had to clean the roof of this motorhome with surface cleaner to get all the green stuff off. This was before I could even start to glue the dome on as it had been parked under a tree for about a year. 2. When I purchased the dome it included all the things I needed to fit it. It had solvent cleaner, gloves, cloth, primer and glue for fitting the dome. Also cable, hole cover and seal. 3. Getting down to the install. (PUT THE GLOVES ON); I cleaned the roof and feet of the dome, with the solvent cleaner and cloth from the pack. This will remove any grease that would stop the glue from sticking. 4. I then placed the Dome on the roof of the motorhome and used a pencil to draw round the feet. (must be facing backwards) 5. When this had been done I could see exactly where to put the primer (little glass bottle). This is painted on using a brush type thing in the pack. It needs 20 mins to go off before you can do anything else. Time for a brew I think. 6. I returned to the job 20 mins later. Now I opened the glue from the pack and applied it to the feet on the dome as this is the easiest way to do things. 7. I then placed the dome on the roof. A good idea marking out with a pensile. 8. Done.All that remained for me to do was to screw on the cable, drill the hole, fit the waterproof cover and wire up the control box.The CableFitting the cable is easy, just screw it onto the dome. It is worth pointing out at this stage that you should fit the done so that the cable entry point is facing to the back of the vehicle.The Waterproof Cable BoxOk. Now that I have fitted the dome to the roof I needed to think about the location of the hole for the cable. I considered taking out the existing antenna but thought better of it as I may need it. Therefore, I went for a new hole.From the inside of the motorhome I had a look at the position of the cupboards and wardrobes. I decided to come in through one of the cupboards as this was close to the dome on the roof and close to the television point. I checked to ensure that the hole would not go through any existing cables in the roof by drilling at the front of the cupboard nearest to the door.I then went onto the roof cleaned it, then had another cup of coffee. Once the primer had dried, i passed the cable through the hole and through the cable entry cover. I then glued the thing down and pressed it into place to ensure the glue sealed the hole.That's it for the sticking.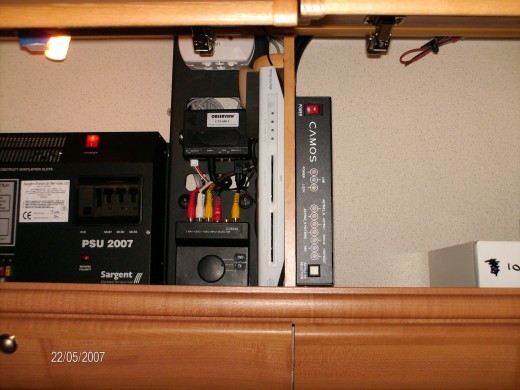
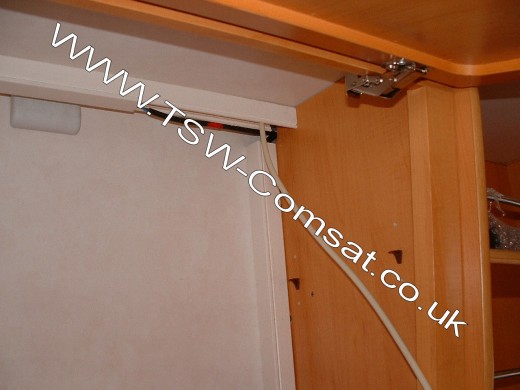
Installing the control box.
The control box is also quite easy to install.
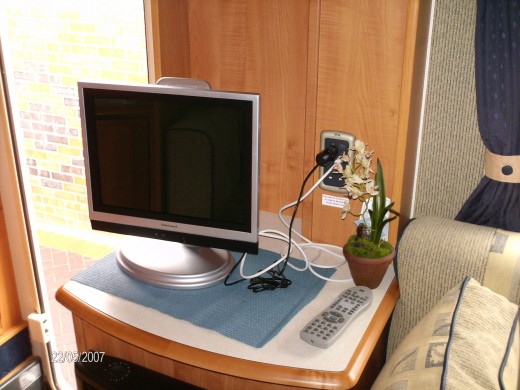
I fitted it in the cupboard and put the Sky box beside it.The control box has only 3 connections. 1. Power cable 2. Cable from Dome 3. Cable To Sky boxThe power cable is a 12 volt cable in this instance, and I connected it to the battery as the unit can be affected by power drop in the rest of the vehicle.The other two cables I connected to the dome on the roof and the Sky box respectively. It was quite lucky that I had already installed a 240v and 12v socket in the cupboard.Cheat
I cheated a little
Well, if you can make the job easy then its worth it, I think. Plus it looks good.
I installed the Camos control box and the sky box in the same place that the Freeview box was. The advantage to this is that the Tv cable was already installed in the van when it was made. This means that the cables did not show at all.
I just closed the cupboard and fitted a sky remote eye to the back of the television.
As you can see, it's a neat job.
Dome Satellite Systems in Stock at TSW Comsat
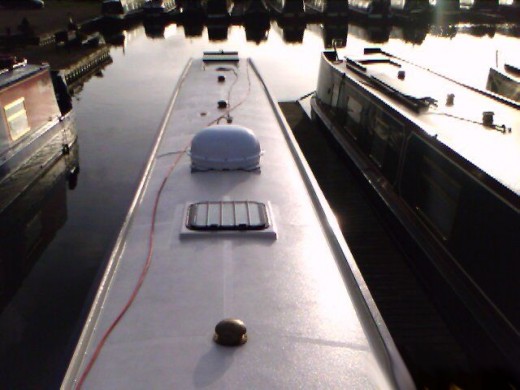
The Boat
I also fitted the Dome system to the boat. This is another story for another day but if you would like to discuss this install or have yours fitted I would be glad to do it for you. You can get in touch with me at Caravan Satellite System
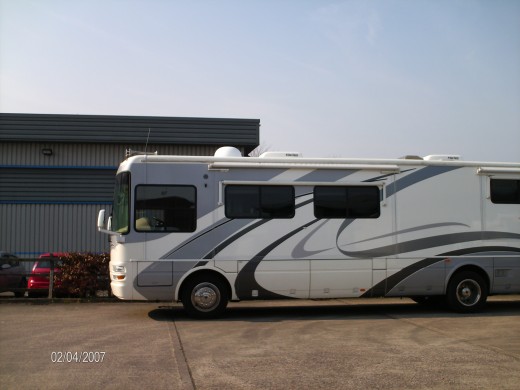
I have put on some photos of other fittings for you.
Other Thing you can fit a dome to