Lined Envelopes for classy stationary

Ready for Mailing
Getting Started
Lined Envelopes for that important Letter
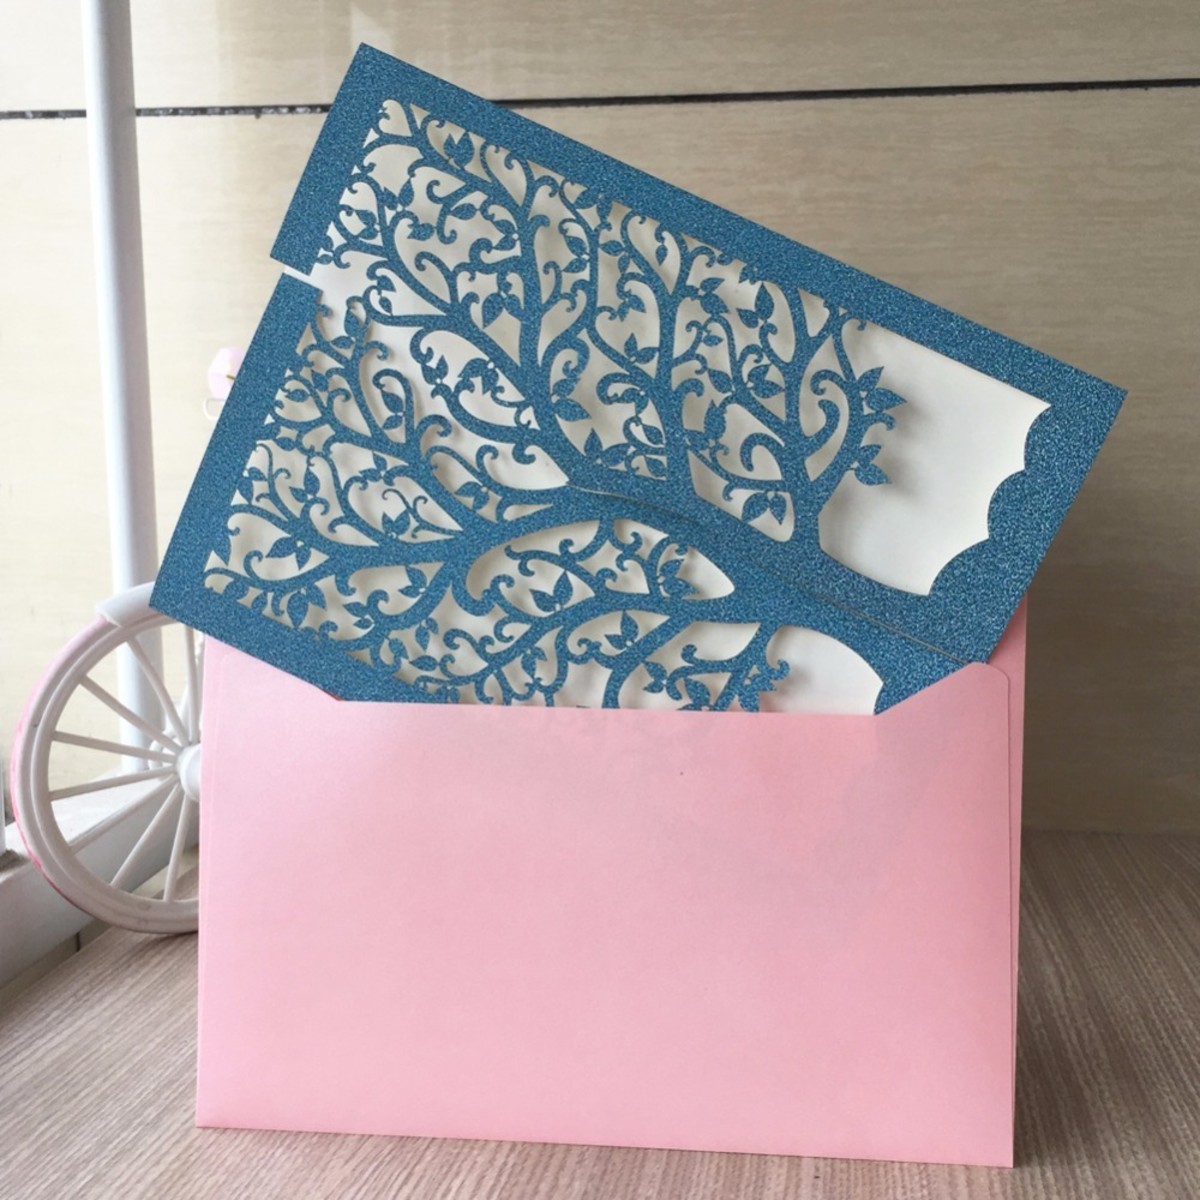
Have you ever bought an expensive greeting card and wondered how they got the pretty lining into the envelope. Well wonder no more. You are about to find out how to do it yourself and elevate your correspondence to a higher plane! How many times have you written an important letter maybe a love letter, and you wished you could enhance it's impact. If you are a woman, a dab of perfume may do the trick, but still you would like to make more impact. How about a lovely lined envelope?
I have to thank a good friend for teaching me this simple trick and how to make my own greeting cards. The greeting cards will be the subject of another hub later. Just the pleasure of making the linings and the feeling of achievement (however humble!) makes the exercise worthwhile.
Here is a list of the items necessary to make the lining.
1) Non staining paper glue. I use student's white PVA glue.
2) Cardboard. An old breakfast cereal box is ideal or any cardboard of that thickness.
3) Sharp scissors (If children are working on this project it is best to cut out the Template from cardboard yourself and use children's scissors for the lining.)
4) Plastic foot rule or other suitable straight edge.
5) HB pencil or similar
4) Envelope to be lined (I usually buy a packet and line them all at once with different papers so that I have a stock for unexpected occasions.
5) Thin colored paper for the lining. Tissue paper to wrapping paper thickness works best.
Now for the fun part! Choose a suitable lining paper to match the card or writing paper you are using. Have fun with this as there are some beautiful and inspiring wrapping papers out there, or maybe you have scraps left over from wrapping a parcel, in which case you can line the gift card envelope with matching paper, even those tiny gift tag envelopes. If it is a love letter, now is the time to get out the desired perfume for an added touch of pizazz!
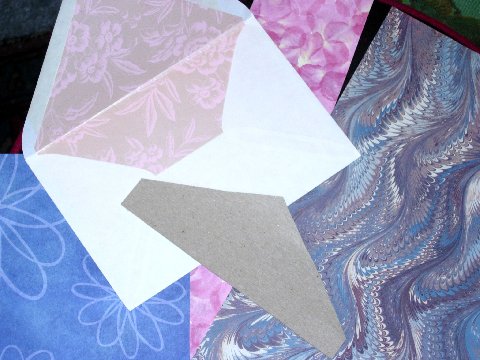
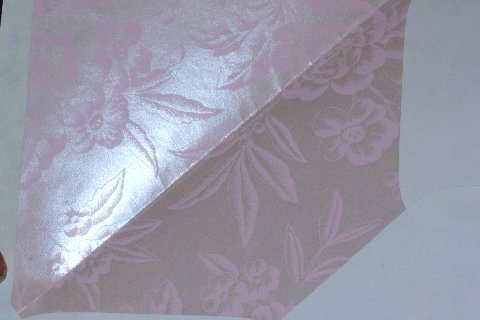
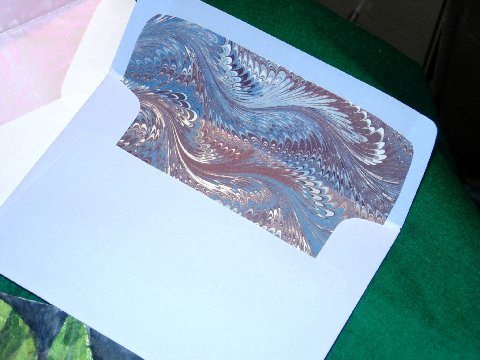
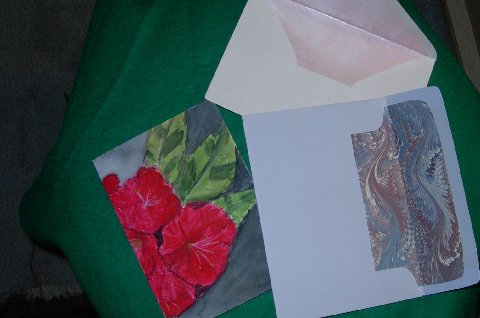
The template should be made to fit just inside the envelope and reach down until half an inch from the bottom and up the flap until just below the strip of glue. (See first picture). Using your straight edge, mark around the template to make a copy on your chosen paper. Cut out the lining and check to see if it fits. Adjust if necessary. Apply a thin layer of glue around the V shaped flap area. Place liner carefully inside the envelope and line up just below the glue strip. Using an old credit card or similar scrape along the glued edge to remove any wrinkles or bubbles. Allow to dry then fold and Voila! You have a beautiful lined envelope ready to enhance the pleasure of the recipient!
It has been a while since any of my friends have sent me a real paper letter with a stamp. It was such a delight to receive it. So much nicer than an email or Facebook message. Oh yes, the envelope was lined!
Mailbox courtesy Flickr (tommy)