Create your First Podcast with Free Software

The podcasting movement allows everyone to be a radio personality from home. Forget being a Muppet DJ for the corporate machine. Podcasting puts you at the drivers seat. It’s a liberating experience but also requires that you learn to wear a number of hats.
You will need to create great content, read that content fluidly when needed and improvise effectively. All the recording and audio production is also your responsibility. This involves getting a decent sound with a mic, recording your voice, plus editing in background music tracks or sound effects. Lastly, in order to broadcast your opinion to the world you will need to learn some basics about Web technologies and publishing.
It all may sound a little daunting at first. Luckily you can take it step-by-step. Your first attempts at audio recording for example may be crude, however you will get better as you go along.
People with tech saavy and voice talent no doubt have an advantage in this space. Ultimately those skills come with experience. What is most significant on the onset is that you have a topic you’re passionate about.
“The Skeptics Guide to the Universe” is now an incredibly popular podcast with witty commentary about popular science, a balanced panel and well-known guests. For their anniversary show the host looked back at the first episode and the panel poked fun of the poor audio quality and awkward speech. The lesson here is even the best podcasts on the Web started from humble beginnings.
Beside a few solid ideas all you need to get started is a microphone, audio interface or soundcard, plus the right software and web tools. Here we will be focusing software and the technical know-how required to get your podcast online.
- The 5 Best USB Mics for Postcasting
USB microphones make it easier than ever to carry your voice into the digital domain. Includes reviews of the Blue Yeti and Samson C01U.

Step 1. Record your Podcast
- Audacity (PC, Mac)
Audacity is a simple, easy to use audio recorder that includes some professional features not commonly found in free software.
It has multi-track capability meaning you can have your speech on one track, music on another track and sound effects on a third track. If you have a guest on your show for example you can record yourself to track one, for example and your guest to track two.
The advantage with multi-track recording is you have perfectly isolated elements (tracks) that can be mixed and edited. If your guest speaks much quieter than you do during the show, you can merely raise the level of his or her track after recording.
Assuming you have a mic and audio interface to plug into, there is one important rule you need to know about recording your voice: Don’t let the signal clip! When clipping occurs the audio distorts, producing terrible sounding speech. It’s a common beginners’ mistake that can be avoided by speaking as softly and as loudly as you would during normal speech during sound check. Adjust the mic volume so the loudest speech falls under 0dB on the level meter (preferably around -2dB).

Step 2. Mix your Podcast
- Audacity (PC, Mac)
Mixing is the process of setting the levels on each audio channel so every element is heard in perfect balance.
Audacity has a virtual mixer built in. Be sure that the master volume does not clip at any time (consider using a limiter on the master volume). If it does clip, bring all the channels down in volume or find the channel that is too loud and reduce the level.
If you choose, you can apply effect to channels in the mix. A subtle reverb for example may work well on the master channel, giving the overall sound a natural ambiance.
Step 3. Encode Audio as an MP3
- LAME for Audacity (PC, Mac)
As surprisingly complete Audacity is, there is one thing you absolutely need to add to it for the software to reach its full potential. Audacity lacks a MP3 encoder allowing you to export your podcast as an MP3. This is important stuff because MP3 is currently the standard format used for podcasts.
A developer has made a plug-in that adds LAME MP3 encoding features to Audacity.
Step 4. Test your Podcast
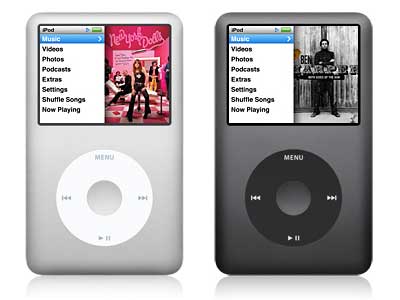
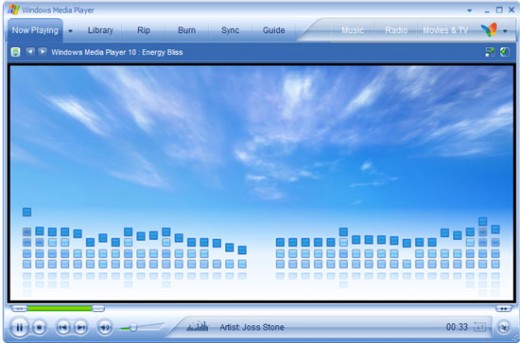
- Windows Media Player (PC) or iTunes (PC, Mac)
Your podcast may sound great in Audacity. However now you need to listen to it the same way an end user would, in an MP3 player like Windows Media Player or iTunes.
No volume on playback denotes a codec problem. Other possible problems include clipping (distorted audio) and dropped audio tracks.
If you’ve been listening to your podcast with headphones, listen to the mix with computer speakers or laptop speakers. For those with good stereo systems, you may want to burn the podcast to disc and do some critical listening in hi-def. Most of your listeners will be using poor quality methods of playback, however this will allow you to listen to the subtle details and critique the sound quality of the recording.

Step 5. Get a Domain Name
- Namecheap or GoDaddy
Recording a podcast is only half of the equation. You now need to look at putting your creation online.
Running your own website is the best way to go as it allows you absolute control and with free tools like Podcast Generator, it’s easy once you get your head around a few basic concepts.
Keep in mind that you will need to promote your podcast in the future. When you upload your work on a 3rd party site, the company that owns it profits from your hard work. This is why you need a domain name: to ensure you reap maximum benefits in the long-term.
A good domain name makes it easy for people to find your postcast. Ideally look for a .com domain as its been proven that people have a harder time remembering domains with alternative extensions like .org, .net or .me.

Step 6. Get Cheap Web Hosting
- Hostgator or 1&1
Although all the software listed here is free I can’t recommend free web hosting in good conscience. Free web hosts don’t allow you to use your own domain name or grant FTP access. This means right off the bat it’s impossible to install podcast publishing software.
Since you are just starting out, go with one of the least expensive packages at either Hostgator or 1&1. If you are conscious of spending money on your hobby, it isn’t difficult to find hosting for under $5 per month.
At the very minimum your host must supply you with FTP access, PHP and MySQL. Don’t worry, you don’t need to know about coding anything yourself. You merely need to learn to install a script that uses these technologies.

Step 7. Install Web Software for Publishing
- FileZilla (PC) or Cyberduck (Mac)
In order to install podcast publishing software you will need a simple FTP program. FTP allows you to take files from your hard drive and upload them to the Web host.
First, download Podcast Generator. Next read the installation instructions and upload the required files into the public folder on the server. Finally you will need to create a MySQL database. Specific instructions on how to do this are available from your host.

Step 8. Publish your Podcast
- Podcast Generator
Podcast Generator is essentially a blog platform that has extensive podcast publishing capabilities built right in. You can upload your newly created postcast either through the administration options in Podcast Generator or via FTP.
After putting all that time and effort into your podcast, the thought of writing a blog post summarizing what transpired may not be particularly tantalizing. This is what it takes for people to find out about your podcast through search engines. Google cannot search within audio media. In the end it’s well worth it. After all, gathering listeners is the big payoff for podcasters. Who wants to create a podcast no one will find or listen to?
Conclusion
All the fine details involved in creating an engaging podcast could fill several books. Here I have given you an idea of what is involved and set in you the right direction. If you are unclear about any step in the process feel free to post a question in the comment section.


 Review")


