DIY Mitre Saw Backstop: faster, more accurate repeated cuts
Have to make the same cut several times? Make them more accurate, faster, and easier with this easy-to-build backstop
My second project as a weekend cabinetmaker was a chest of drawers. Needless to say, as my second project, that chest contains a ton of poorly-joined and mis-cut wood. But a great deal of learning came from that chest, as did a few DIY tools I made along the way, and continue to use. One of them is the mitre-saw backstop.
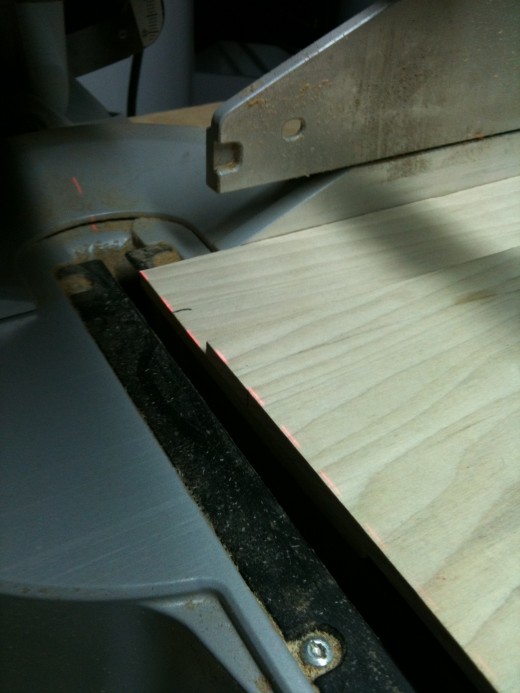
While making the chest, I had to make several identical cuts: sixteen drawer-face boards, twelve drawer sides, six backs, thirty support rails, and - you get the picture. Initially, I made the cuts by measuring the first cut, then just overlaying the first cut piece of work over the second piece to be cut, and lining up the laser.
Needless to say, I ended up with pieces that were almost - but not exactly - the same length. It was also time-consuming to have to line up each board, making sure all edges were flush, then removing my guide board without disturbing the work board to be cut. Arrghh.
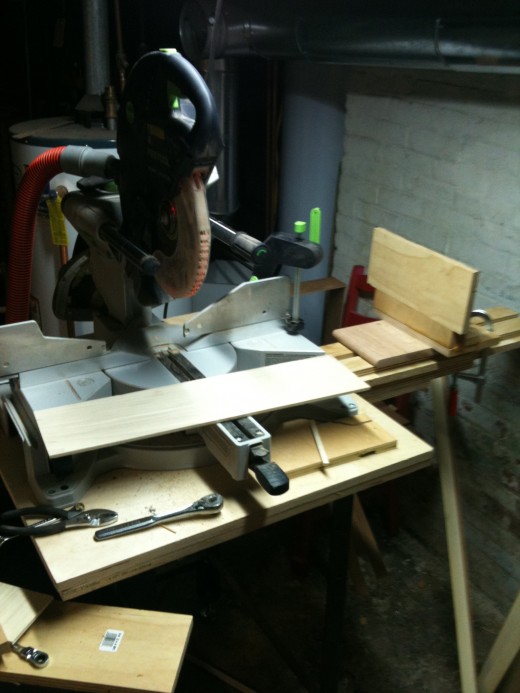
My solution was a backstop built on the side of my mitre saw's bench. It lets me set the distance from the blade with my first cut, clamp the backstop in place, then just slide new workpieces in until they hit the stop.
During the process of designing and building my backstop, a few surprises popped up. Luckily, I was able to work with them, and the result is a highly functional (and easy to build and calibrate) DIY tool. Let the cutting begin :)
Building the Backstop
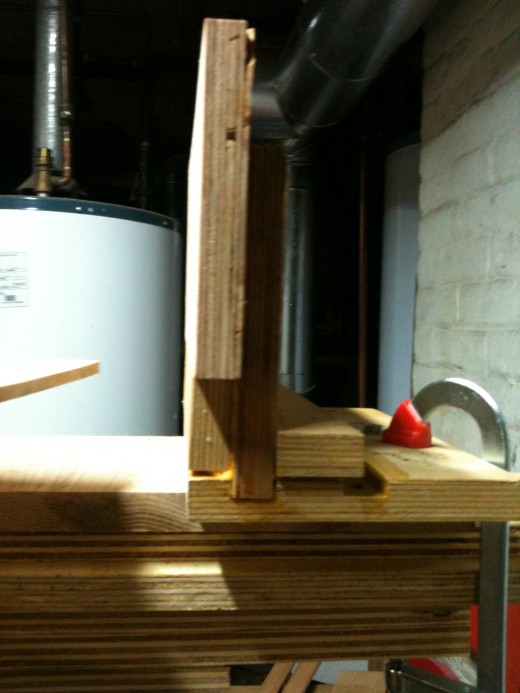
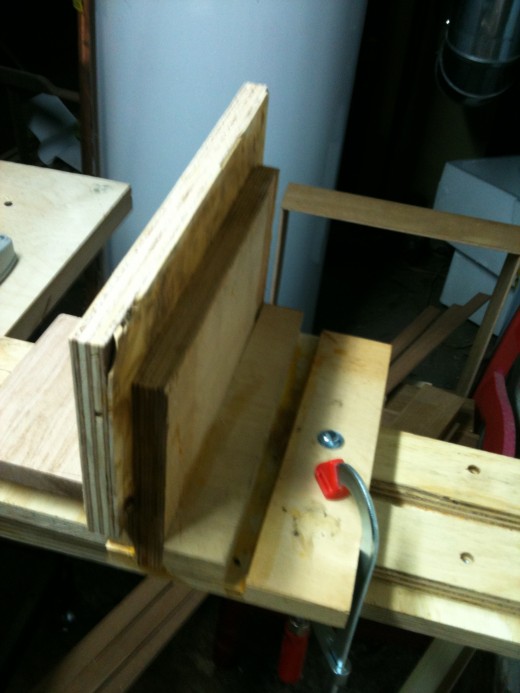
To the right is a picture of the backstop, mounted to the right side of my mitre saw's bench. It's made of 3/4" birch plywood, cut to size on a table saw and mitre saw. The backstop also uses a 3" screw, washer, and nut, which serve was the pivot point for the backstop fence itself.
Essentially, the whole thing in composed of only a few pieces of wood (all 3/4" plywood):
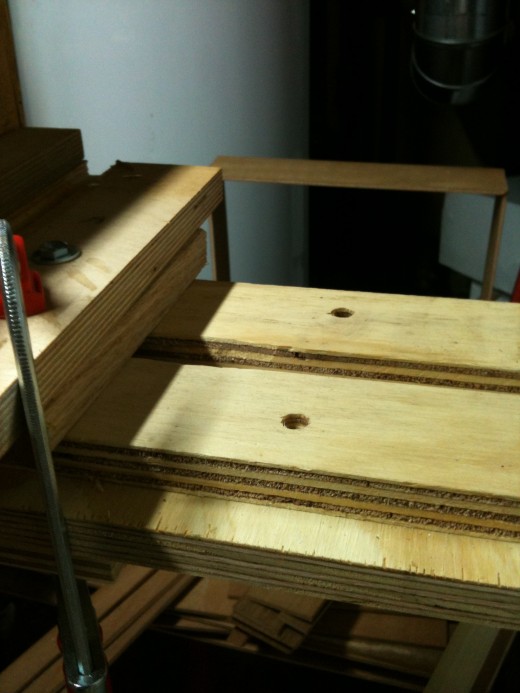
- one 24" x 7" board for the track base
- two 24" x 1" boards for the sled guide rails
- as many spacer boards you need to span the thickness of your bench
- one 10" x 7" board for the bottom, which "clamps" the bench along with the track base above it.
- one 8" x 6" board for the sled base
- one 8" x 5" board for the backstop fence base
- one 8" x 5" board for the backstop fence
- one 5" x 1" board for the sled guide rail
You also need one screw and nut, which hold the backstop fence base to the sled base, and allow the backstop fence to rotate relative to the sled base. This allows you to set the angle of the fence to match the angle of your work. It also allows you to compensate for any error in mounting the track, guide rails, sled rail, or fence, after the whole thing is built. Whew!
How to Build It
Hopefully the pictures are self-explanatory, because I can't take the time to draw a diagram. Here are the steps I took, and why I did what I did.
Step 1: Determine how long of a track you want. Mine is two feet from the edge of the saw's fence. This will allow a three-foot board to fit into the tool.
Step 2: Determine the thickness of your saw's bench. Mine was made of two 3/4" slabs of plywood, so I build my backstop track and supports of the same thickness boards, to ease the matching of widths.
Step 3: Cut a long piece for your track base, wide enough for two guide rails, space between the rails, and space on the sides for the sled base to rest.
Step 4: cut the guide rails: same length as the track base.
Step 5: cut all other wood.
Step 6: make a dado in the fence base wide enough for the fence to rest inside, perpendicular to the track base.
Step 7: drill a hole in the sled base and the fence base at the same time: in the center, near the backs of both pieces.
Step 8: put in the screw/washer/nut, and tighten so that the fence base and the sled base rotate against each other with some friction.
Step 9: Glue the fence into the dado in the fence base, and glue the sled guide rail to the bottom of the sled base. Put the sled guide rail between the track guide rails and ensure a smooth run along the trackGlue/screw the track guide rails to the track base.
Step 10: mount the track base and rails above the bench edge, parallel and in line with the saw's fence. Add spacer boards under the track until you can add the bottom board flush with the underside of the bench, and in a few inches. Clamp it all and remove the assembly from the bench.
Step 11: screw the track/spacers/ bottom board together.
Step 12: re-mount the assembly to the bench, and screw it on.
Step 13: add wood to the front of the backstop fence, until there is a platform to support the workpiece from underneath as it rests against the fence. This will keep the work from rocking, and keep it secure against the backstop fence.
Step 14: put a piece of work in the saw, bring the fence in until it touches the work edge, then align the fence by rotating the fence/fence base against the sled base, around the screw in the back of the sled. Now your fence should be evenly backing up the workpiece. Tighten the screw. This last step compensates for any non-90-degree angles in the device. Without the screw adjustment the fence would be set in place relative to the sled and track guide rails, and any off-angles will result in a crooked contact between the work and the backstop. Bad news if the workpieces are of differing widths!
Using the Backstop
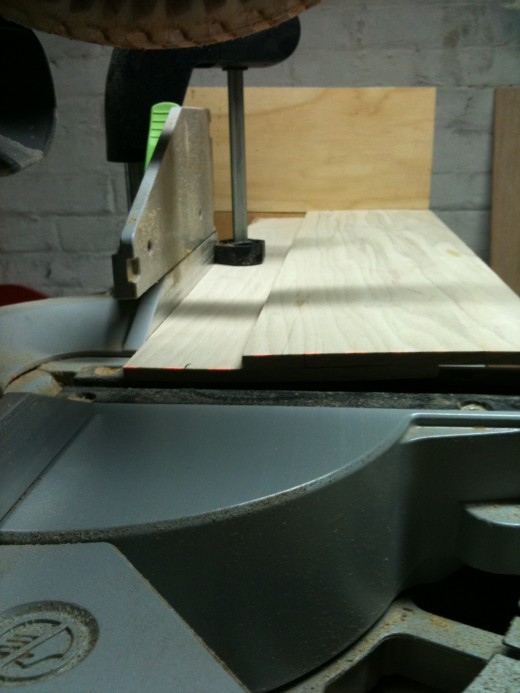
To use the backstop, measure the first piece to be cut, and set it in the saw. Then set the backstop flush with the end of the workpiece, adjusting the angle of the fence (if necessary) by loosening the screw on the fence base and turning the fence base.
Clamp the sled to the track, making sure both the work and the fence didn't move during clamping.
Make your cut. Remove the work. Add the next piece to cut, align it with the saw fence and the backstop fence, and cut.
Repeat, and enjoy your new-found speed and accuracy!
Links to my other Hubs and Websites
- isaacdvanwesep.net
My personal website - My Wicked Hi-Fi Website
- My Wicked Hi-Fi Blog
- Home theater & stereo systems explained
The essential ingredients of both home theater systems and hi-fi stereos are similar: Speakers (anywhere from two to ten or more) Amplification Processing Source media like CD, DVD, and Blu-Ray. For... - Fix Adcom GFA 535 / 545 II - channels not working an...
Last week, after adding a Dynaco ST-70 tube amp and a DBX active crossover to my home theater (for the purpose of tri-amping my from main speakers), my living room's 15-amp circuit had had enough. The... - Bi-amping and Tri-amping: Why and How
The more you learn about stereo and home theater technology, the more you may hear about bi-amping or tri-amping your speakers. As somebody who has a tri-amped setup at home, I can tell you that it does make... - Review of the McIntosh XR14 Loudspeaker
The McIntosh XR-14 is an excellent-sounding loudspeaker from one of the most respected and long-storied American makers of HiFi equipment. McIntosh is perhaps best known for their amplifiers and pre-amps,... - Vintage Audio Equipment: Finding Legendary Gear on t...
I have written lots of articles with a general theme of - Energy AS-180 Subwoofer Review, Repair & Info
I came across my pair of Energy AS-180s in Attleboro, RI. I bought them off of a fellow who was selling his whole setup. I picked up a pair of Energy AS-180 subs (with sequential serial numbers in the low... - Klipsch Heresy Review
I had always heard of the legendary Klipsch - Paradigm Studio Monitor Review
Paradigm is well known as a - Cambridge Soundworks SW1 and Slave Subwoofers Review
Some say the Cambridge Soundworks' (CSW) SW1 Sub and Slave were the only good products the company ever made. But some enthusiasts also grant such status to the original Ensemble system, which for a short...
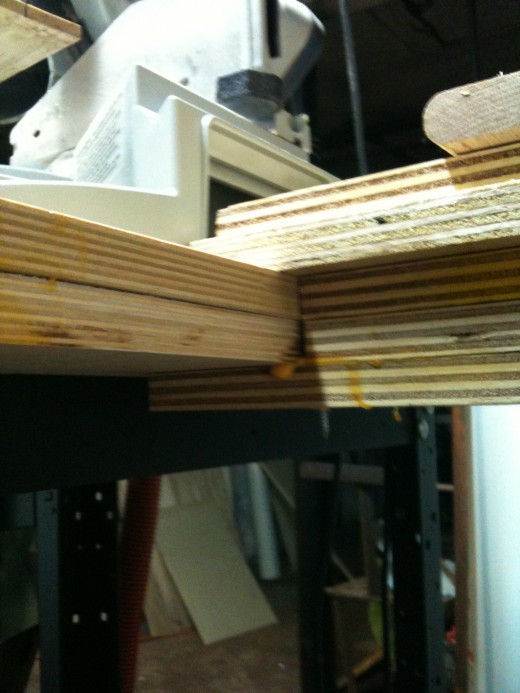
More pics of the backstop fence
