Easy DIY Landscaping - Building a Stack Stone Garden

Once we had our patio done to the first stage, the next item on our agenda was to finish the surrounding garden area.
We had envisioned a rock wall around the patio, we just hadn't decided what type of rock. We toyed with using quarry stone and building a dry stack wall, which would have looked amazing, but decided on using stack stone instead. Our decision was based on economy - of both time and money.
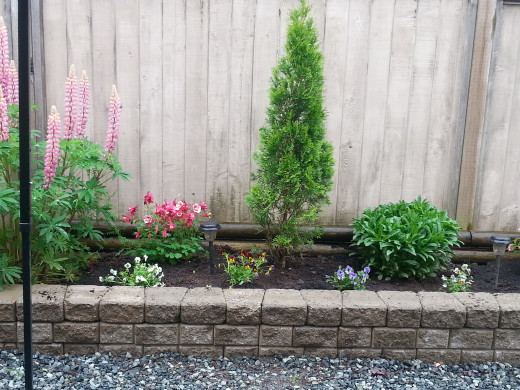
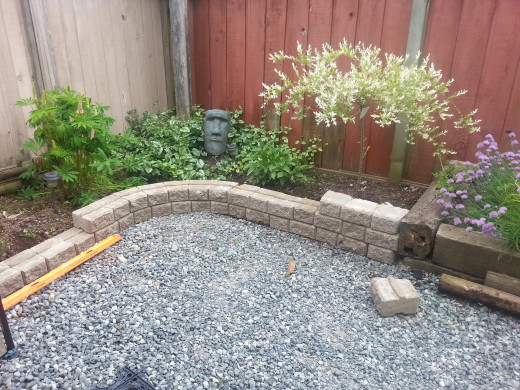
Before
Stack stone is quite economical, and very easy to use. Instead of spending the entire weekend building the garden, as would have been the case if we had used quarry rock, this project was completed in a matter of hours.
Another great feature to using stack stone is that once the stones are put in place, they are quite stable and won't move when the garden is filled with dirt and plants.
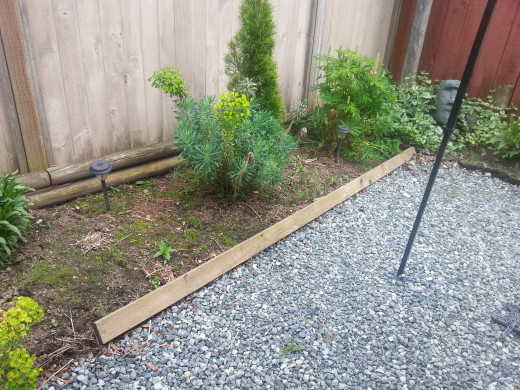
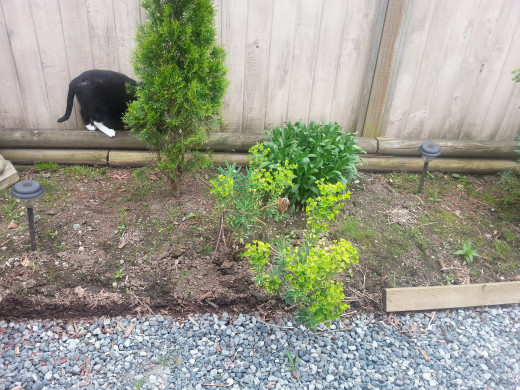
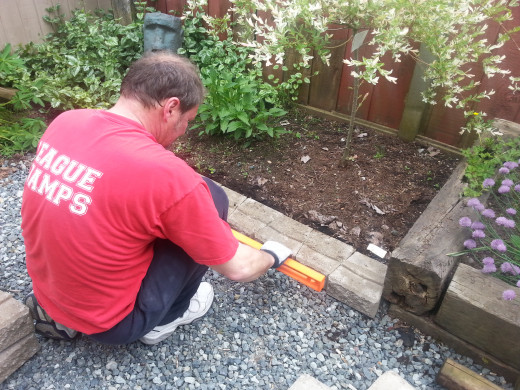
The first thing we had to do was to remove the wood that served as a retaining wall for the dirt. As we had some trees and perennials already planted, we were careful to push the dirt towards the fence line so that it wouldn't impede our progress.
Once that was done, we filled the space where the wood had been with crushed gravel and packed it down.
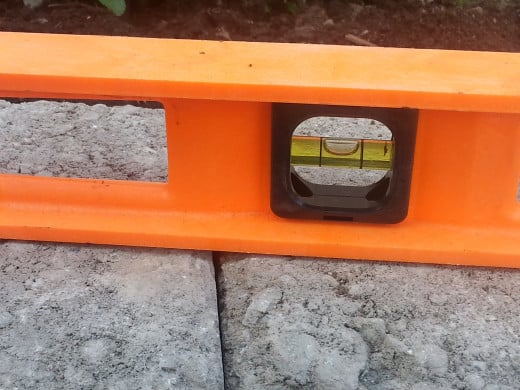
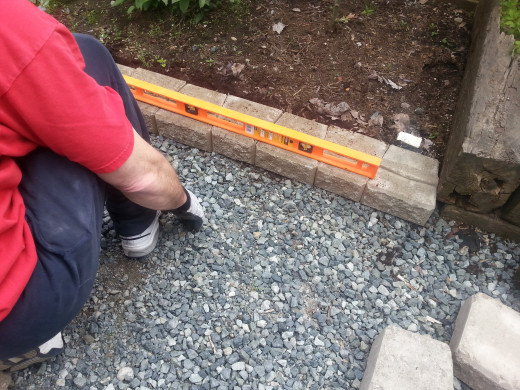
The level is your friend
The most important step in building a rock wall of any type is to ensure that the ground underneath the first row of stones is level. If it isn't, the subsequent tiers of stone will not stack properly, causing them to warp and fall apart.
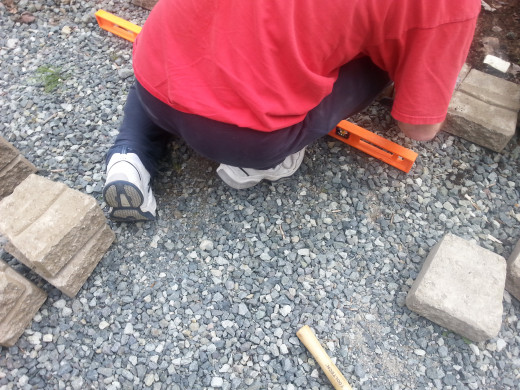
Obviously it is nearly impossible to have perfectly level ground, so make sure that you have a small trowel, rubber mallet, level and extra gravel.
Because there was a six inch difference between the bottom section of our garden and the top section, due to the slope of the yard, we had to remove some of the ground underneath the first row of stones in order to keep everything straight.
This meant that the bottom half of the wall would be three stones high and the top half would be two.
Once you have the ground level and even, lay your stones. Using the rubber mallet, tap each stone firmly into place, making sure there are no gaps between them. Once you have the thickness or depth of the wall, tie a piece of string at the beginning of your work and run it in a straight line to the opposite end. This will keep your work nice and straight.
I have seen some garden walls that are perfectly level, but don't follow a straight line. While there are many walls, including this one that have obvious curves, the straight sections need to remain straight.
Make sure that you take your time - don't rush through this step with the mindset that "close is good enough". You might think that no one will notice that the bottom row is only a half an inch out of true, but when you have all three levels built, that small difference is now a glaring error.
Another way to keep your wall straight as you are building it is to use a chalk line. It works the same way the string does, except that you are not hampered with working over or under the line. The only challenge with using chalk is making sure you don't erase the line as you work.
You can also use a straight edge to keep your work linear and square. This method is often used for small areas, after all the proper measurements have been taken, and once the first row of stones is in place, the measurements are retaken to make sure your work is true.
If you have to adjust the height of the ground underneath the first row of stones like we did, make sure that you tamp it firmly before laying the stones. This will ensure that the ground does not shift or settle over time. I am sure many readers have seen walls that have shifted and are starting to fall apart.
If this happens, it is an easy fix, although it can be time consuming, so do your best in the beginning to avoid this problem. As long as you have a solid foundation, your creation will stay beautiful for years to come.
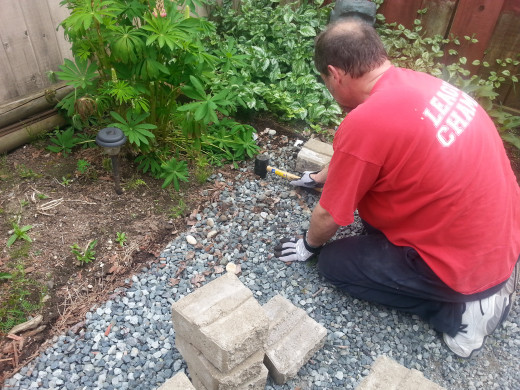
Continue laying the stones on top of each other, locking them into place as you go. Remember to tap each stone into place firmly. You can also use a locking glue to keep the stones from shifting, but after seeing how closely the stones fit, we opted not to use glue.
This will also make it easier to adjust the stones as you work, especially if you have decided to use a curve instead of a right angle corner. Right angle corners are trickier to do, and most require glue to keep them in place, simply because of the way corner stones are made.
Utilizing a curve allows you to keep the integrity of the wall intact without the possibility of shifting.


Stack stones are not made the same as regular bricks. They have a unique shape that allows the builder to fashion curves and still lock the stones into place.
They come in two styles - one has a ridge on the top to allow the stones to lock into place, and one has a smooth top. This brick is called a 'cap stone' and is used on the top row for a clean, finished look.
Making a Curve
You start making your curve on the bottom row. Place the stones with their narrow face forward. Don't worry that there is a gap between the stones at the back of the wall. Fill the spaces with some gravel or sand, and continue. You can adjust the sharpness of the curve by placing one or two stones facing the opposite direction, depending on how long or short the curve needs to be.
Once you have your curve the way you want it, continue placing the rest of your stones in a straight line. To lock the curve in place, start your second layer of stones from the beginning of the wall, continuing around the curve, making sure there are no gaps in the front of the wall. Each successive layer will secure the bottom, and when you have finished the second or third layer, there will be no gaps at the back, and the wall will be locked into place.
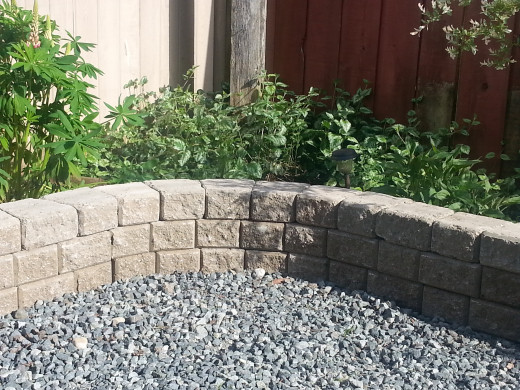
Do your best to overlap the seams of the bricks. This ensures a solid joint - much like building with Lego bricks. Don't worry that the seams are not overlapped evenly. When working with curves, one or two of the stones will not lock the same way the rest of the stones do.
Again, don't worry about that, as the subsequent layers of stone will take care of that problem for you. If you look at the pictures, you can see what I am talking about. A couple of the seams look like they are not overlapping, but if you look closely you will see that even though the seams are very close to each other, they are locked into place. The top row adds solidity and this wall is solid and does not shift or move.
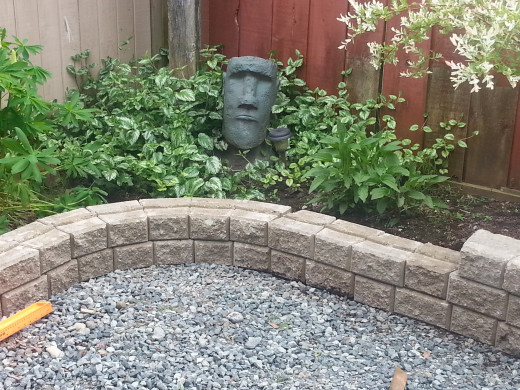
After
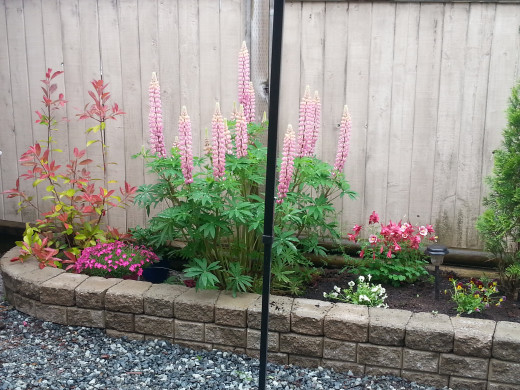
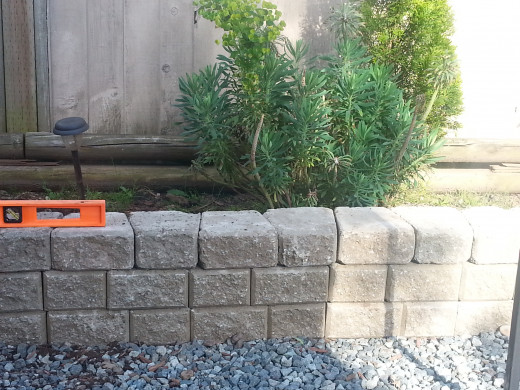
As you can see from the pictures, we continually used the level to ensure our finished product would remain square and even throughout all the stages of building.
If you look carefully, you can see what I was talking about when I mentioned the slope of our property. The top of the wall is completely level, however, you can see that the layers of stone have progressed from two high, to three high.
The transition of two stones to three is basically simple, and only requires a small amount of digging. This type of progression also forestalls the time consuming and much more costly leveling of your yard. While we know that there are areas that definitely need to be filled and properly sloped, we decided instead of changing the blueprint, to work within our parameters and budget.
As we still have quite a few projects to complete before our backyard is finished, stay tuned for my next segment. I'm not sure yet whether it will be building a pad for the picnic table area, or completing the patio.
We had a lot of work done on the house this year - our front steps slab jacked and covered in a non slip, cushioned coating, our backyard fence replaced and the side steps and railings were also replaced, so we have to check the budget before we decide. (Isn't that always the way of things?)


